This post is in collaboration with Framebridge. As always, all opinions are 100% my own! Thank you for supporting the brands that make Sunflowers and Stilettos possible.
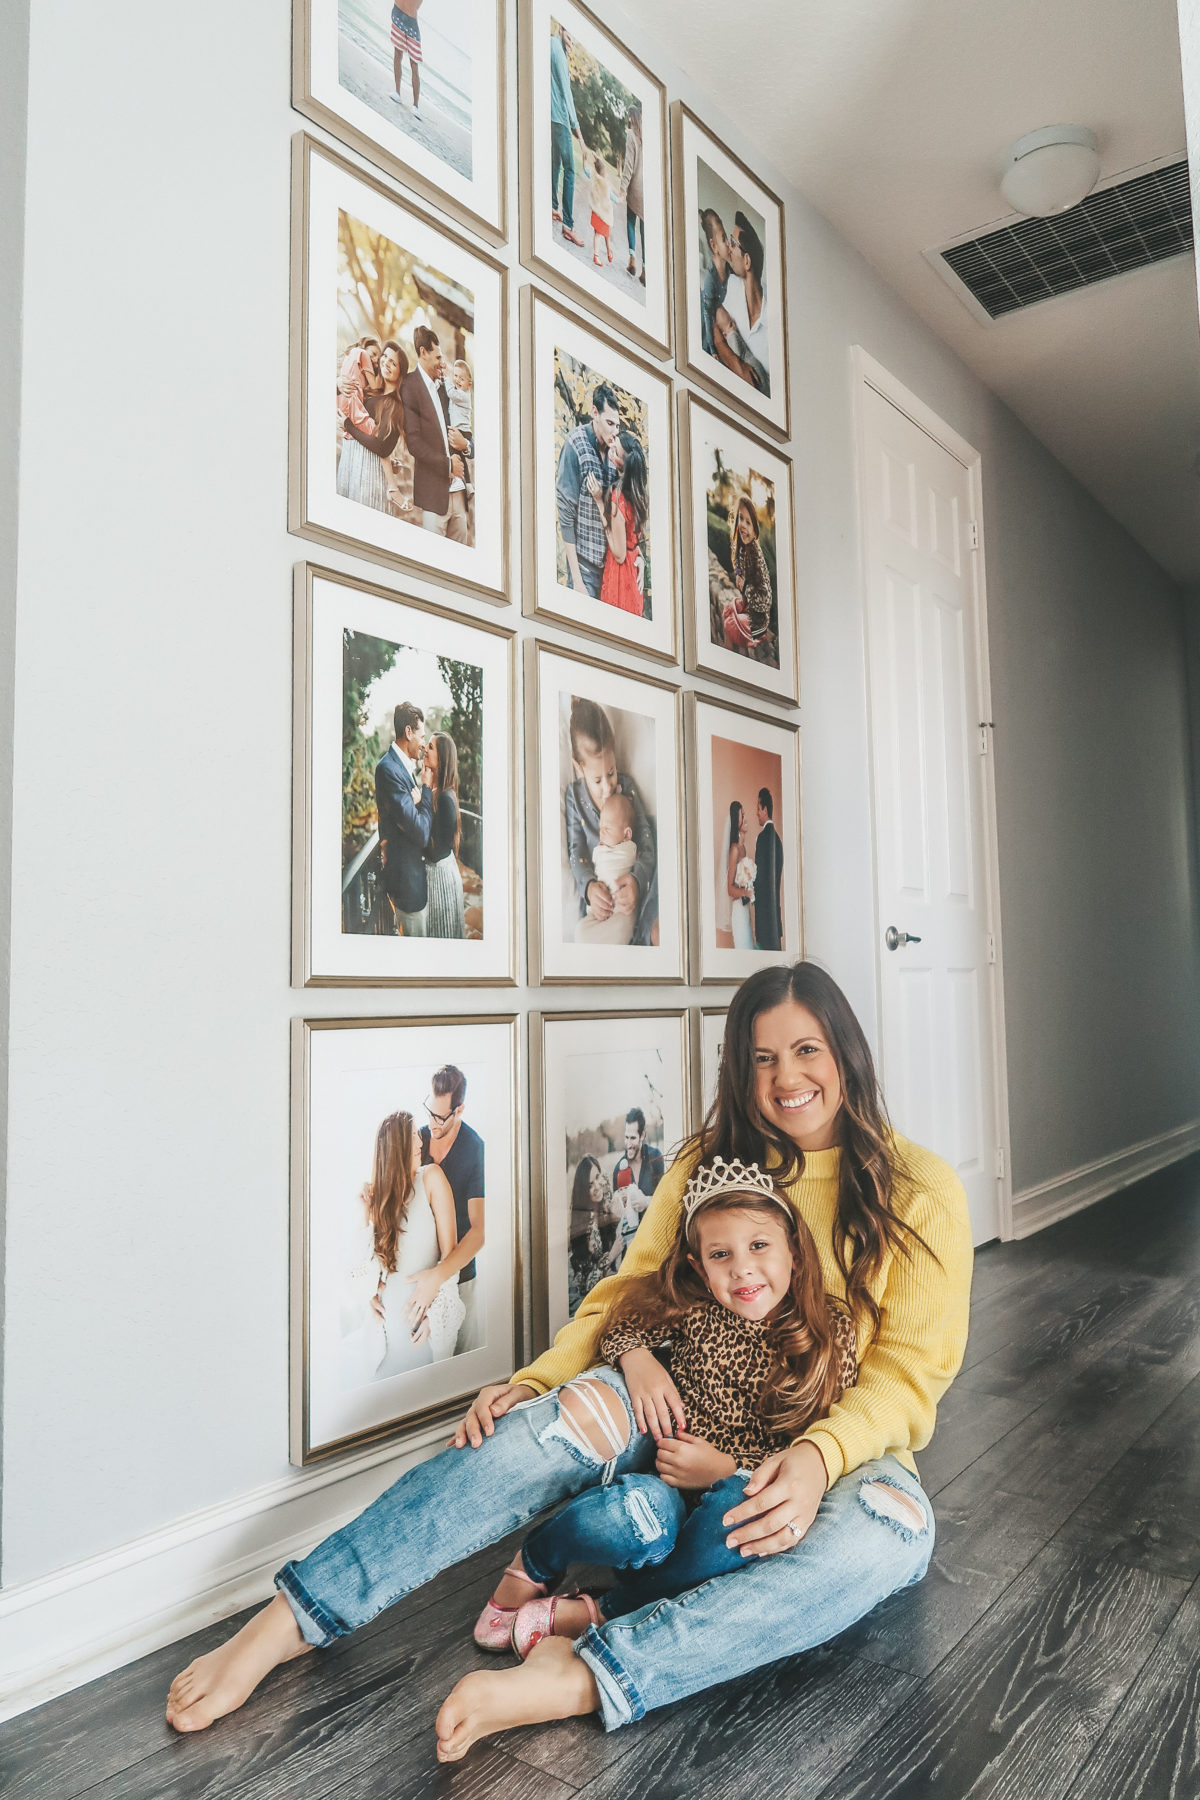
How To Create The Perfect Floor to Ceiling Gallery Wall
With Valentine’s Day around the corner, I wanted to gift Casey something a little different this year. While a gallery wall may seem like an unusual present, I knew it would be something he’d love. First of all, it’s framed, special moments of us and our children. Looking at these photos will only bring us joy and happiness. Second of all, he loves our home, and has been working hard since the day we moved in to make it perfect. He’s only asked me about a hundred times when we’re going to hang pictures on our walls, so I knew this would be a meaningful gift!
I wanted a gallery wall because it makes such a huge statement. For whatever reason, I couldn’t make a decision for the life of me as to what kind of gallery wall I should do. I kept going back and forth on what frames to buy, how large the pictures should be, how far apart each frame should be, how many pictures total we should have, and what type of layout would be best! I don’t know why, but I was turning this fun little idea into such a big ordeal!
Finally, after lots of debating in my head, and late nights scrolling Pinterest, I made a decision. FRAMEBRIDGE’S FLOOR TO CEILING GALLERY WALL.
This isn’t the first time I’ve talked about Framebridge. We have used them before to frame a canvas painting Casey and I purchased while in Italy, and shared it in our dining room makeover. Framebridge is a high quality, yet affordable solution for all of your framing needs. Not only did they make this project SO EASY, but the photos, the frames, the entire gallery wall is BEAUTIFUL!
When using Framebridge, the process of creating the perfect gallery wall is simple…
- Choose a layout
- Upload images
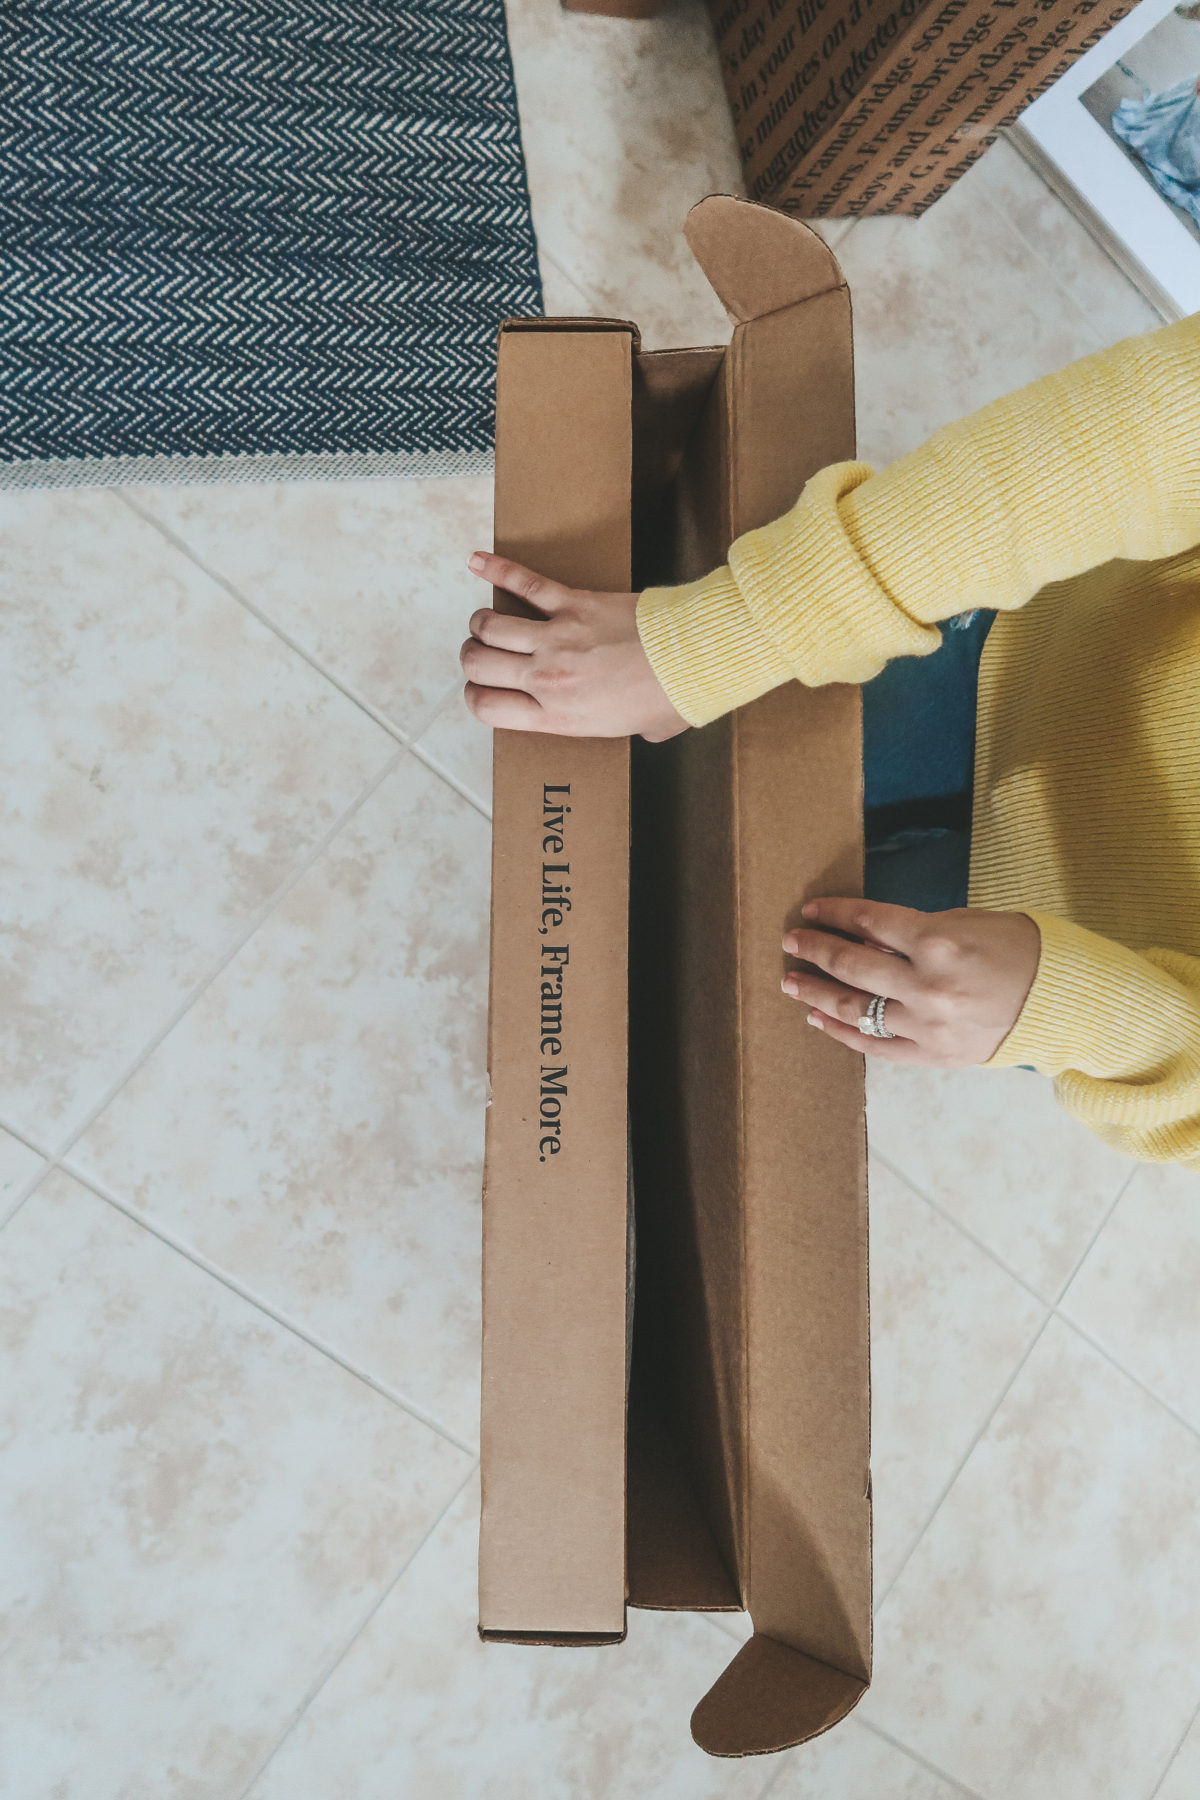
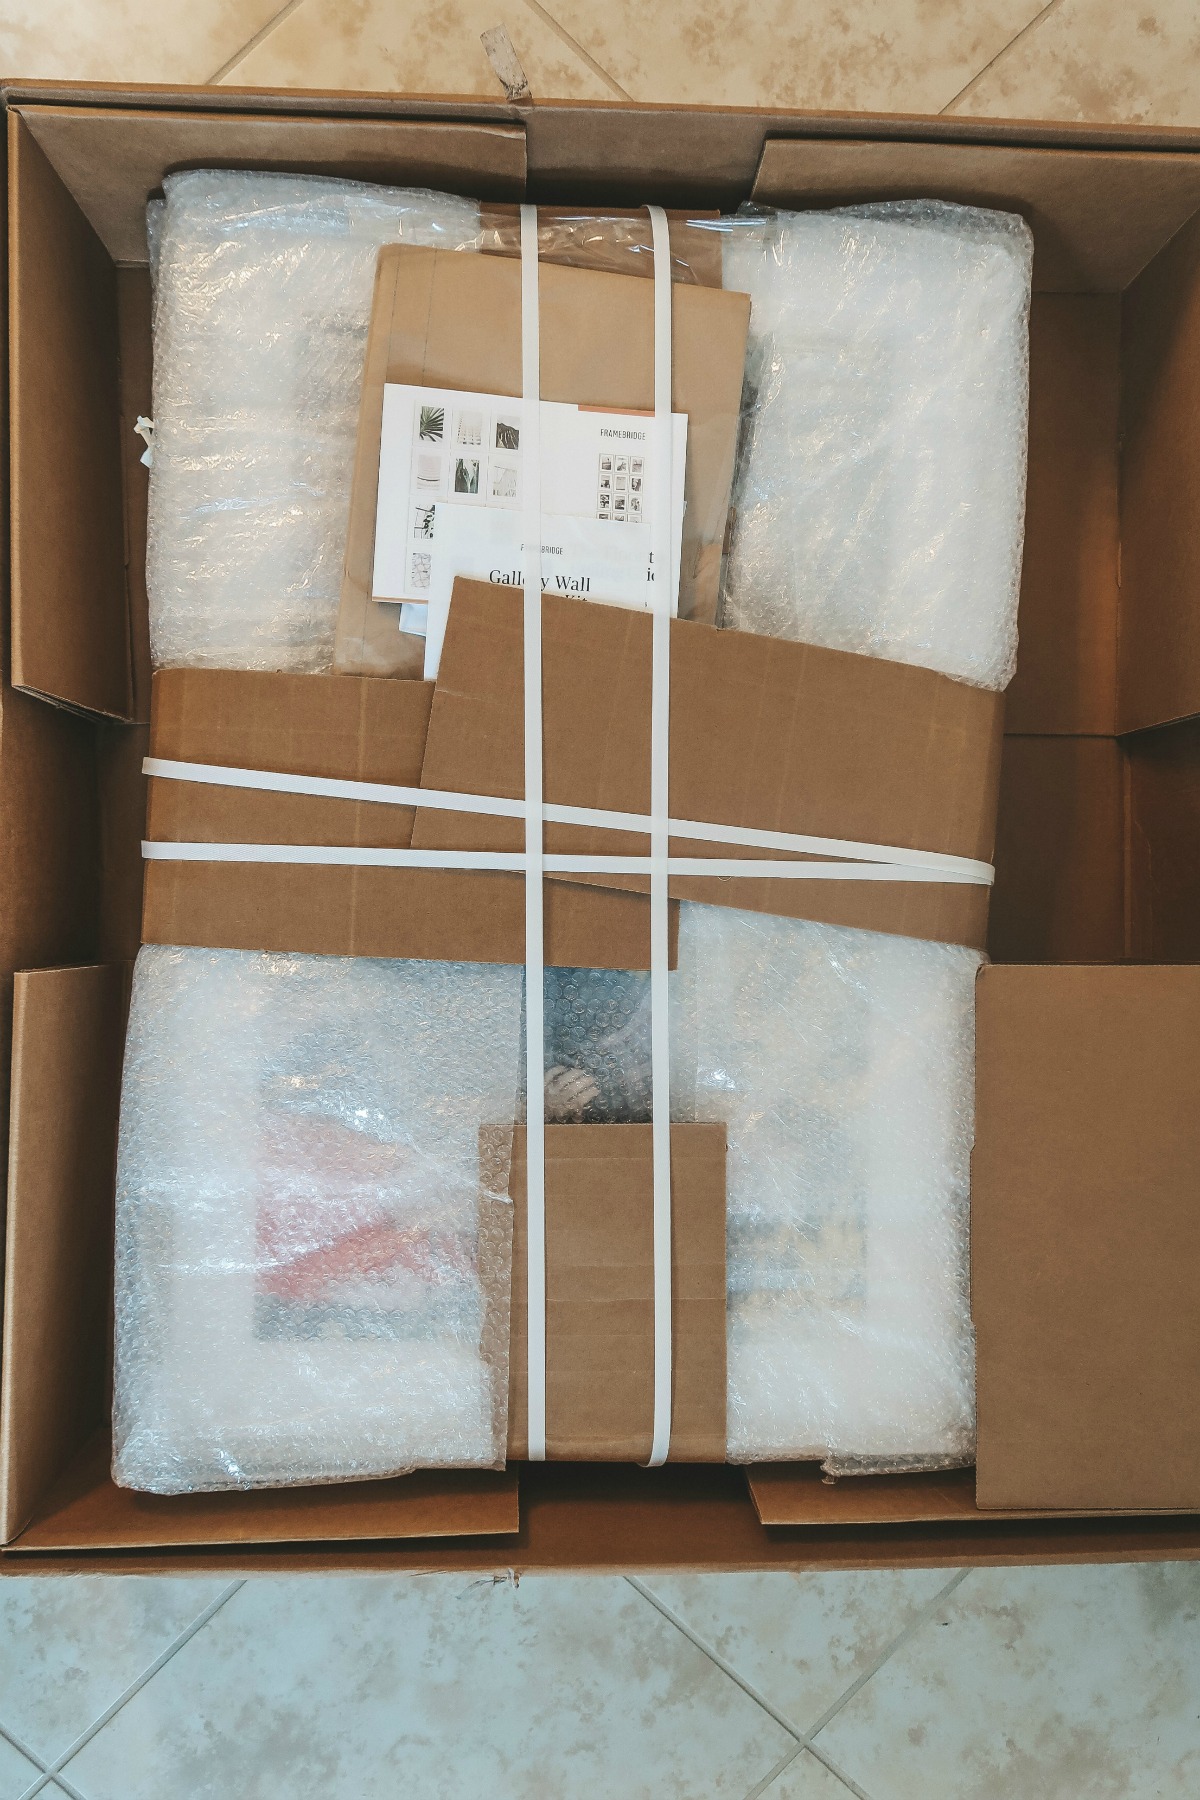
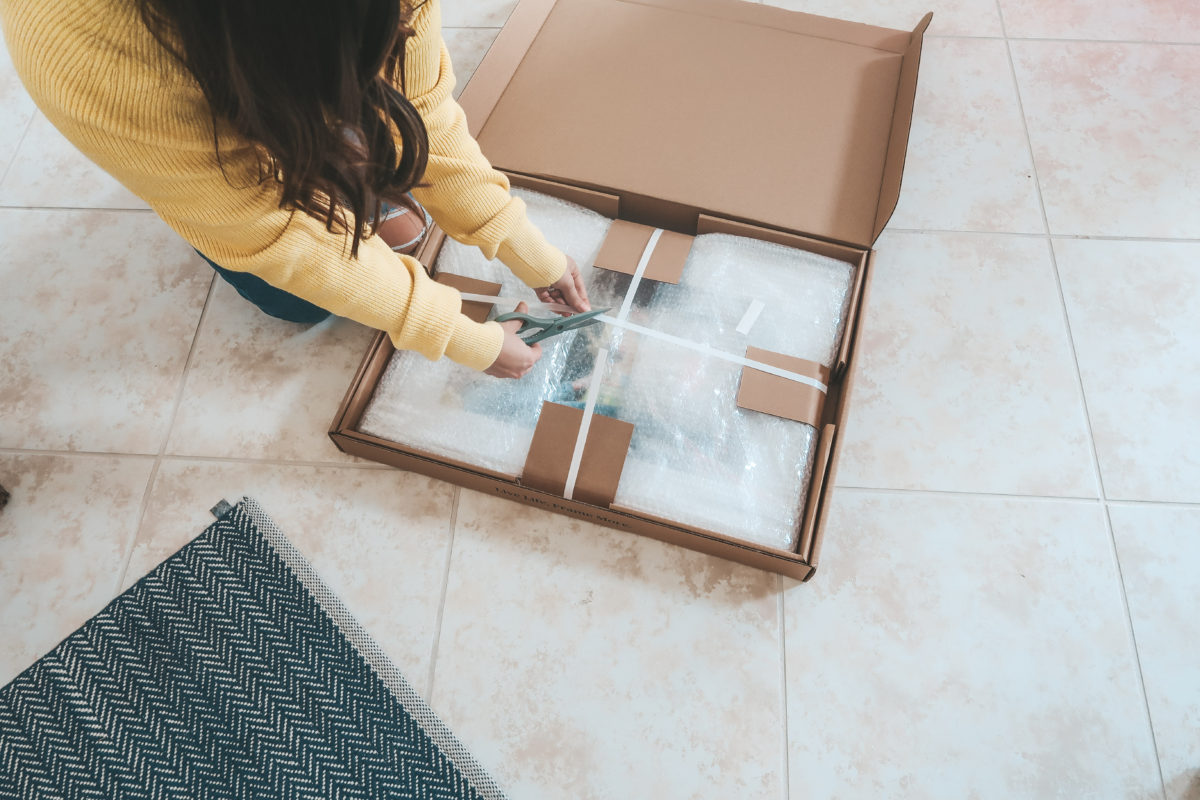
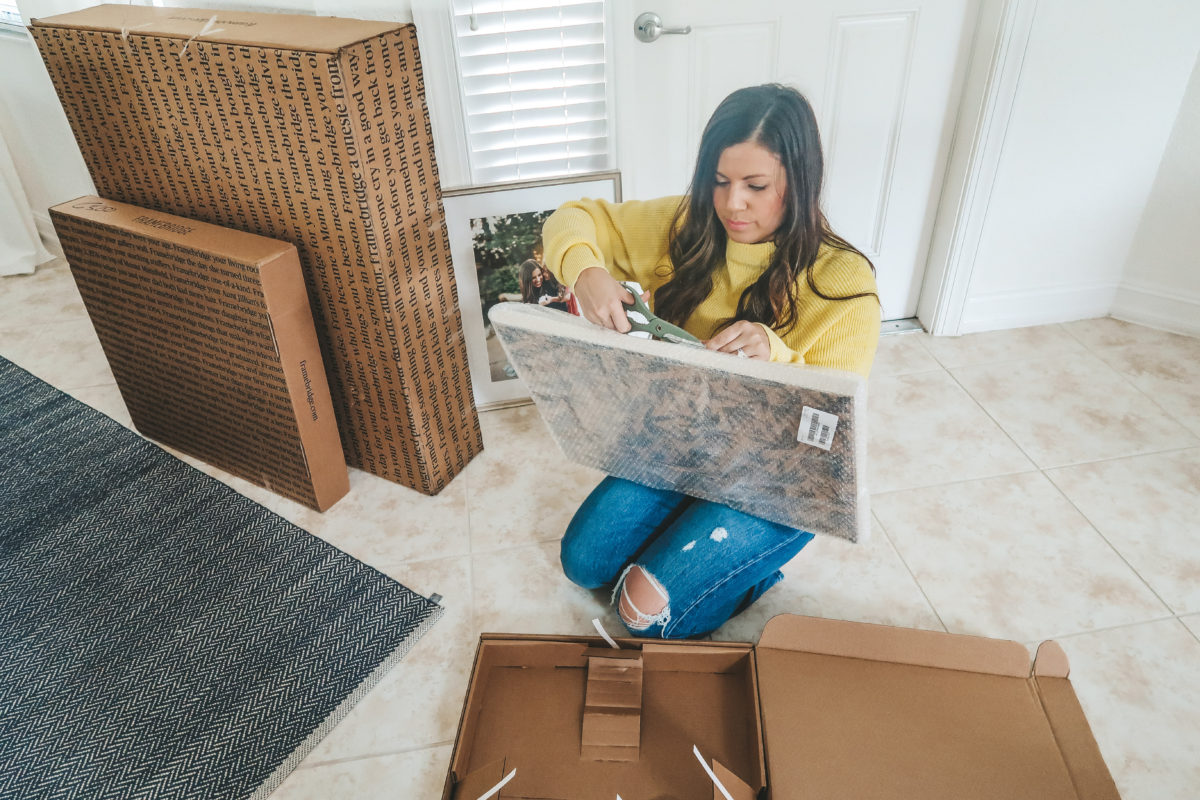
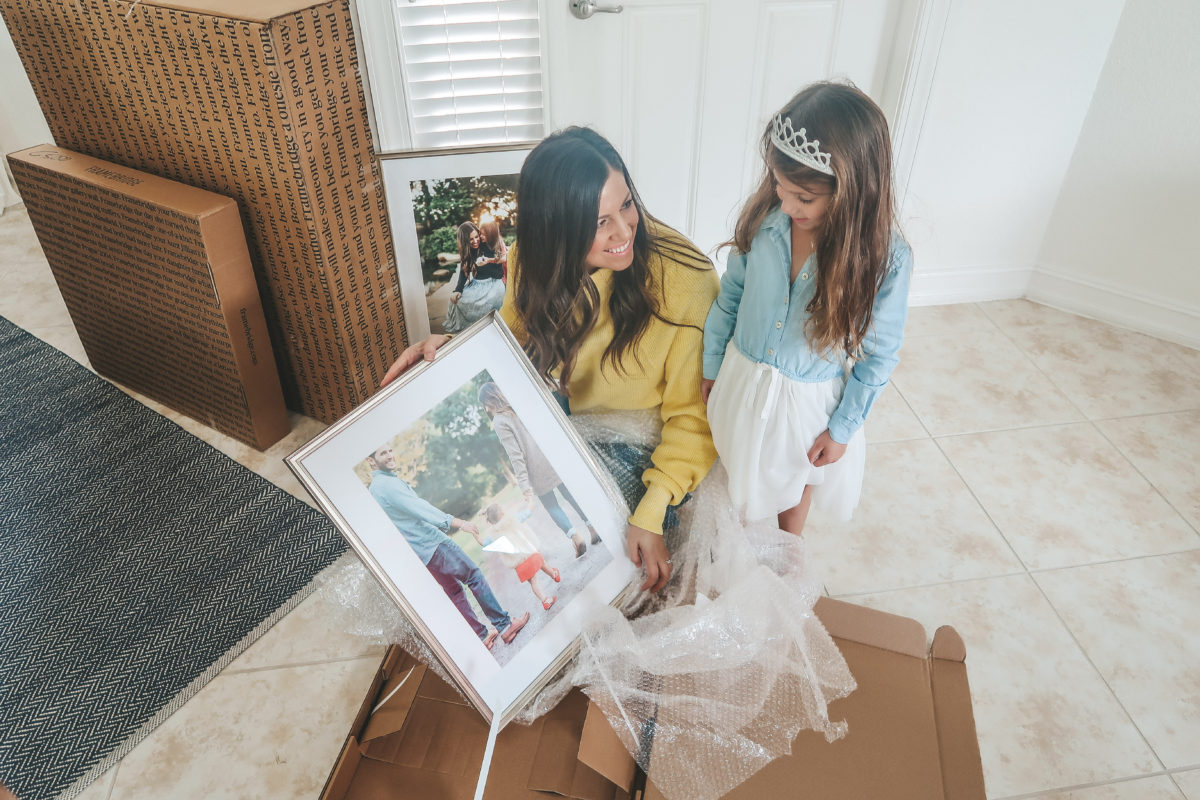
- Receive your framed images
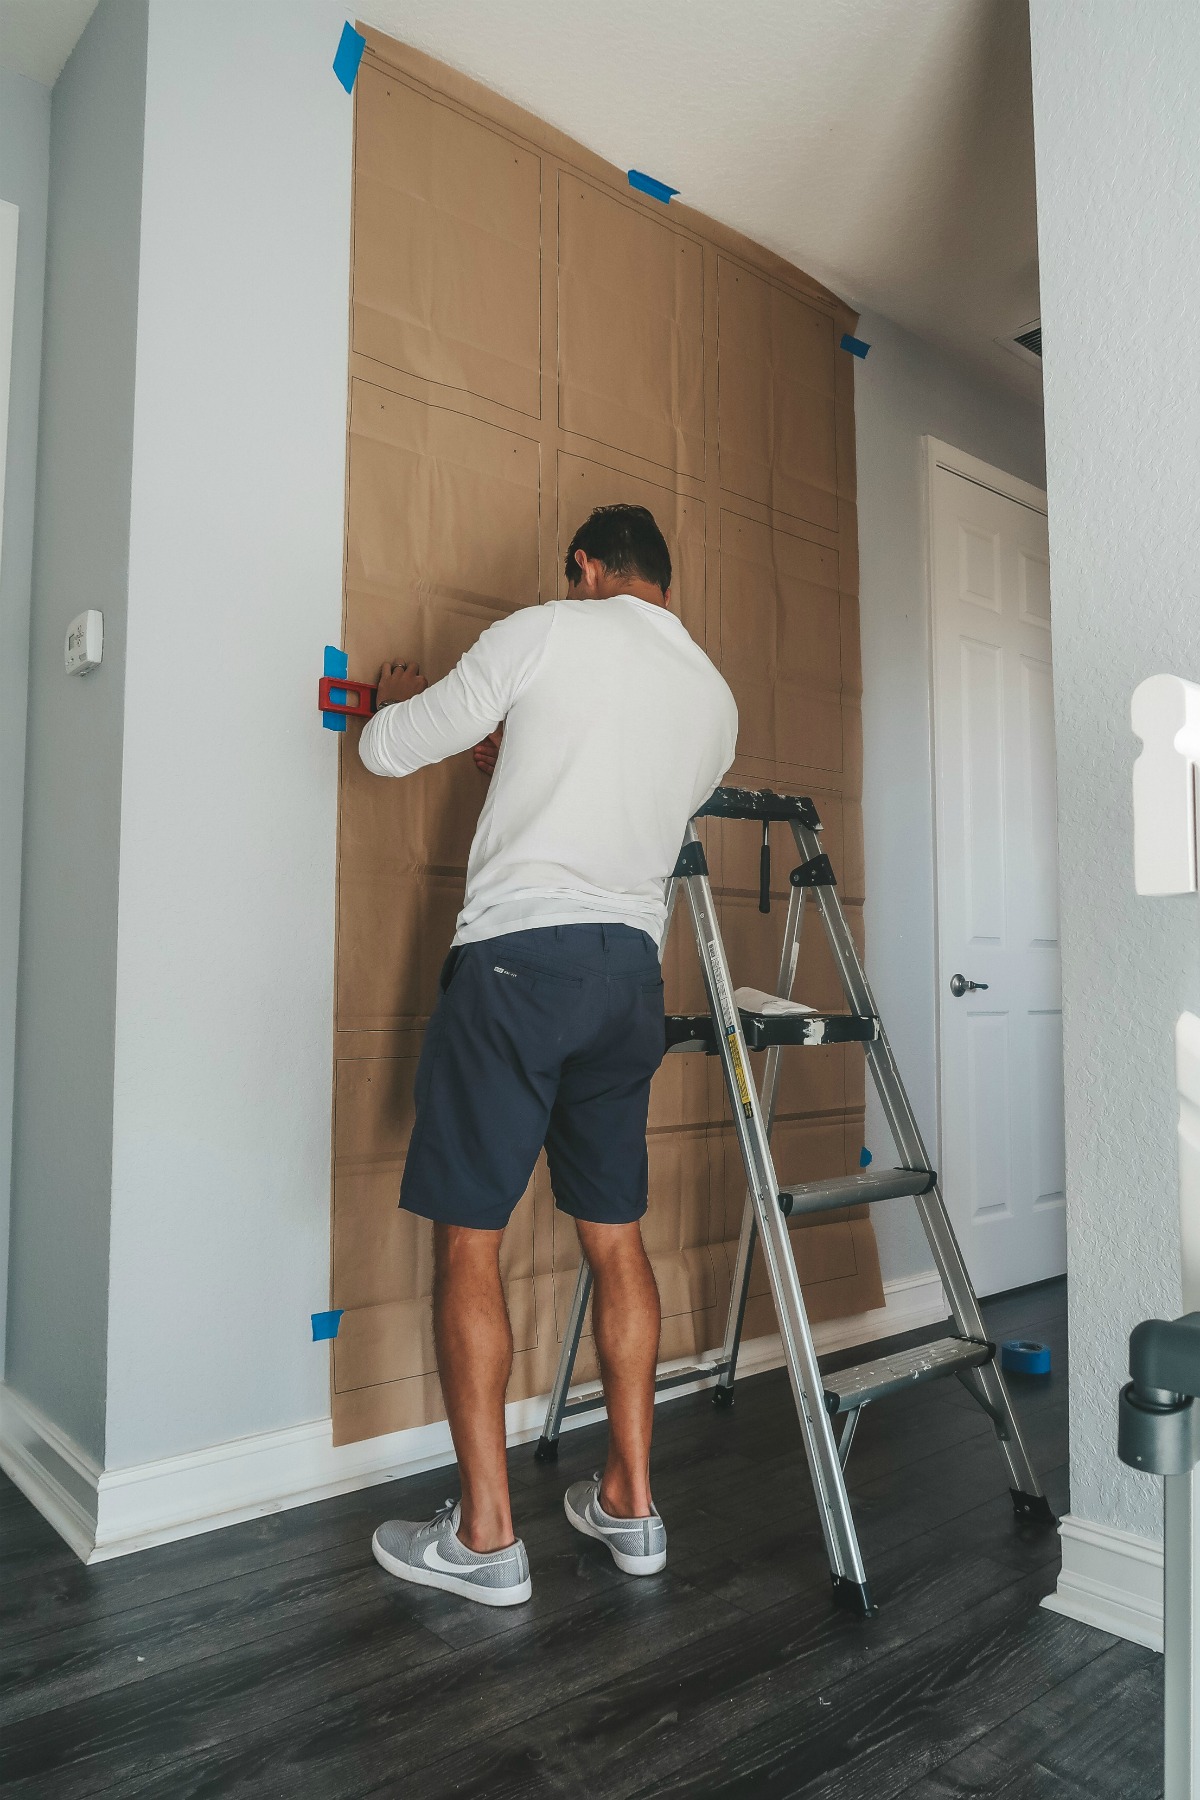
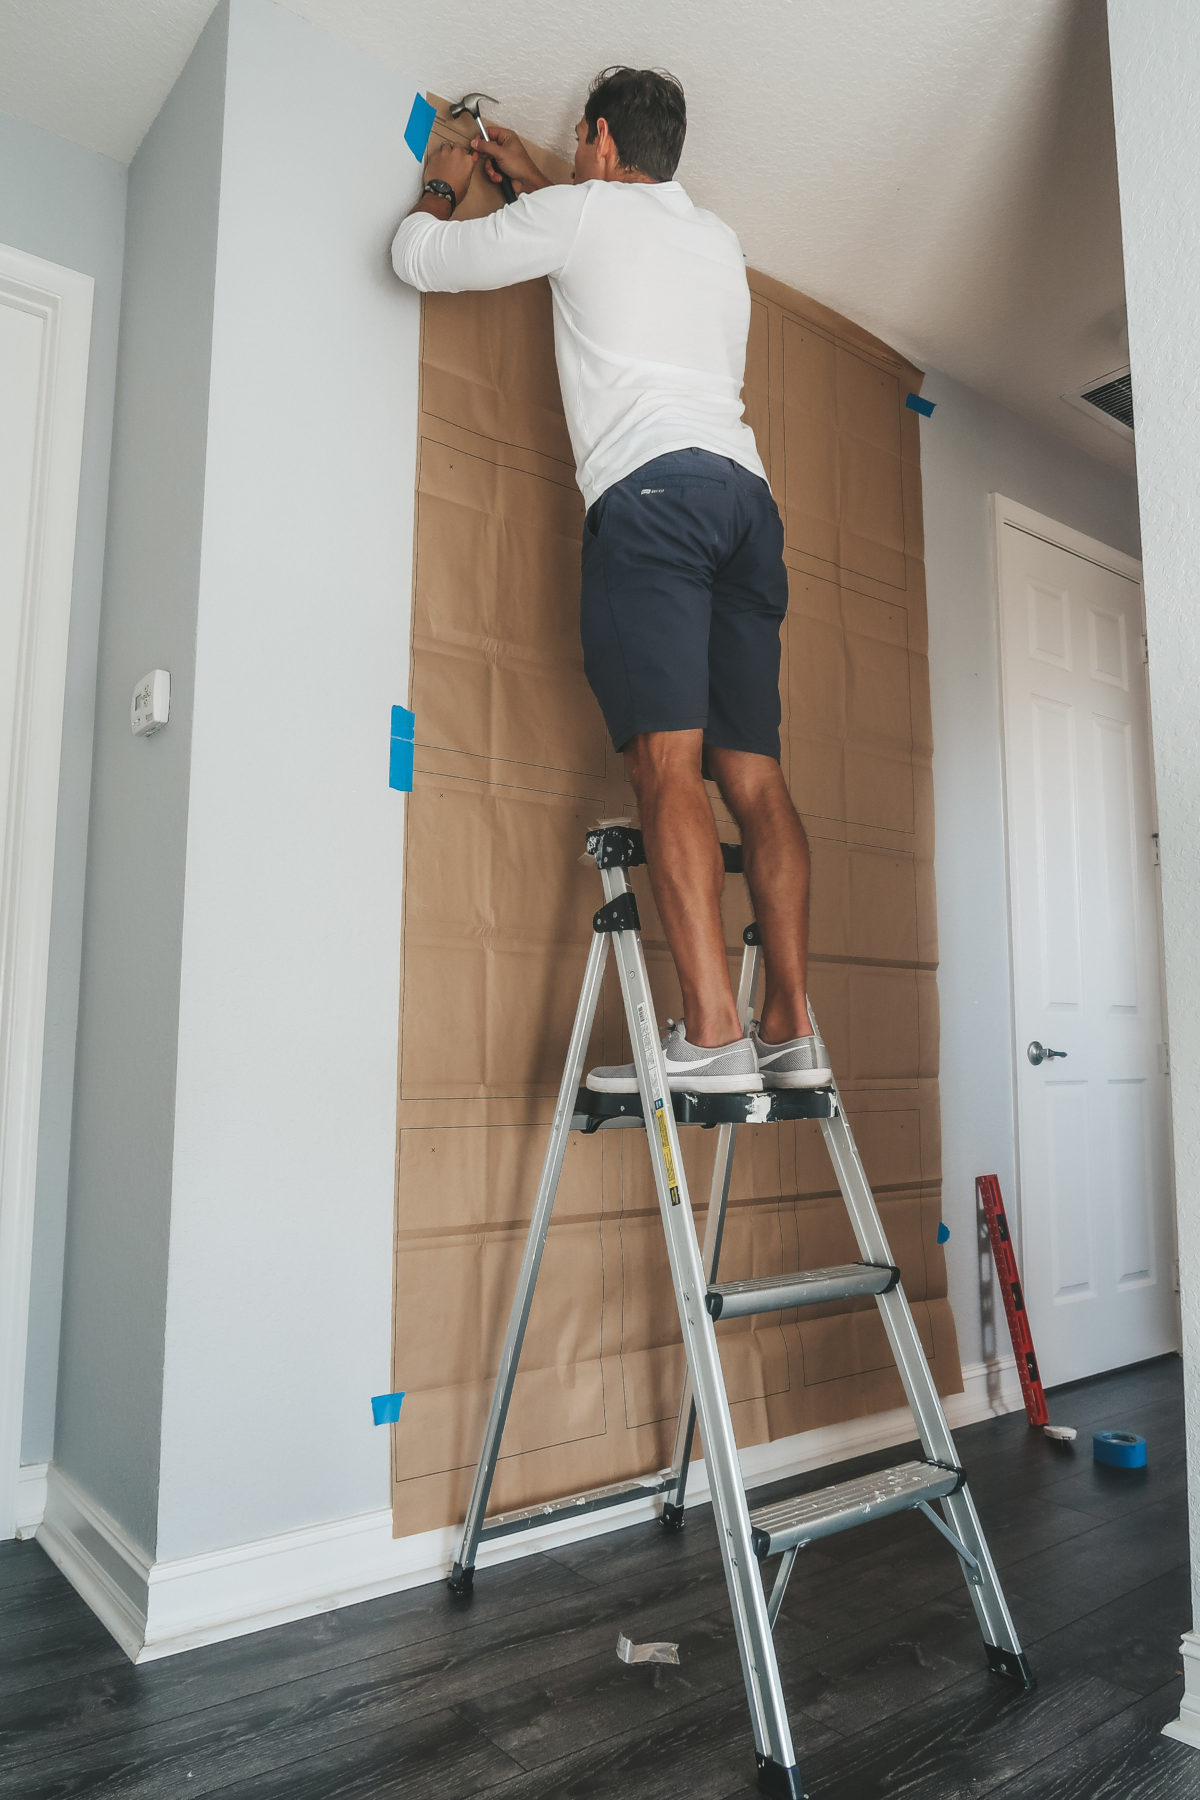
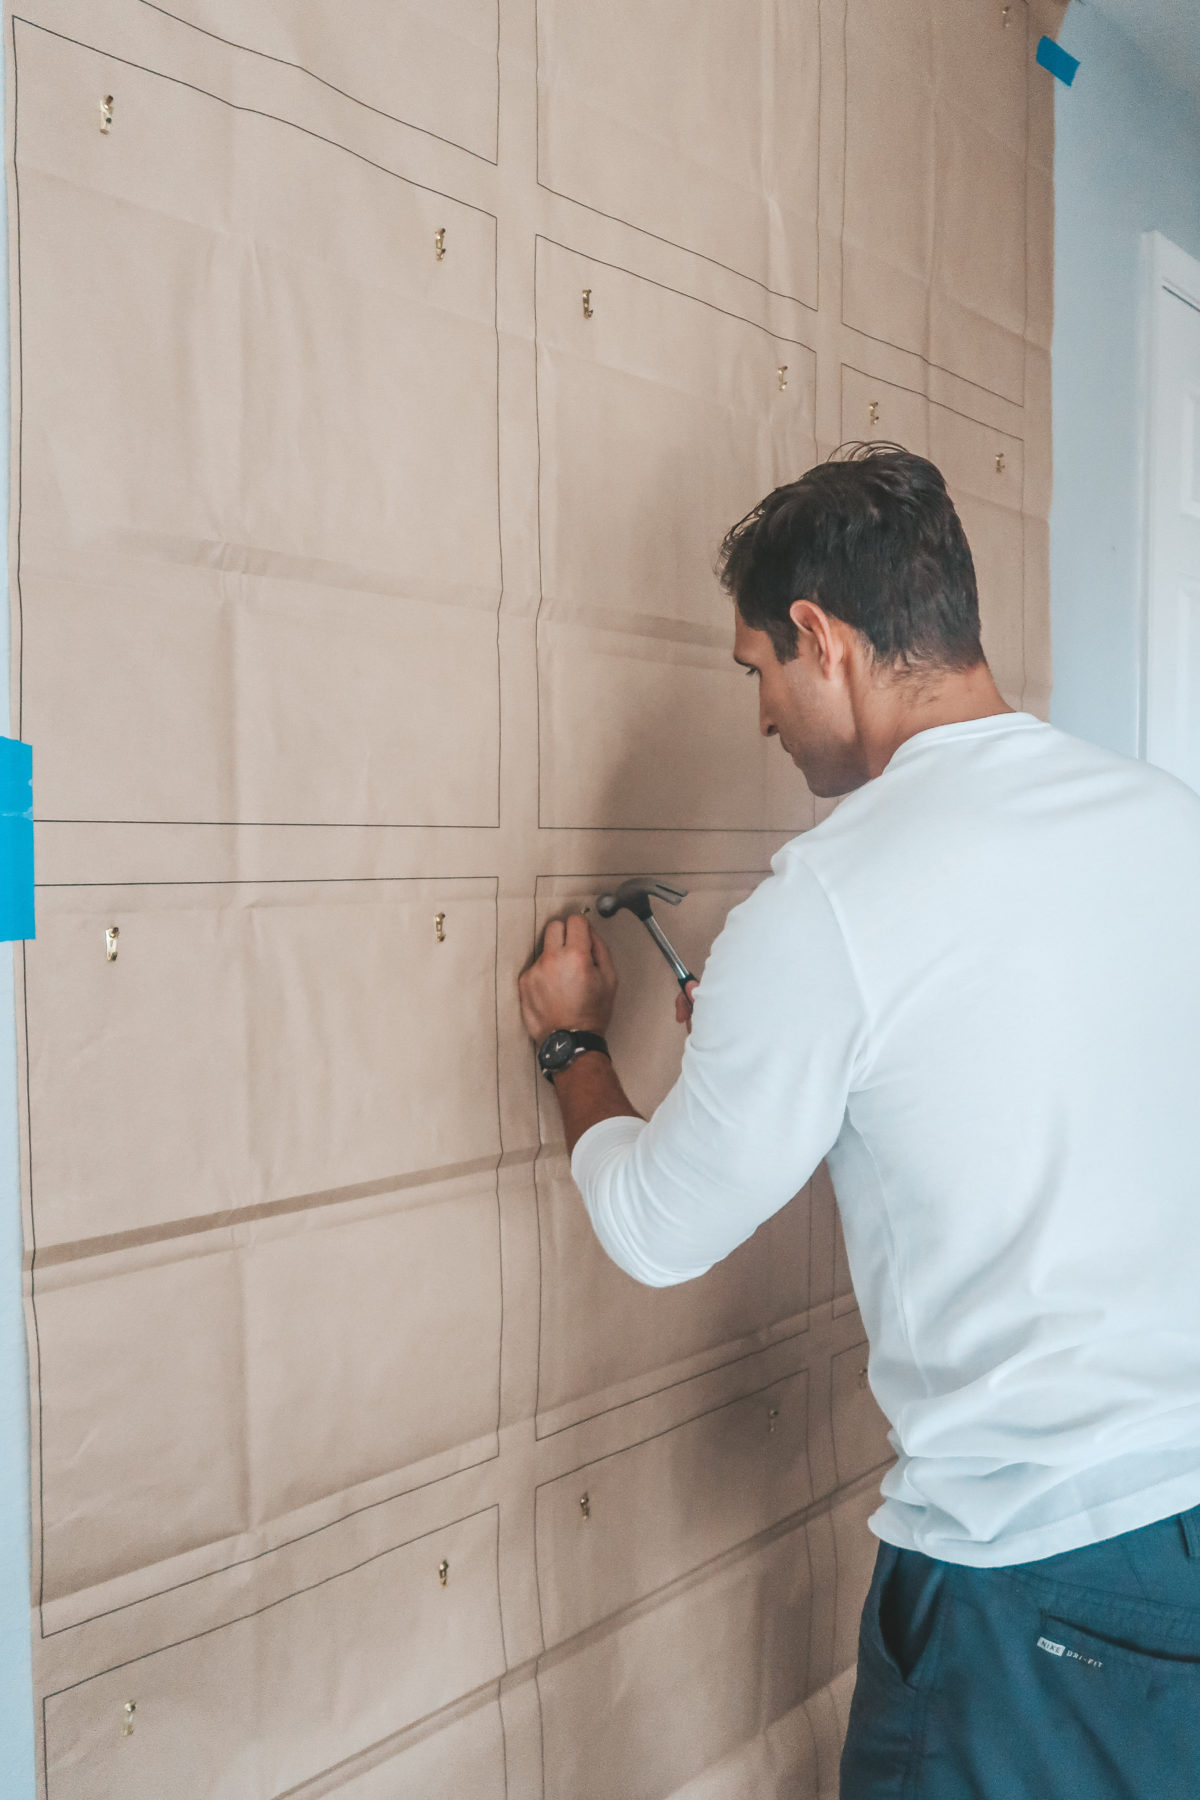
- Place the life-size hanging guide where you want the gallery wall to be
- Make sure it’s level
- Hammer the provided finishing nails in the center of each X shown on the guide
- Remove the guide from the wall
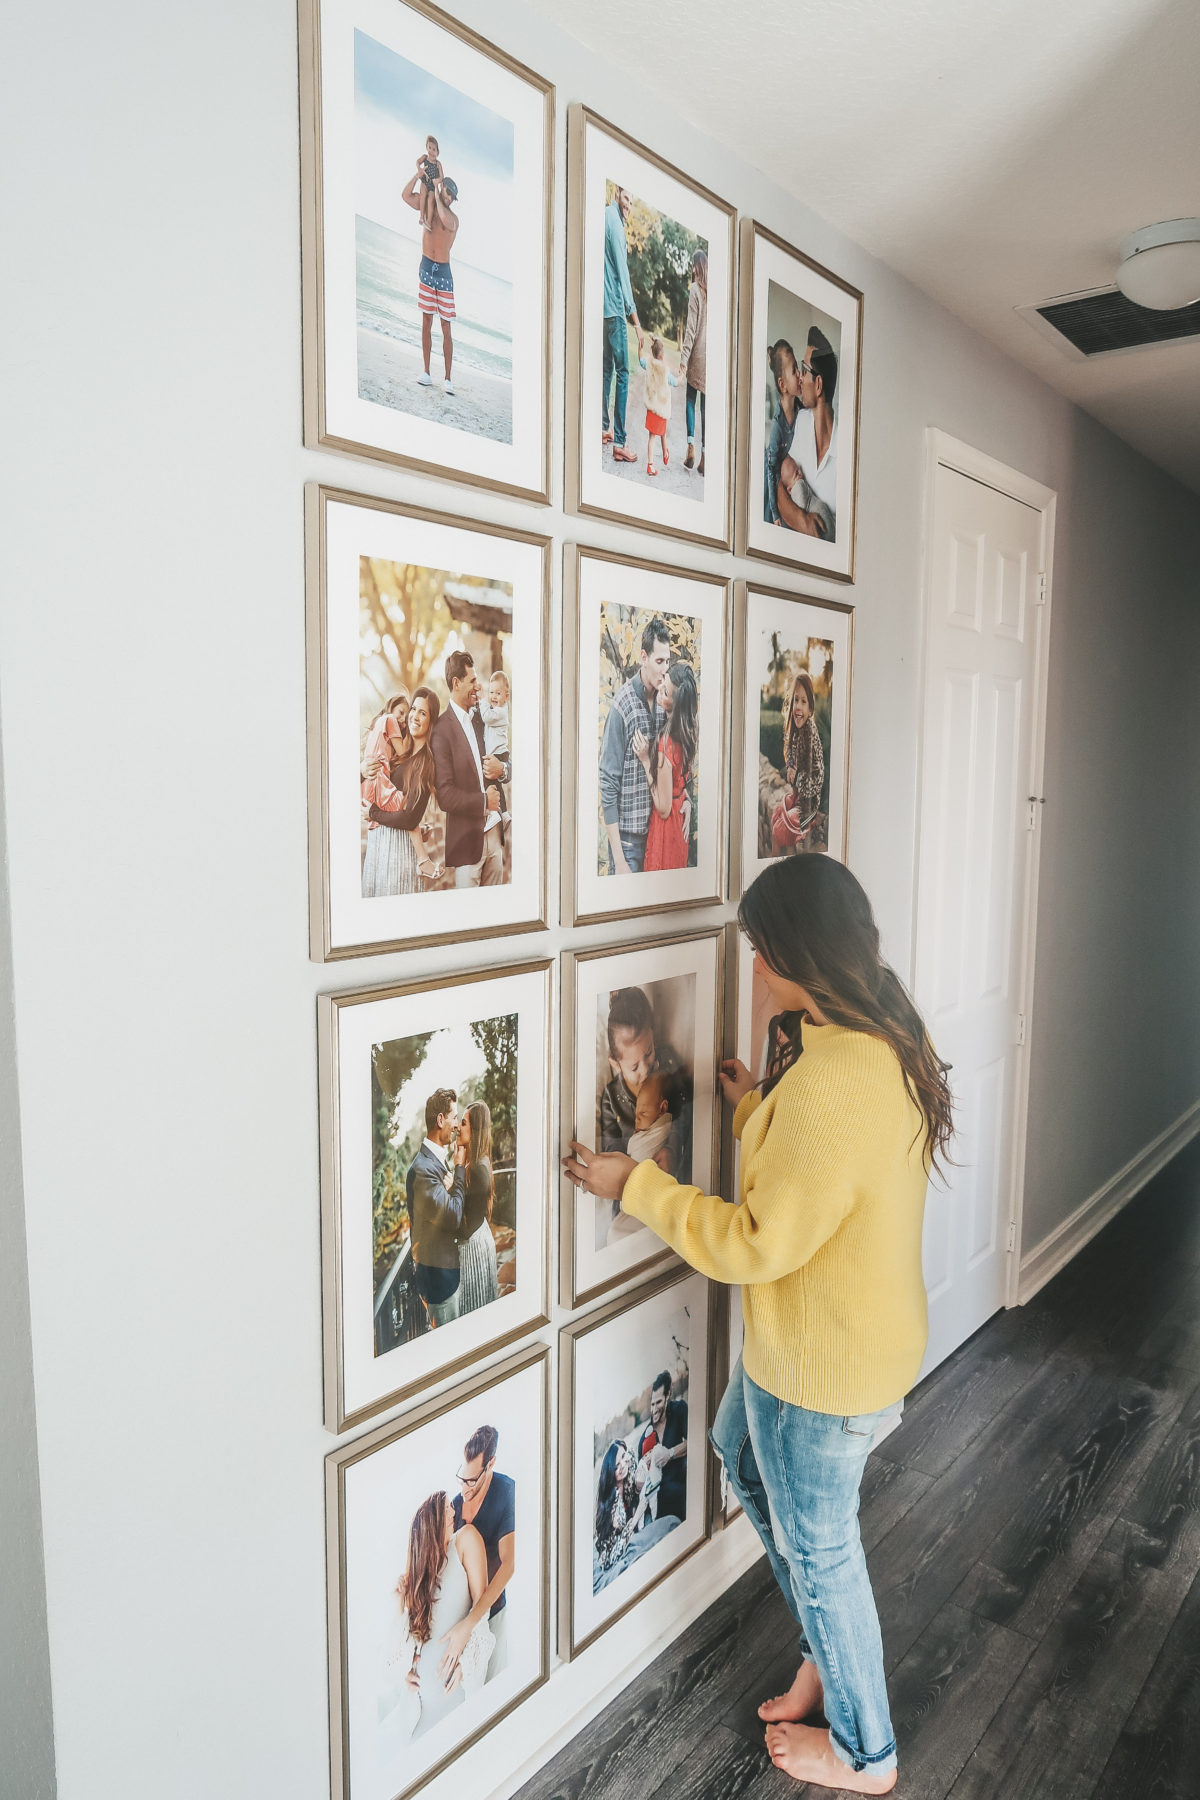
- Hang your photos
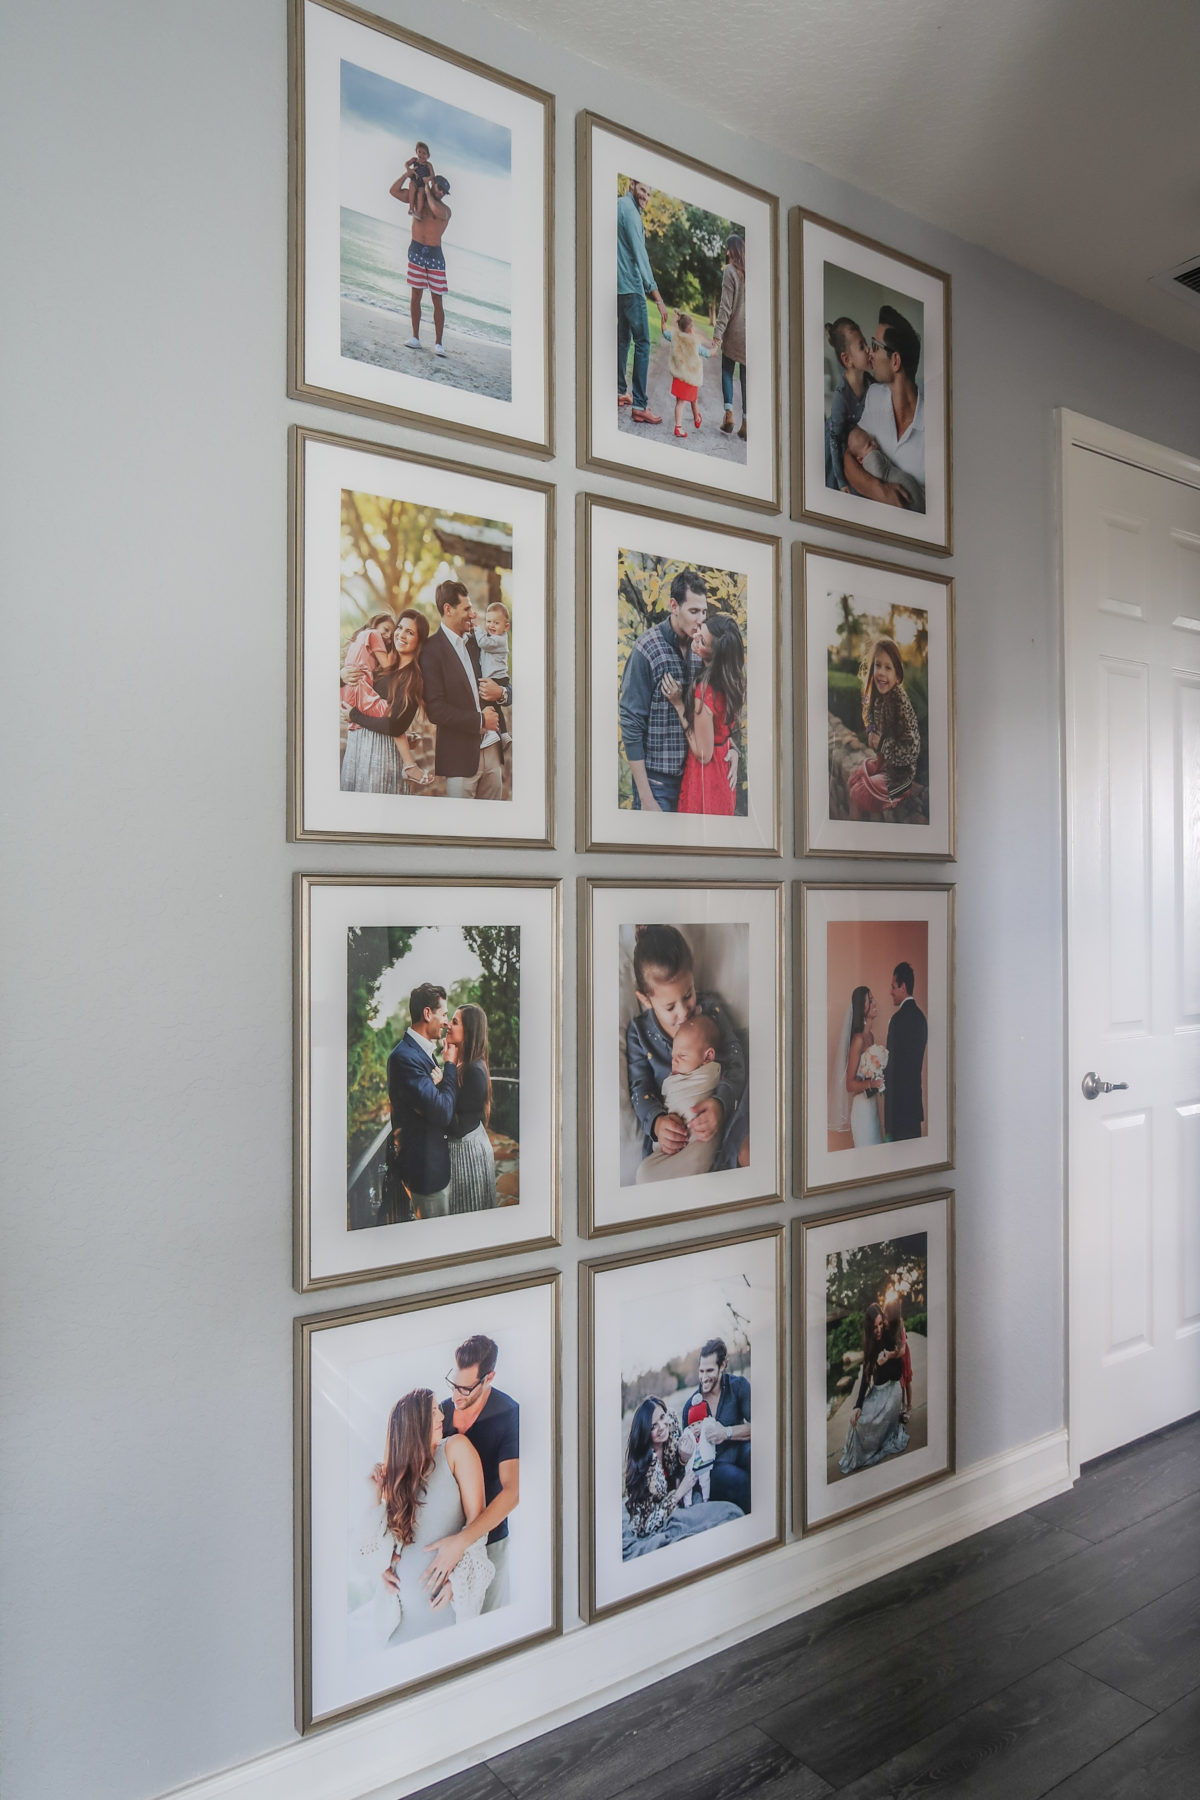
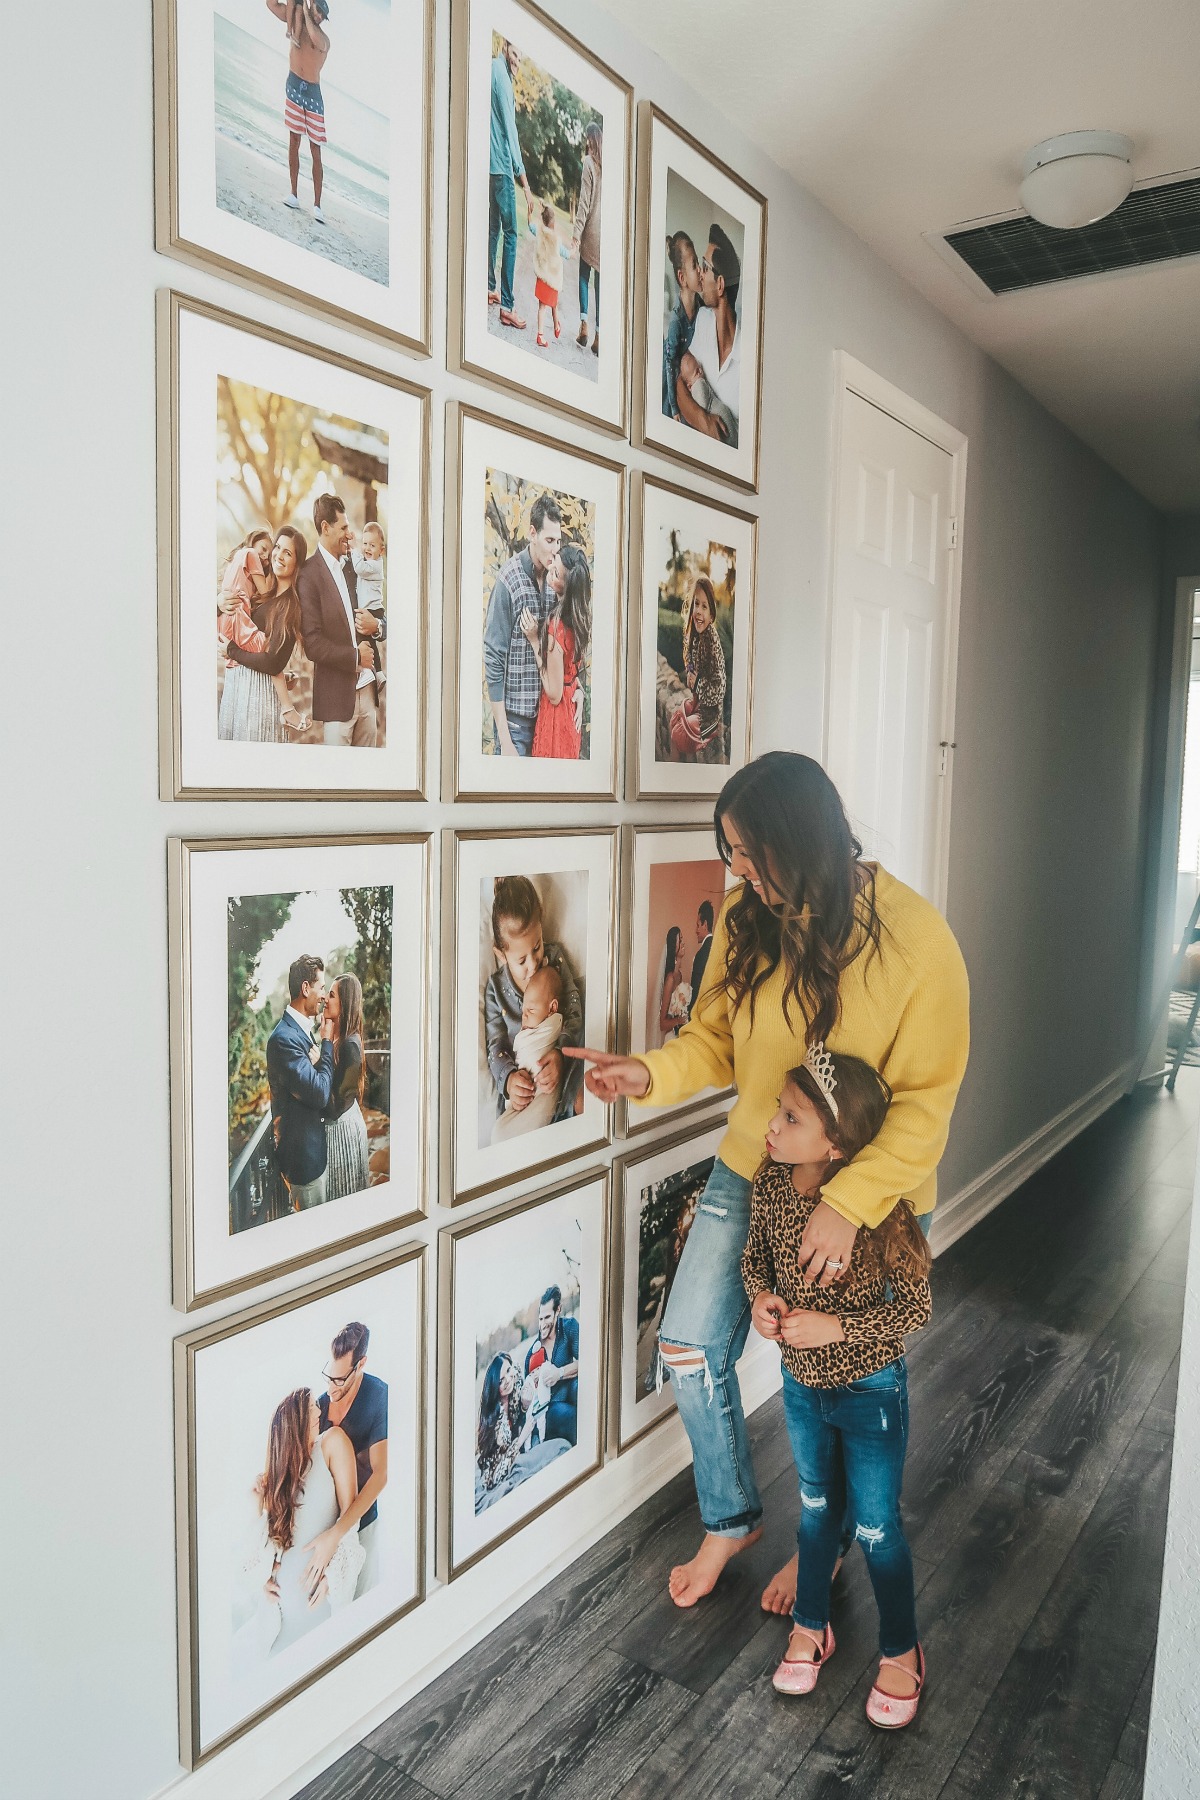
- Admire your gallery wall!
It really is that simple!
Gallery Wall Details…
For this exact gallery wall, the frame options are white or champagne silver [which we used]. There are 12 photos total, and the final display ends up being 58″ X 102.” The individual frames are 18″ X 24,” and the actual pictures are 11 ½” X 17 ½.”
Discount Code…
New Framebridge users can use the code: TAKE15 for 15% off your first order!
Final Thoughts…
So yes, I did ask Casey to hang his own Valentine’s Day gift [LOL], however, taking the initiative to get these framed photographs ordered truly made him so happy. Once the boxes started getting delivered [there were four packages total, delivered on two separate dates], he got super excited that I was finally allowing him to hang something on the wall! He was extra appreciative that we ordered from Framebridge, which made hanging the gallery wall quick and fool-proof! We couldn’t be more pleased!


