This post is in collaboration with PrimeStones and Vintage Tub. I received gifted product of my choice in exchange for promotion on my end. As always, all opinions are 100% my own!
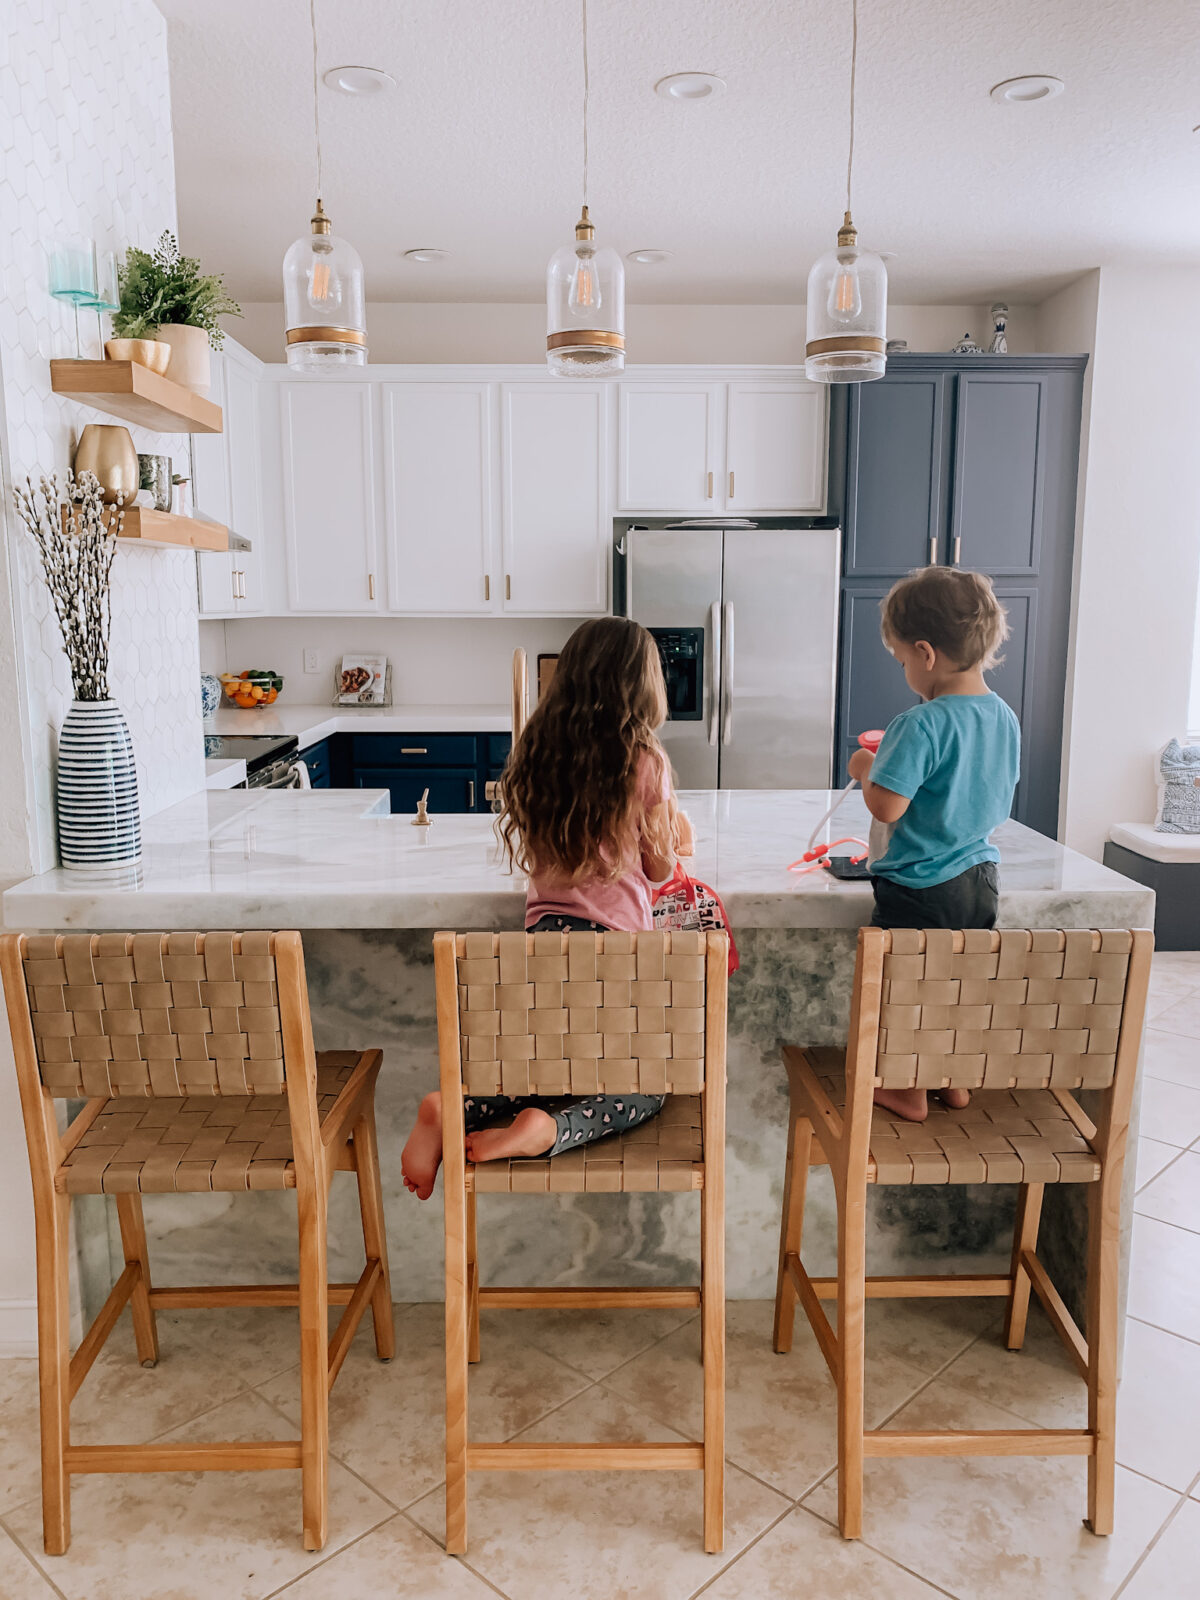
I’m beyond excited to FINALLY reveal our new kitchen!! We are about 90% finished, and I felt like it was complete enough to reveal to you. A new counter depth refrigerator and stove are still needed, and the hood has to be replaced [will elaborate on that in just a minute]. With that being said, I’m ecstatic with how it looks!
This transformation has been a labor of love, and a project I was oh so naive to as it was our first time dealing with contractors and third party people/companies on such a big job. I’m the kind of person who likes to focus on the good, but also the kind of person who likes to be straight up with people and prepare them for what can occur. So, allow me to highlight some of the highs and provide some helpful tips to prevent you from experiencing some of the same frustrations we experienced.
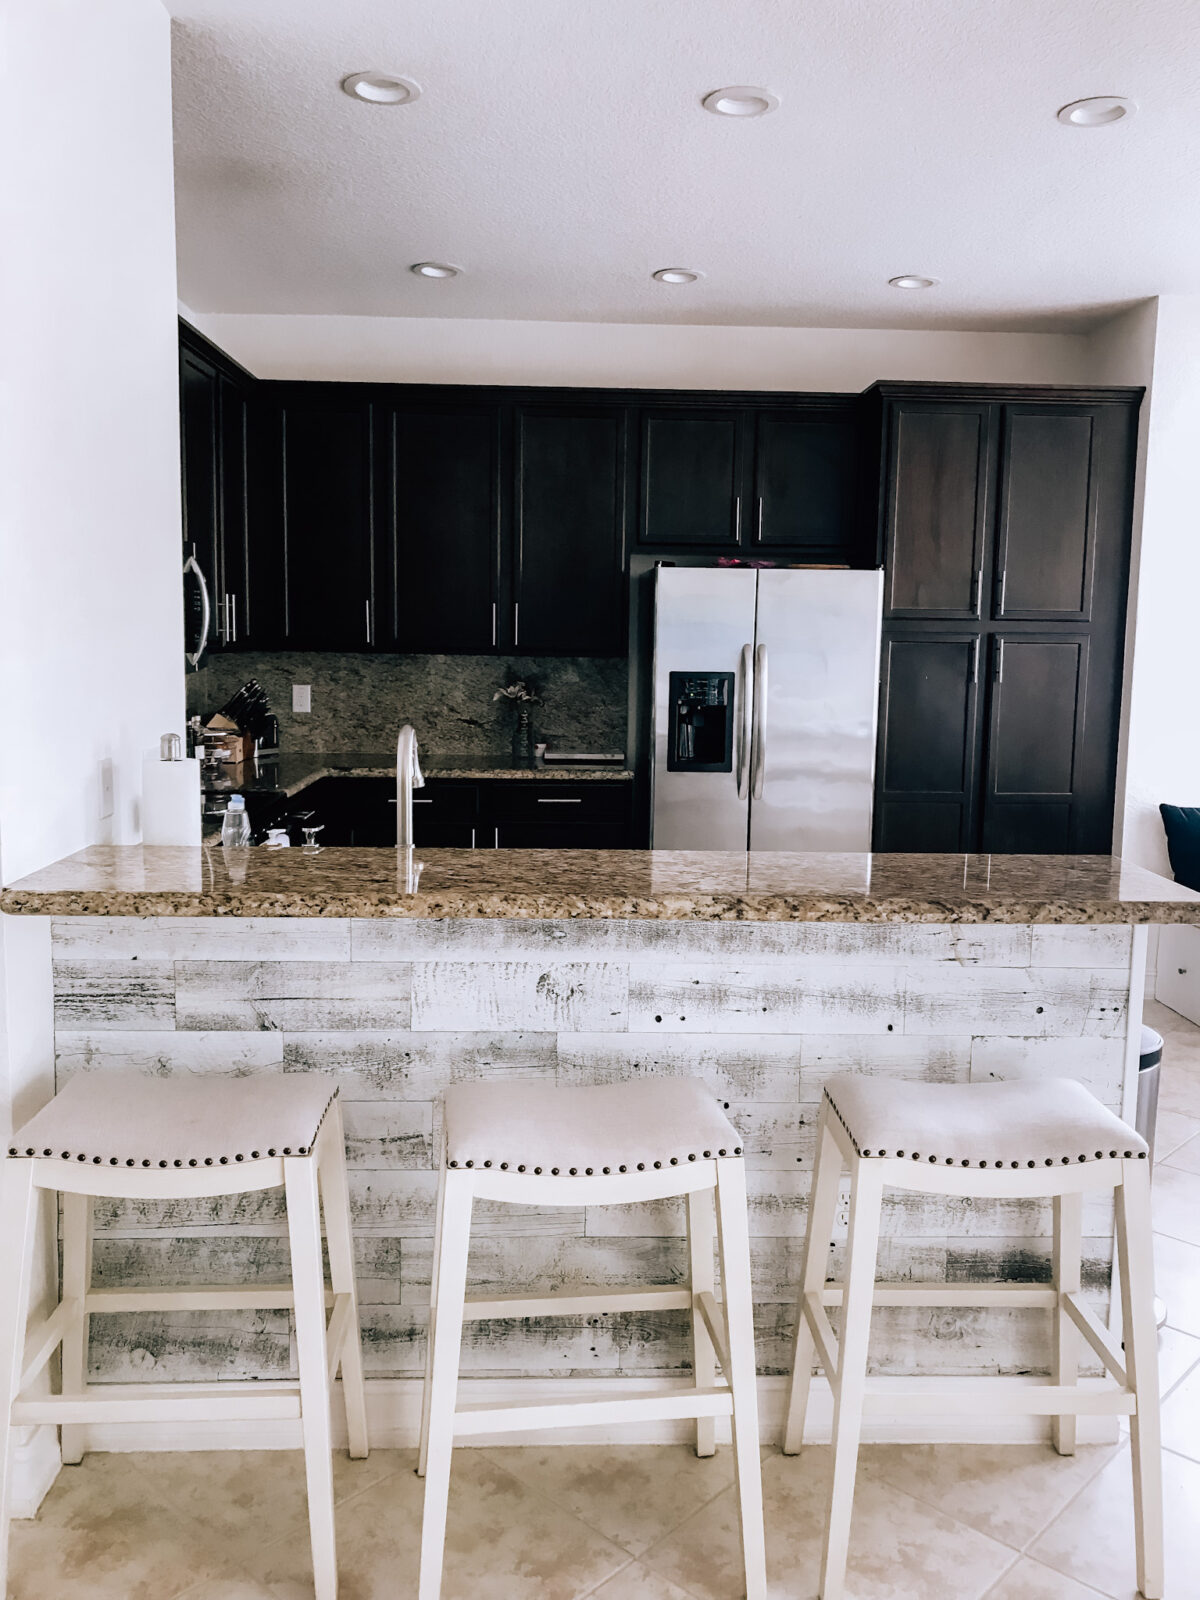
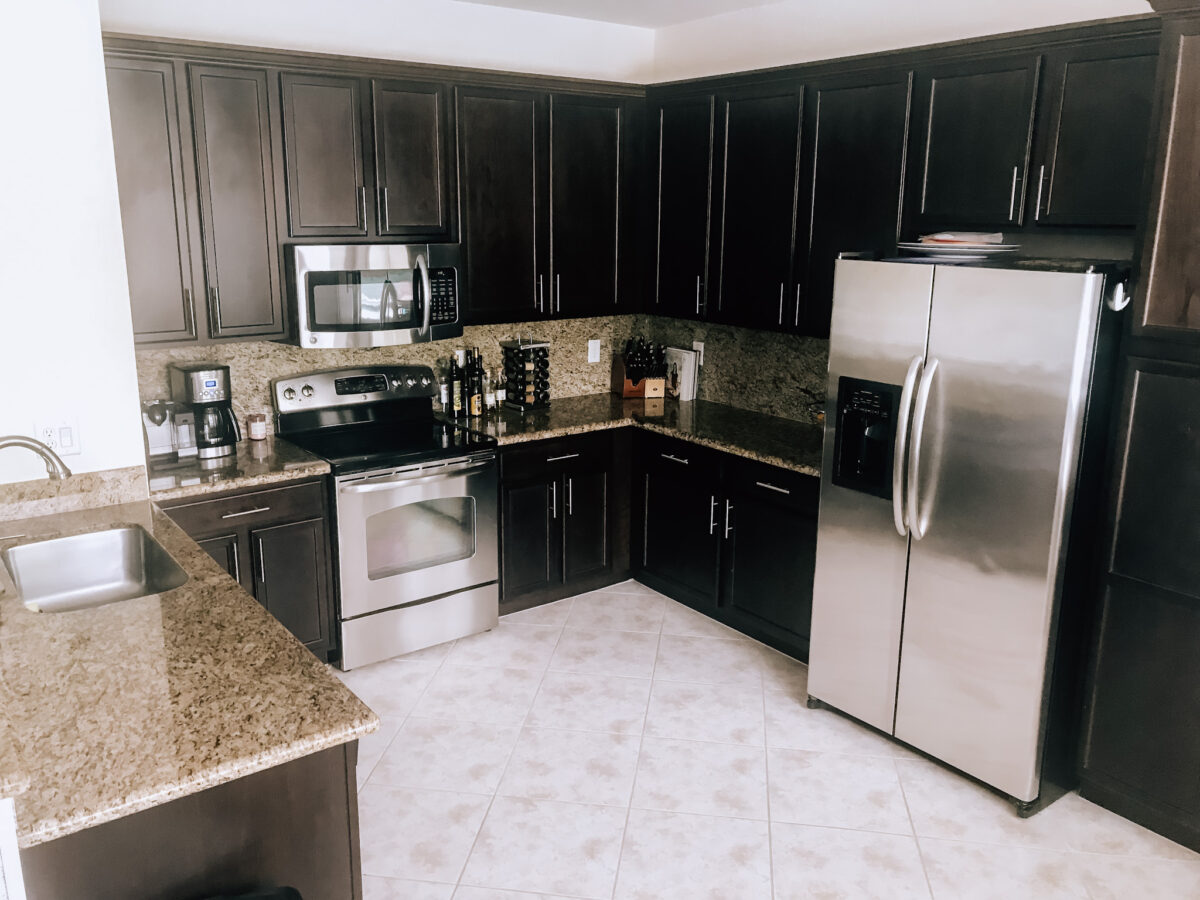
I do want to acknowledge that our original kitchen was in good shape. Honestly, it was a perfectly fine kitchen and didn’t need a makeover. It was more of a we want situation. Or rather an I want situation, LOL! We decided to update it to something that better suited our personal style, and something that flowed better with the rest of the house.
The Before…
And here is what it looks like now…
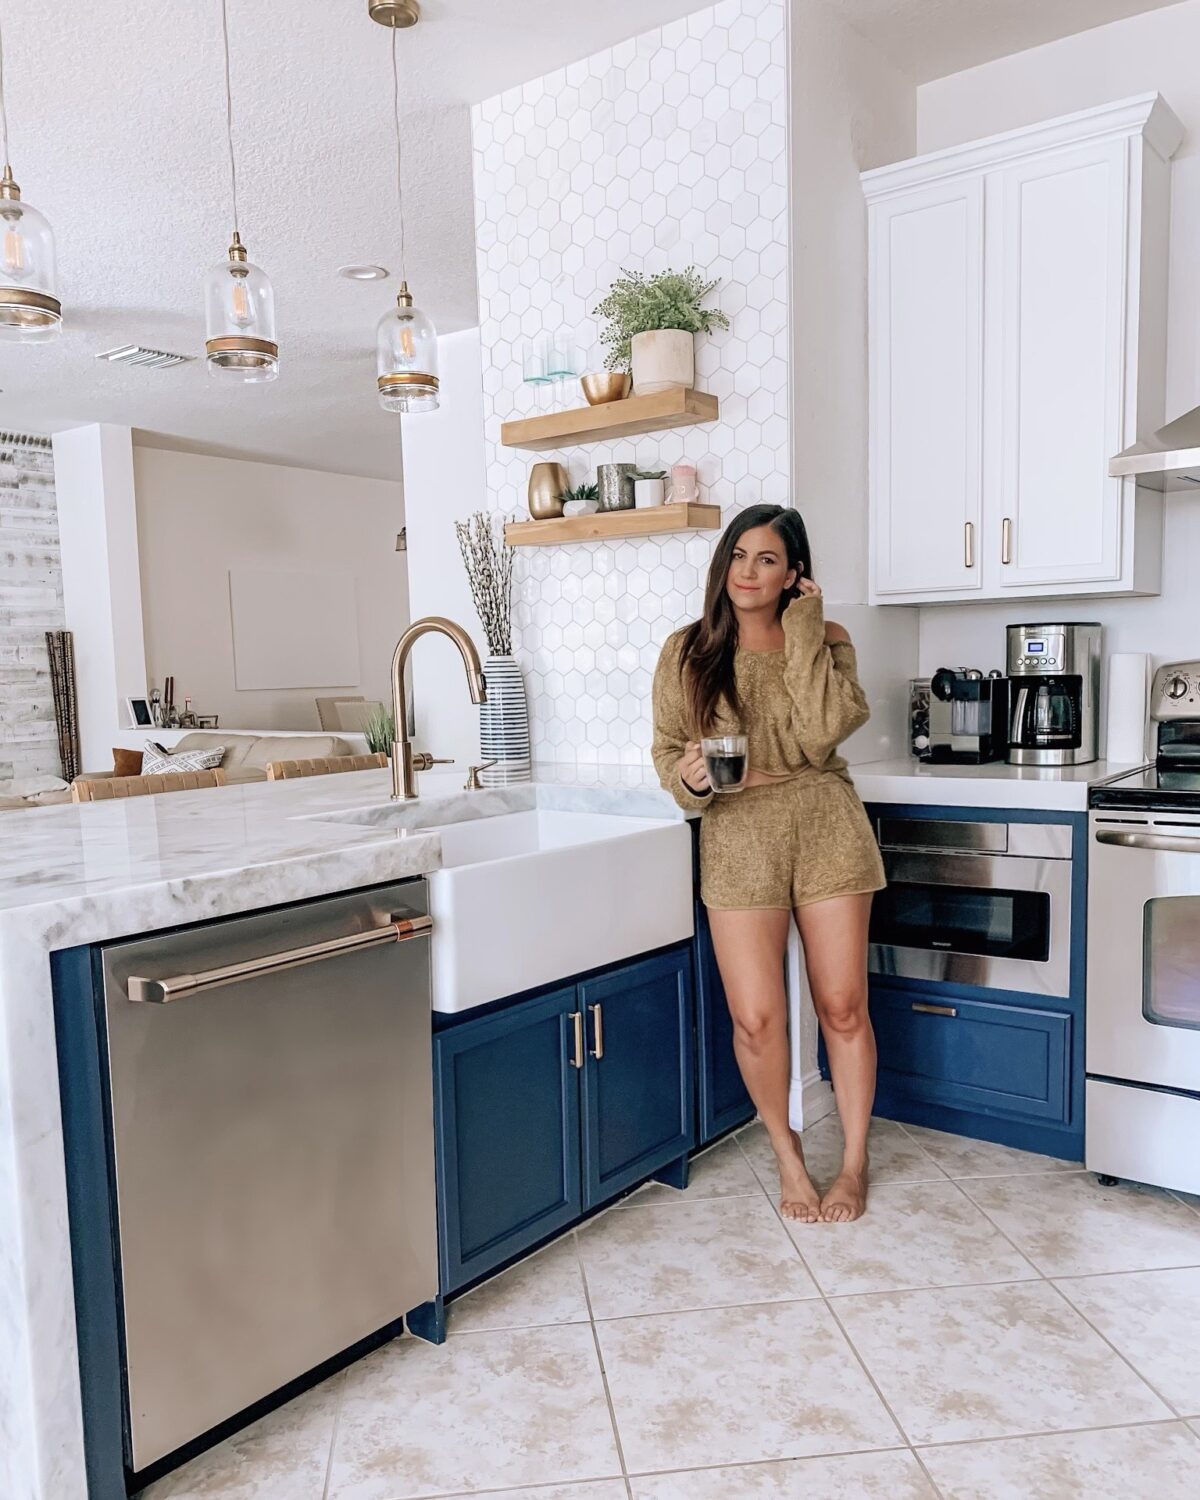
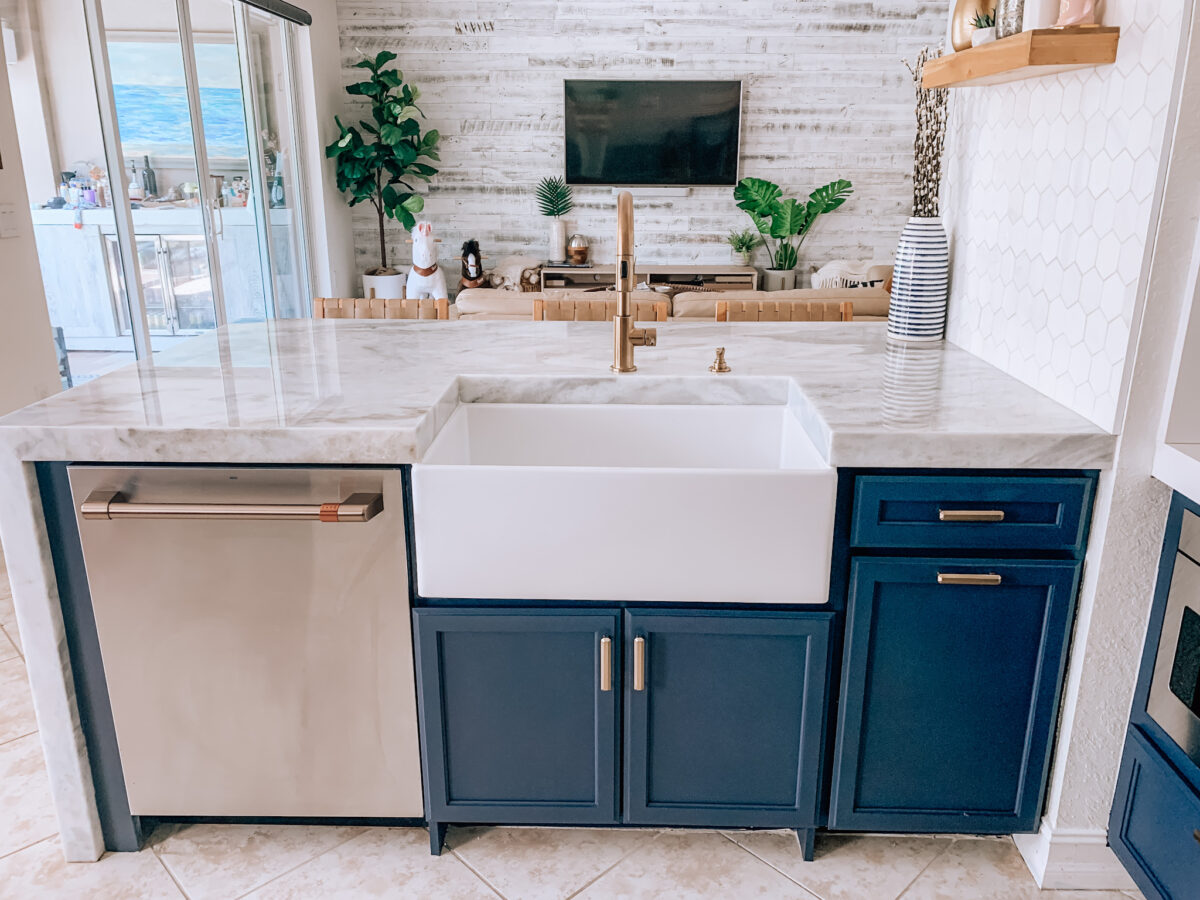
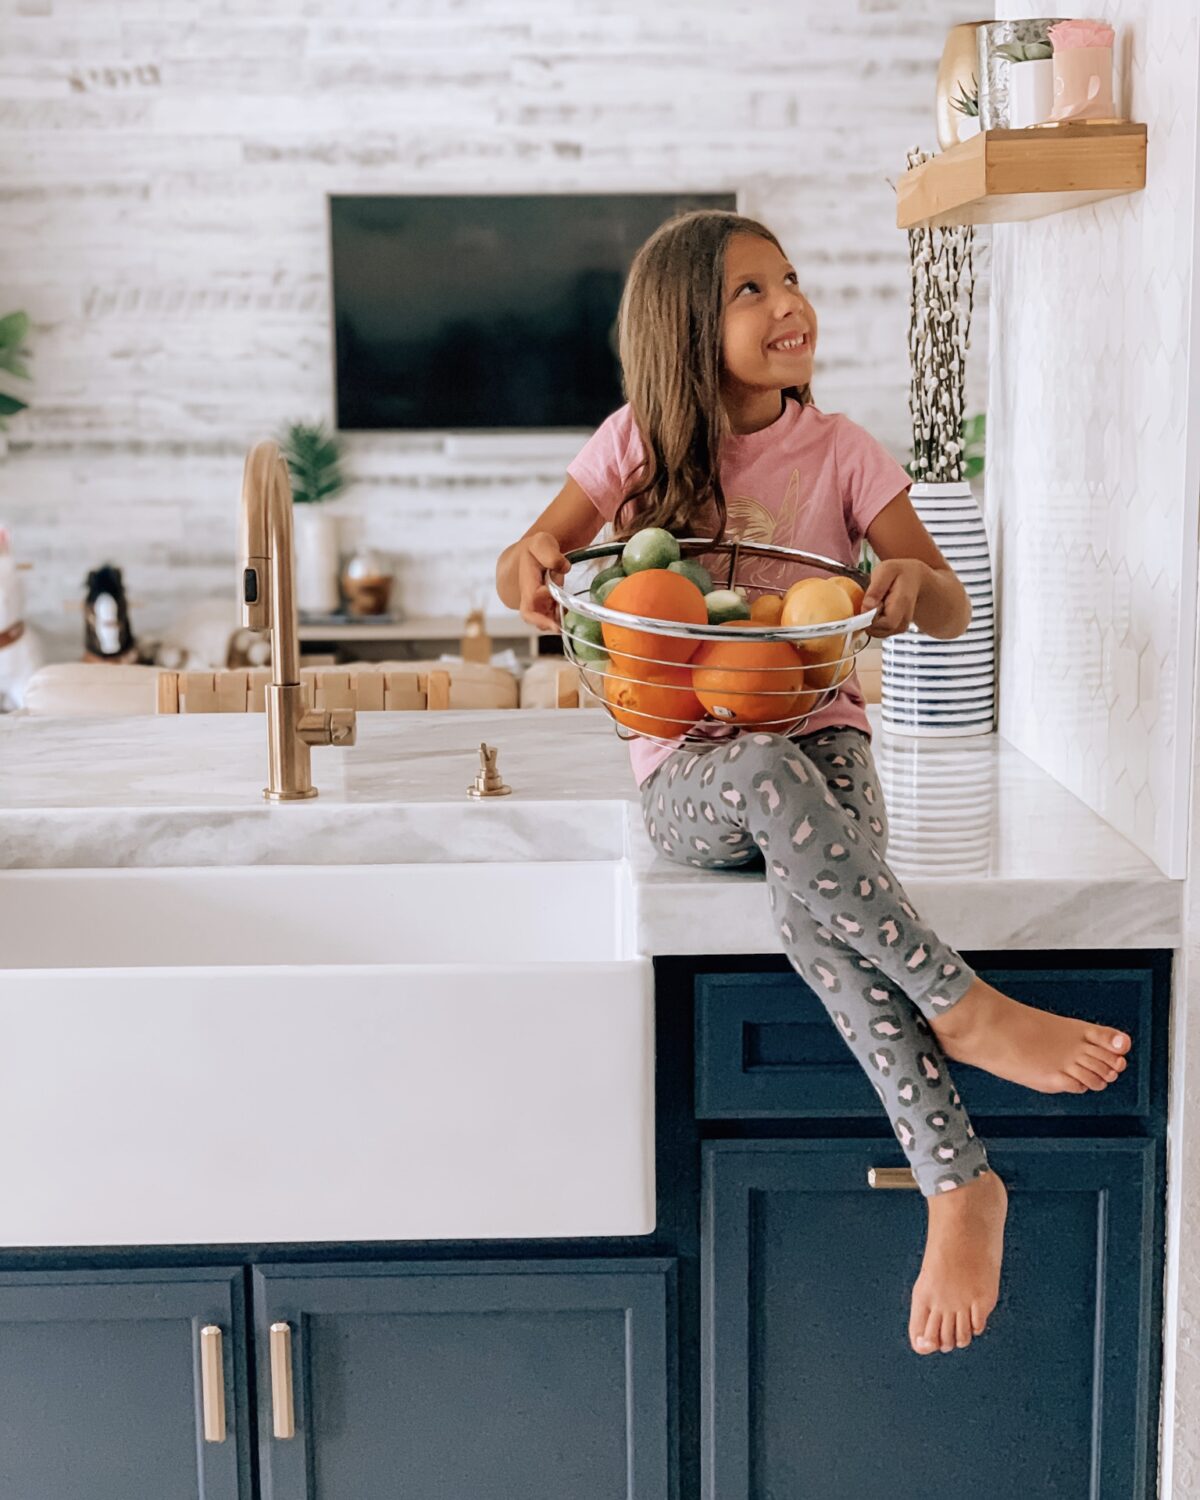
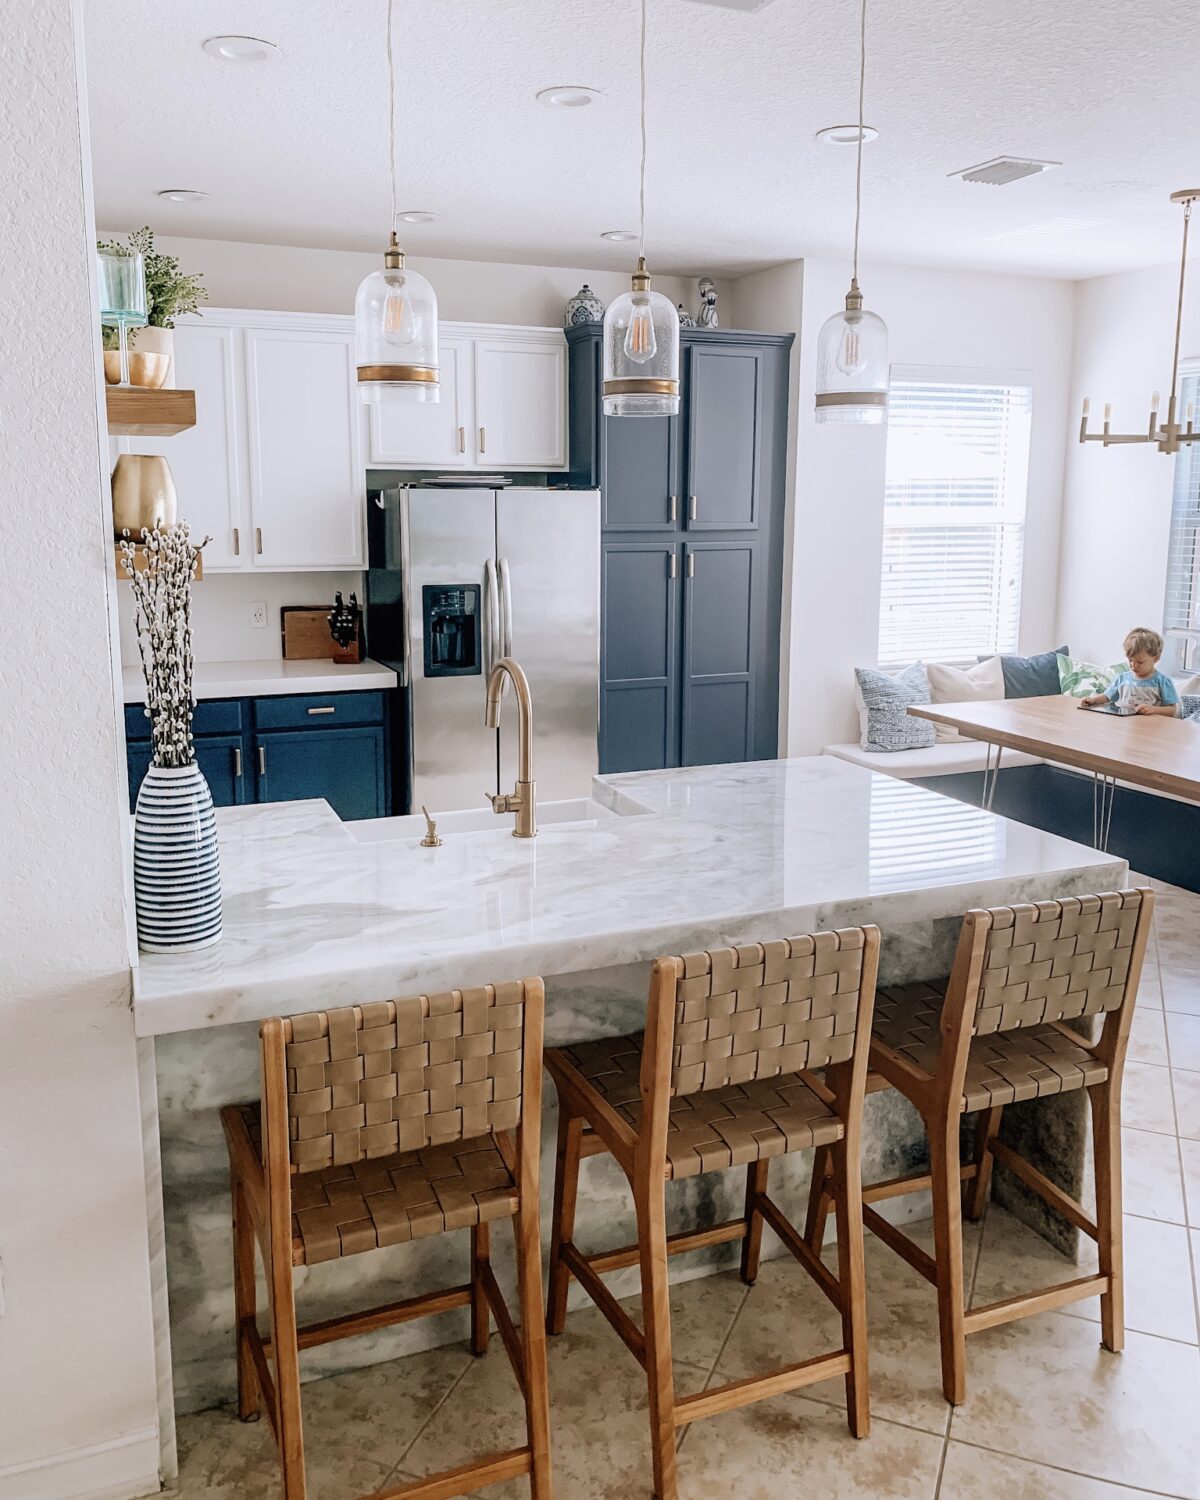
Lets go over the positives and highlight my favorite kitchen features…
Selecting our countertops was the most fun and exciting part! About a year ago, I stumbled across PrimeStones on Instagram. I was instantly drawn to their account and found myself nonstop looking and reading about all different types of stone. There’s marble and quartz, quartzite and granite, porcelain and dolomite. Each one containing unique characteristics.
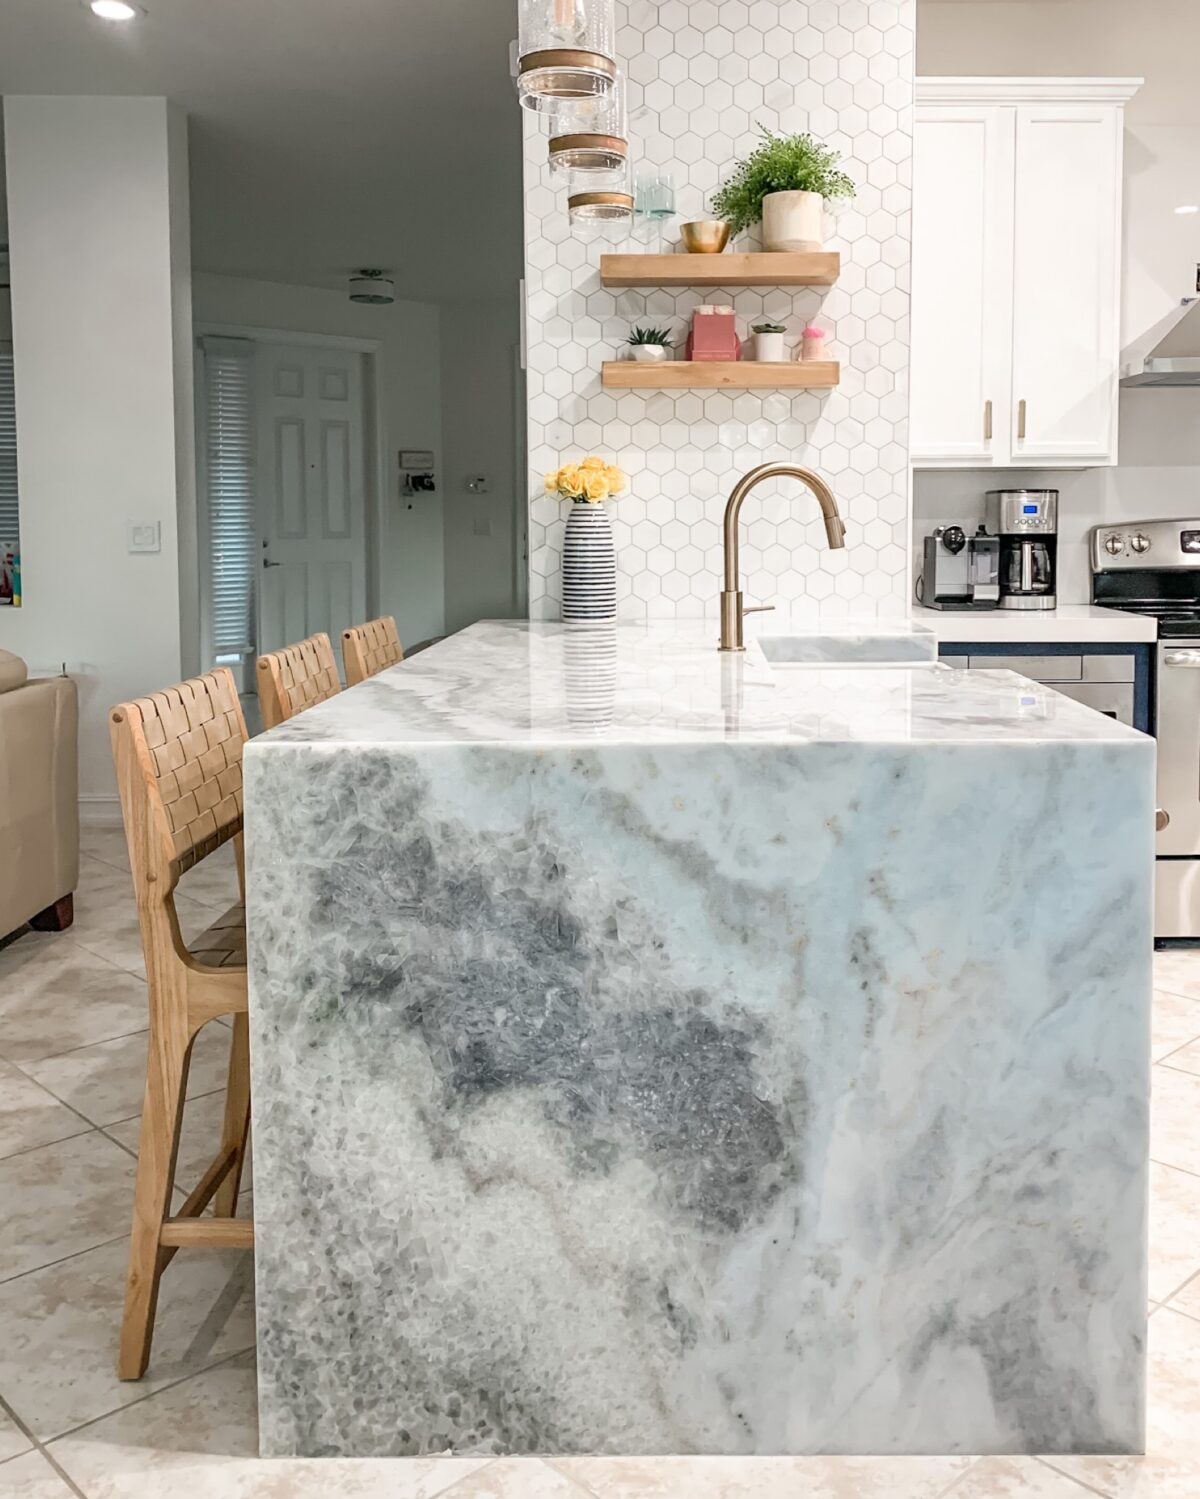
So, I reached out to PrimeStones and was invited to visit their showroom/slab yard in Miami. I was blown away! Seriously, I could have stayed there for hours walking up and down each row. It was impossible to choose a favorite, and I found myself gravitating to so many stones that were not originally what I thought I would want in a kitchen. I kept going back to a marble stone called Blue Crystal.
Casey [my husband] wasn’t 100% sold on the idea of renovating our kitchen, but agreed to join me at PrimeStone’s West Palm Beach location to check it all out. It didn’t take long for him too to fall in love like I did. Ultimately, like the good husband he is, he agreed to move forward with our new kitchen plans and allowed me to select the final stone decision.
The Blue Crystal waterfall island [although technically a peninsula] is such a showstopper! Pictures and video don’t do it justice. Every single person who has come into our home since it has been installed has been like, “Wow…. this is gorgeous!” And for the record, I know what some of you are thinking… you shouldn’t put marble in the kitchen. Yes, marble is a porous and softer stone, creating more risk for stains and etching if not cared for properly. With that being said, there really just wasn’t any other type of stone that replicated this one. We sealed it, and make a little effort to take care of it. While it’s only been seven months, we haven’t had any issues at all. In fact, we’re so happy with it that we decided to update our master bathroom and use the same exact stone for those countertops [stay tuned for that project]!! We’re prepared to embrace its imperfections, character, and beauty.
For the back countertops and backsplash, we used a solid white, premium Quartz, also from Primestones. We really wanted the island to be the focal point, so kept everything else clean and simple.
Again, this was the highlight of our project. Primestones truly made the entire experience so exciting! Every single person was patient, informative, professional, and passionate about what they do! I learned so much from them! Special shout outs to Adham, Alla, and May.
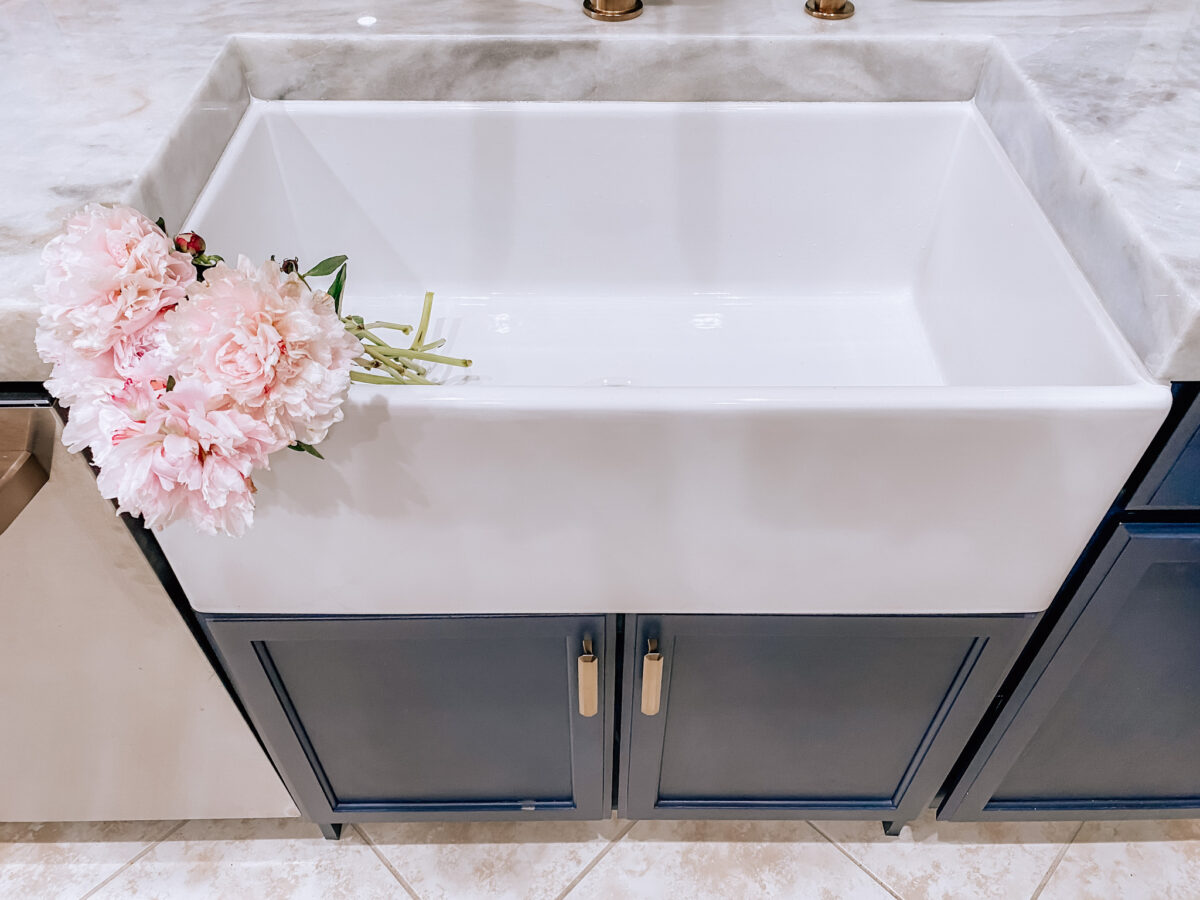
After new countertops, a farmhouse sink was next on my list of things desired in a new kitchen. Like Primestones, I stumbled across Vintage Tub & Bath on Instagram. We decided on this farmhouse sink in white. We chose the plain side verse fluted apron, as we felt it went better with our design.
I LOVE this sink! It’s the perfect size! Because it’s deep, you can’t really see dirty dishes when standing at the opposite end of the island, or other parts of the kitchen. You basically have to stand over it to see what’s inside. As mentioned before, we wanted our peninsula to be the focal point, and I truly think the addition of this farmhouse sink contributed to that!
Vintage Tub & Bath has a HUGE selection of sinks, faucets, tubs, vanities, and other bathroom and kitchen accessories. Definitely check them out!!
Interested in seeing the process?! Check out the video below!!
And here are a few tips to prevent some of the frustrations we experienced…
- Be realistic with your timeline! Not all contractors are created equal, and from what I understand, it’s not uncommon that a lot of them agree to taking on too many projects at one time. There were many days wasted sitting around the house for our contractor to not show up. The communication was terrible. I certainly don’t want to categorize all contractors into one group. I’m sure there are plenty who are responsible and show up when they say they’re going to. BUT, I heard from a lot of my readers that they experienced the same “flakiness” when it came to their home renovations. So, just be prepared! [And for the record, our contractor did come recommended from someone we know personally, so he wasn’t a random guy we found on the internet!]
- Open packages immediately! Our range hood was ordered and delivered months before we actually had the chance to install it. I had glanced in the box and everything seemed fine. In reality, there is an entire section that is dented, and by the time we saw it, the window to return or exchange it expired. Lesson learned!
- Paint looks different in each room! Sample it first! This was something that we did… sample paint for the cabinets. It wasn’t a frustration or mess up on our end, but I figured I’d include it on this list because it was one of the more challenging decisions we had to make. It also can get quite expensive sampling so many different colors!
- Measure the space for light fixtures before ordering! Hello Captain Obvious!! I recently read a tip to blow up balloons and hang them to determine the ideal size pendant lights for your space. Thought this was genius! Whether it’s a pendant light or chandelier, just do yourself a favor and measure the space first (both width and length)! The initial pendants I picked out ended up being way too massive for the size peninsula we have. I’m thrilled with the ones we ended up with!
- Budget properly! Things add up quickly! It’s common to focus on the big ticket items, but even the little things add up! Create a list of all materials, supplies, appliances needed [even down to tile grout], plus any and all anticipated labor costs.
- Breathe! While you may experience some hiccups and unexpected delays, just know at the end of this you are getting a brand new space. In the end, it’ll all be worth it!
Hope you loved this transformation!


