Hi friends! Happy Friday! Cheers to us making it through the week!! Today’s an exciting post for me. Since the very start of my blog, I’ve received a ton of questions and inquiries regarding my hair…the tools I use, products I love, and how I go about styling it. Today I get to show you two of the ways I do my hair on a regular basis.
I’d like to point out that my hair is far from pretty. The only time I have actually loved my mane was when I was pregnant with Harley. It was long, thick, and the perfect amount of shiny. As you’ll see in today’s post, it looks nothing like I just described. I’m way overdue for a haircut. The ends are dry and look ratty. I’ve been away from my hairstylist [who conveniently happens to be my sister] for weeks now, so hopefully you can give me a free pass!
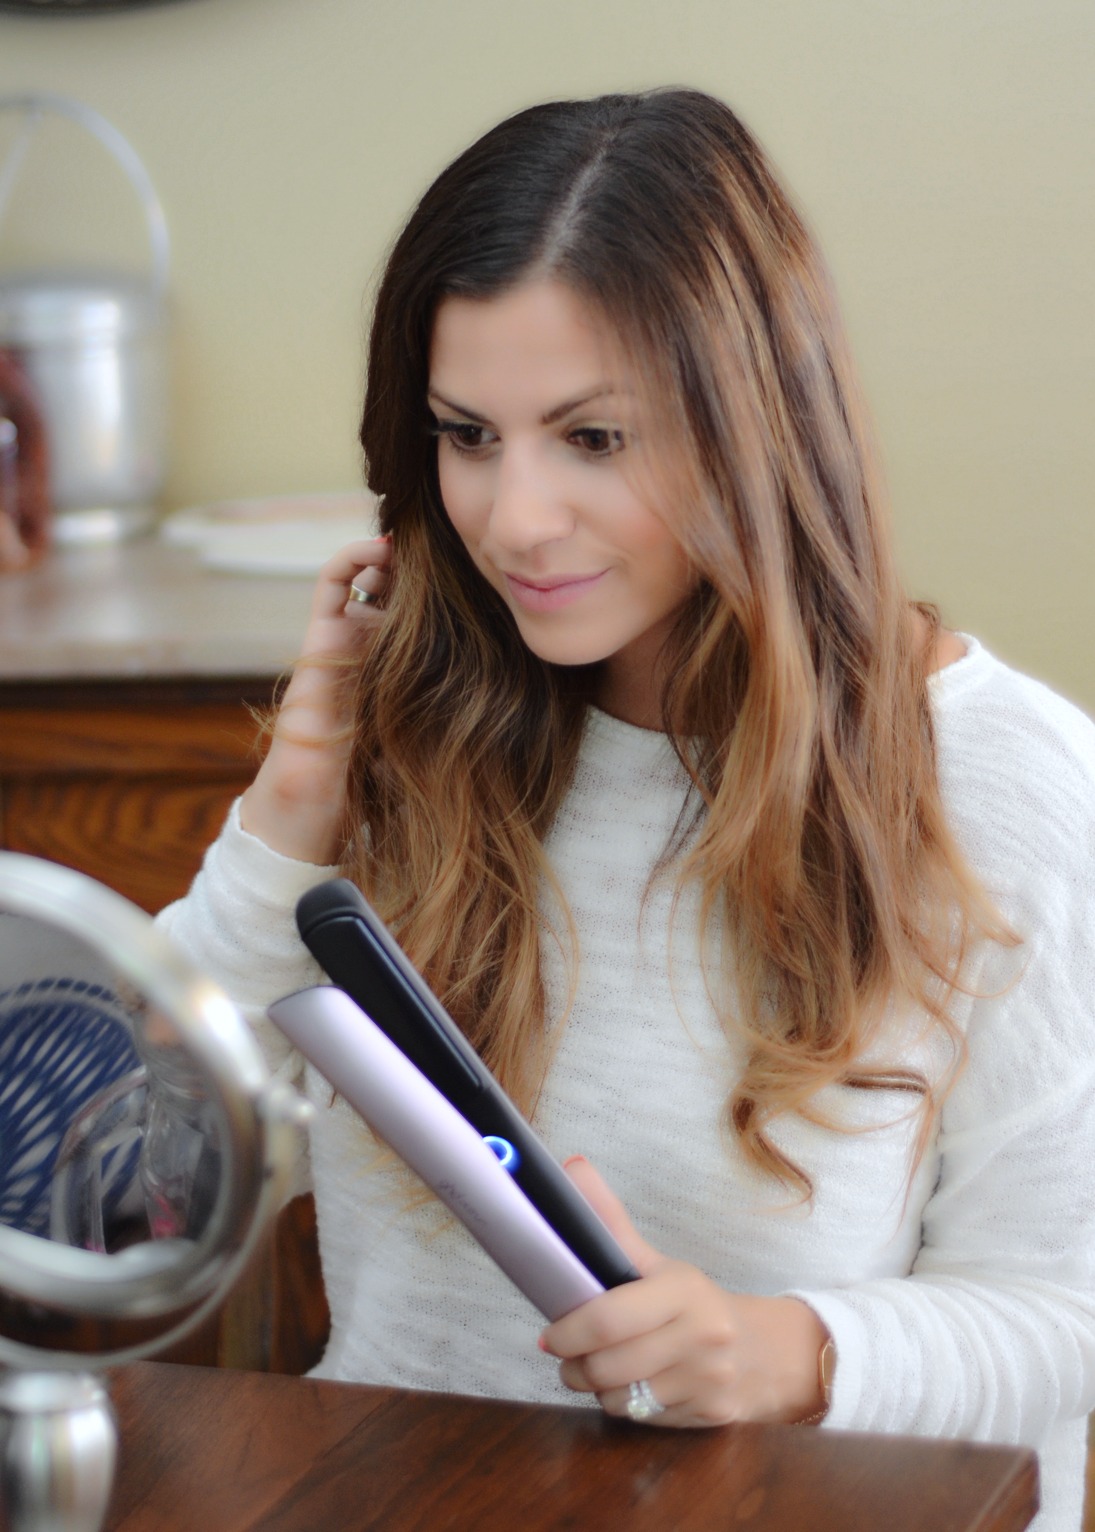
All I can say is, I am so thankful to have been born in the generation of hot tools and hair stylers because I’m pretty certain I’d be the ugliest human being if I didn’t have access to them! Today I’m showing you how to use the ghd platinum styler to get your hair looking sleek and straight as well as achieve that natural wavy hair.
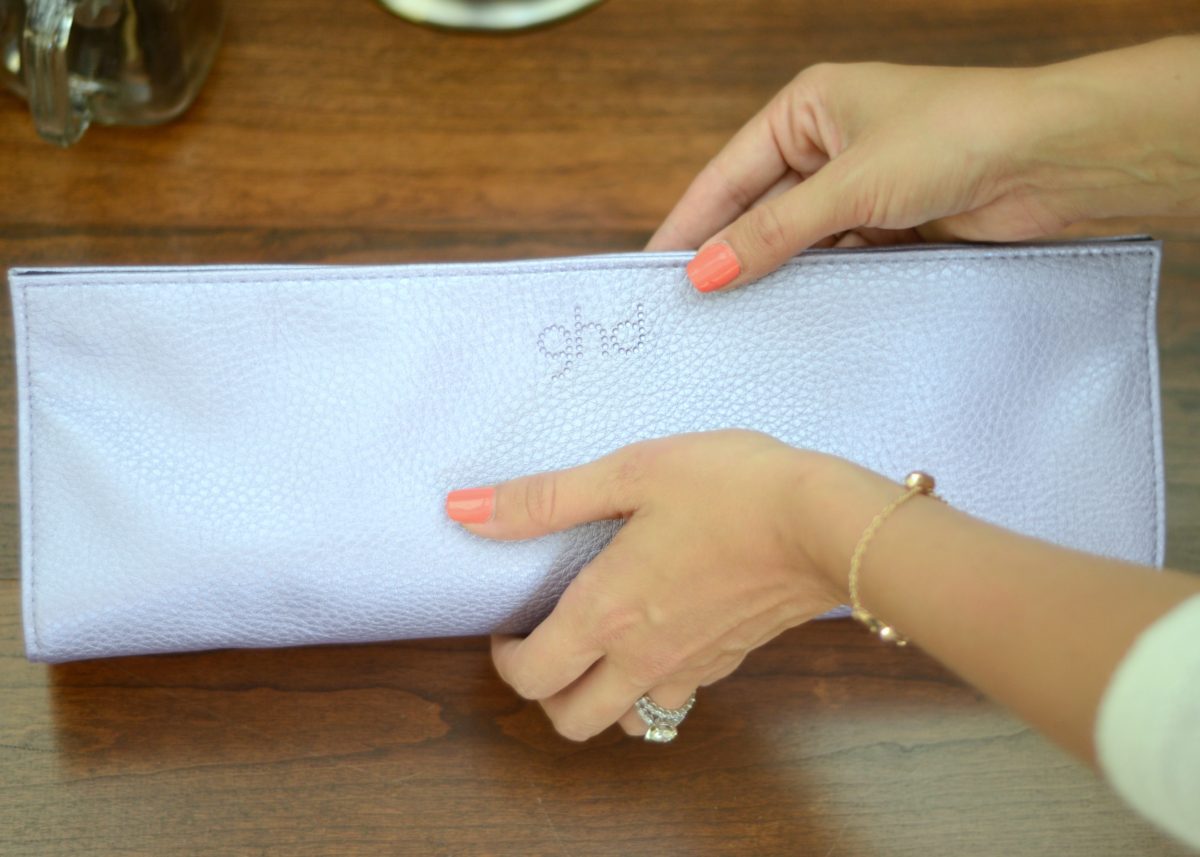
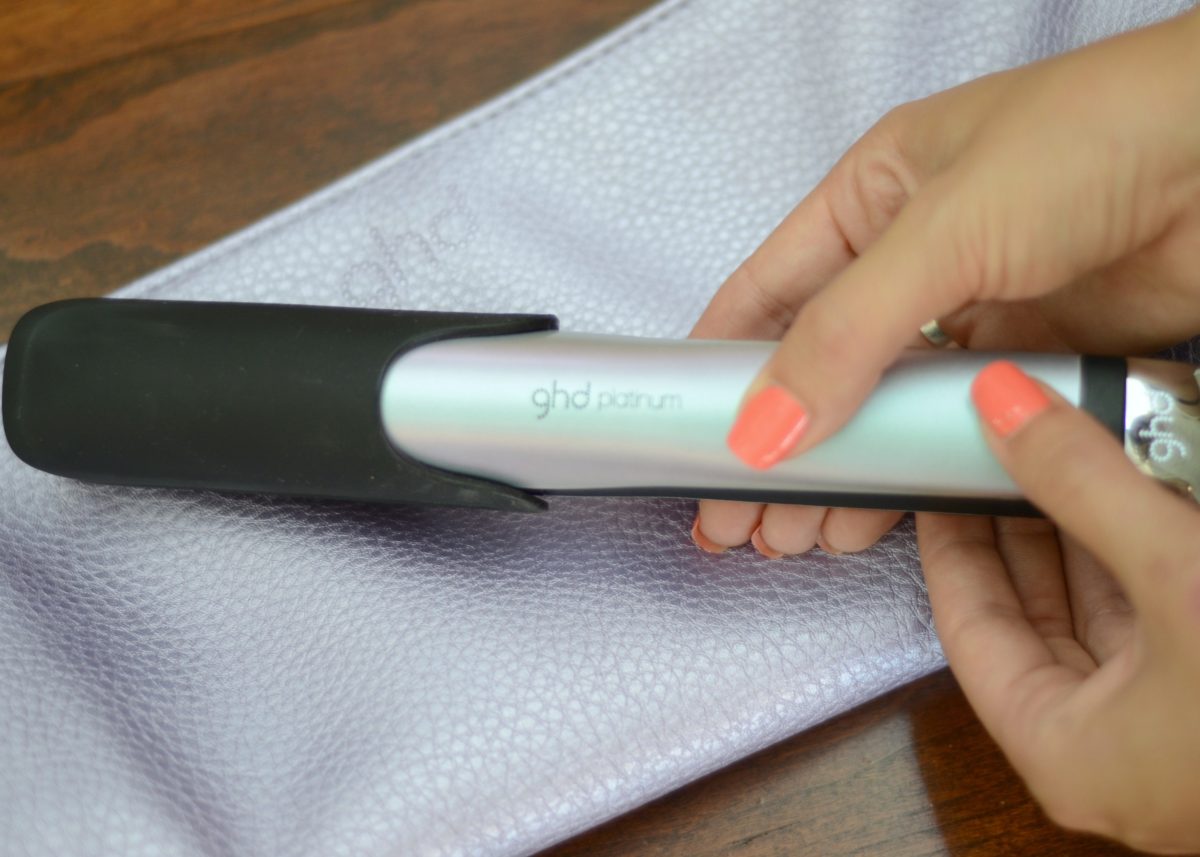
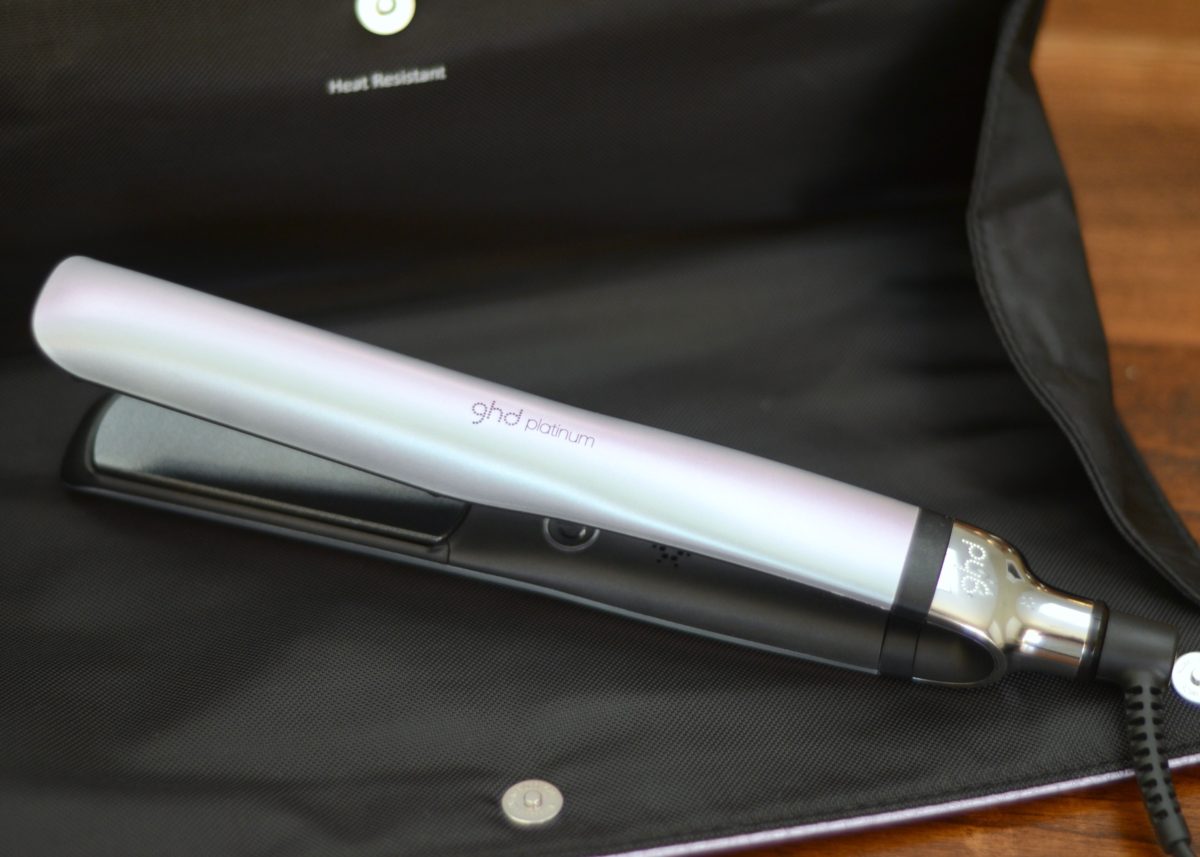
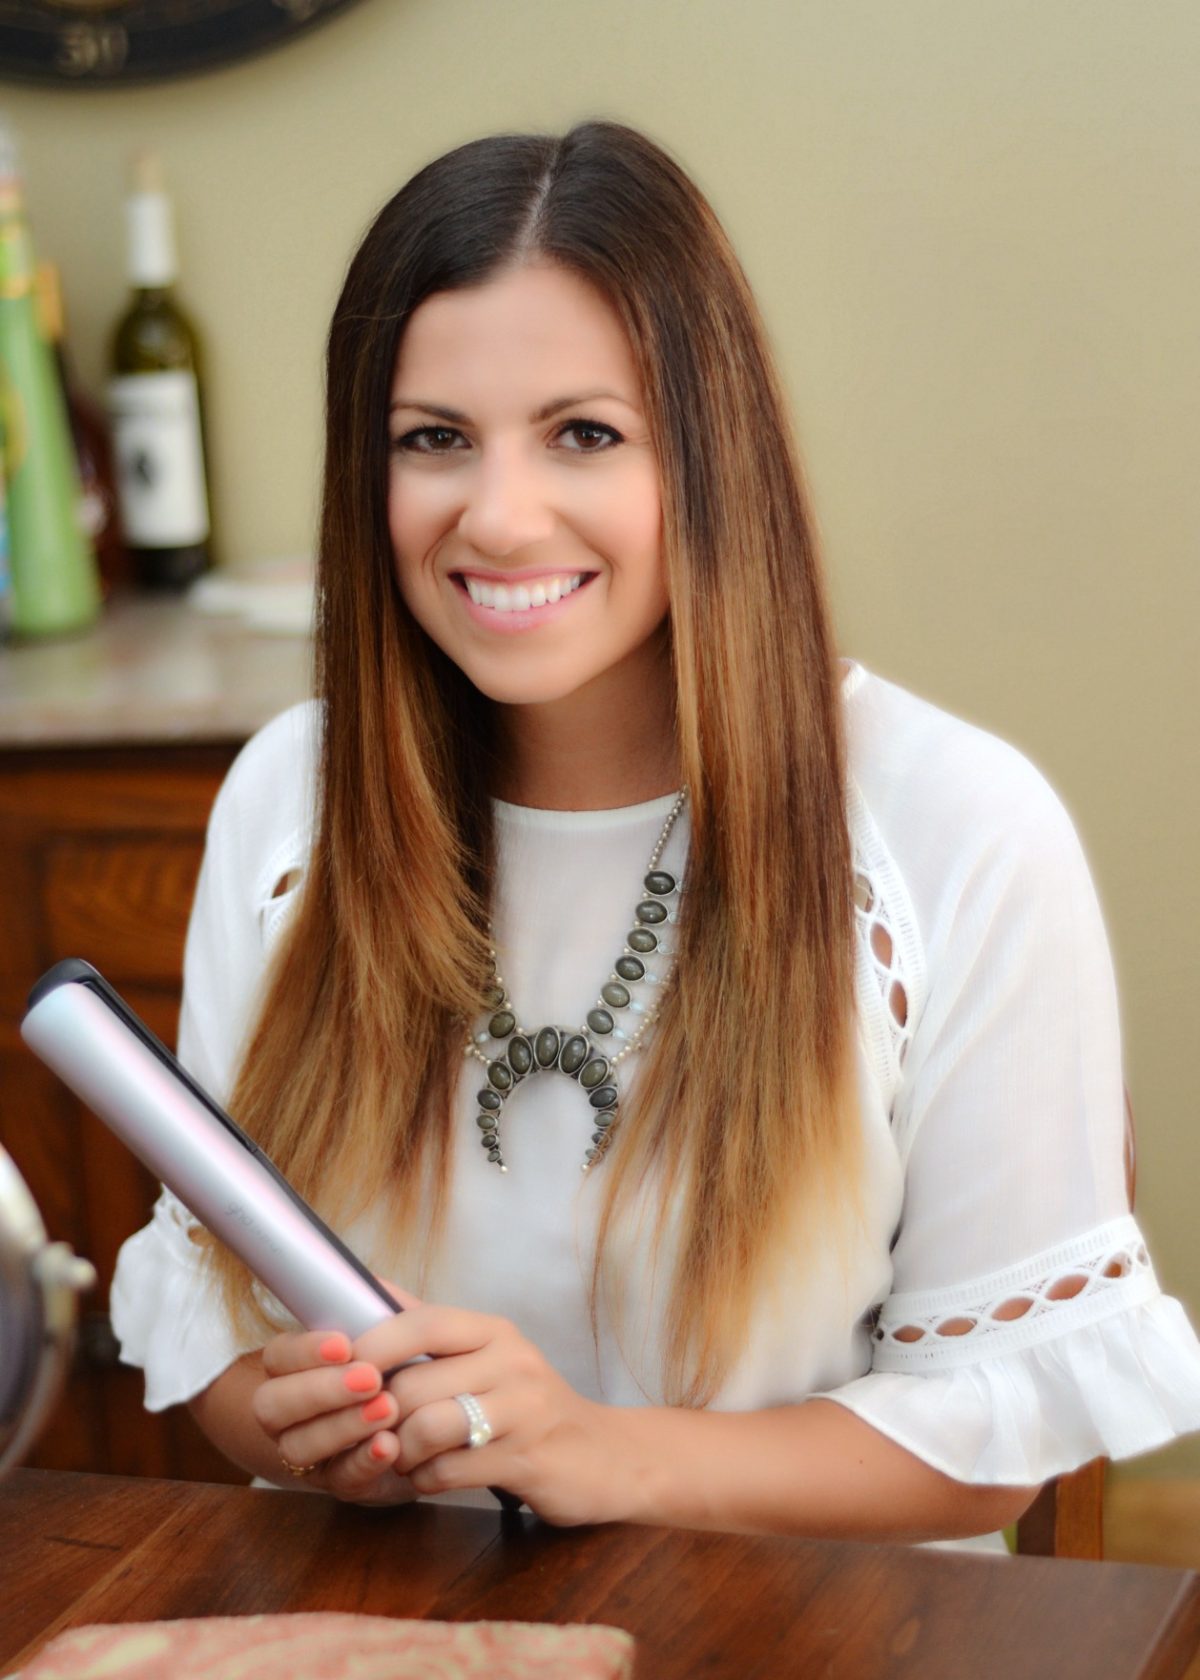
The ghd platinum styler comes in four colors: black, white, hot pink, and a limited edition color called serene pearl that is featured in today’s post. It comes with a matching heat-resistant bag and silicone cover, which is awesome for traveling! There’s only one button on the entire tool that is used for turning on and off. I was a bit concerned that I couldn’t control the temperature, but it’s totally fine. Within seconds, the styler heats up to 365F degrees and I can’t imagine needing it to be any hotter or cooler than that.
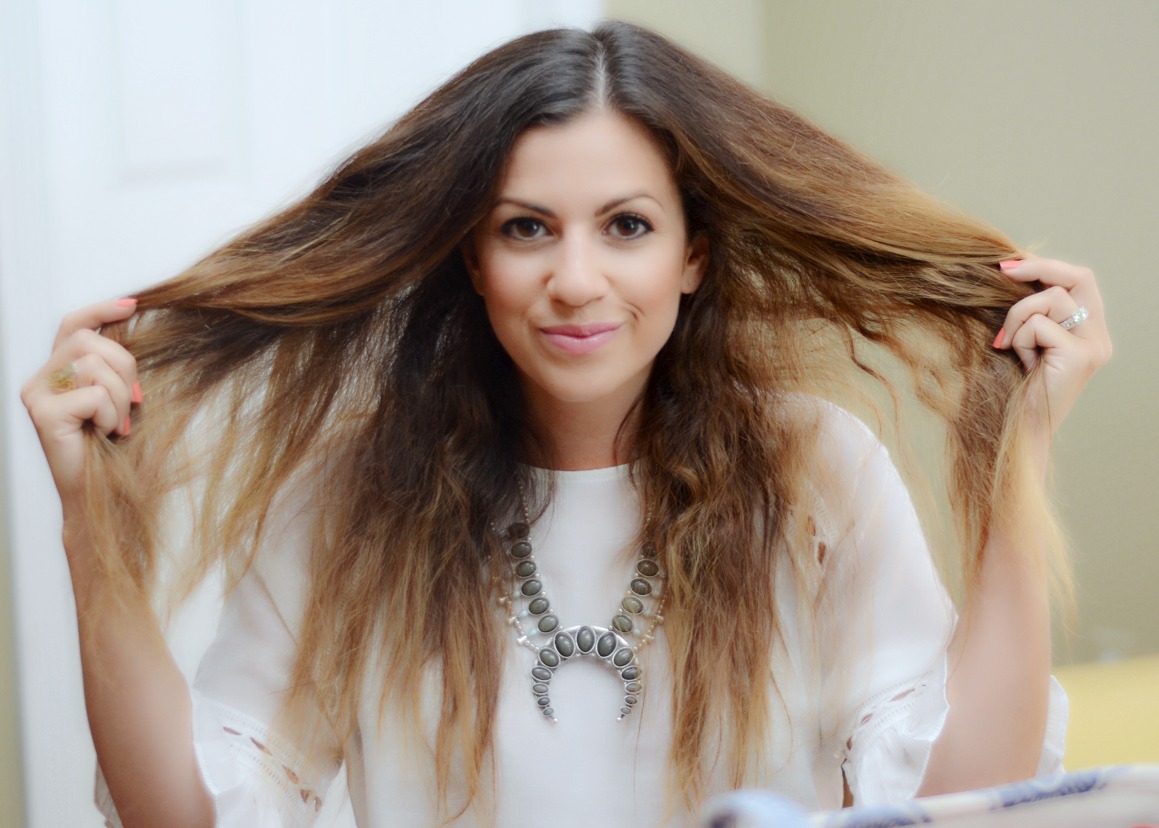
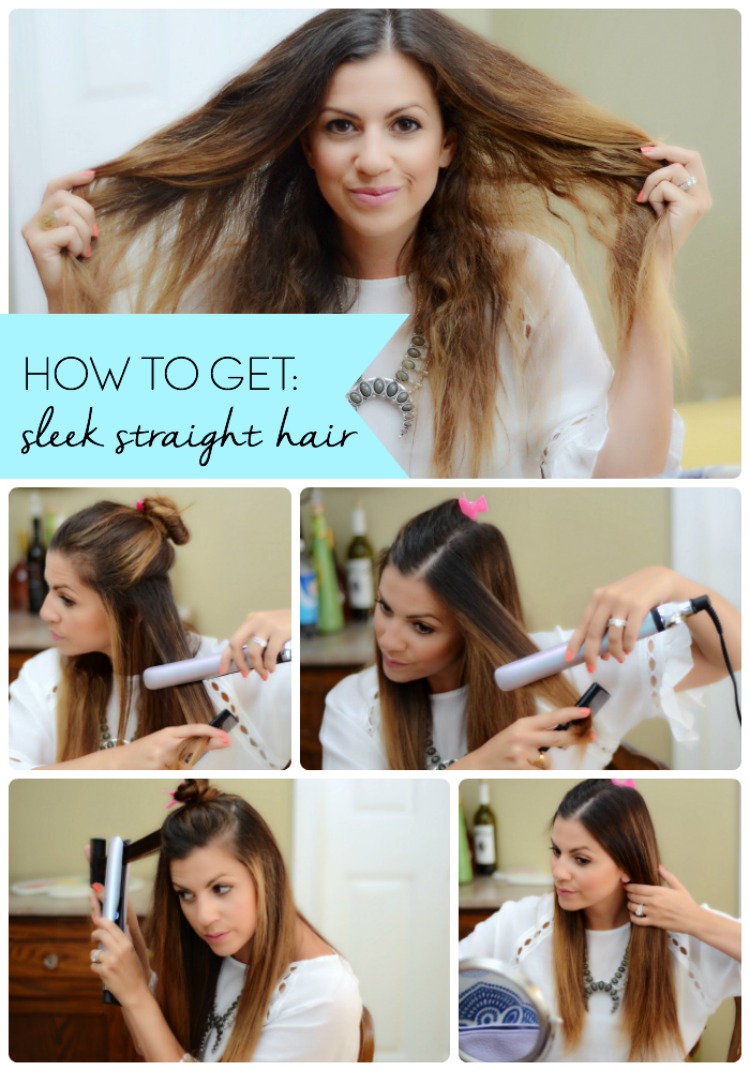
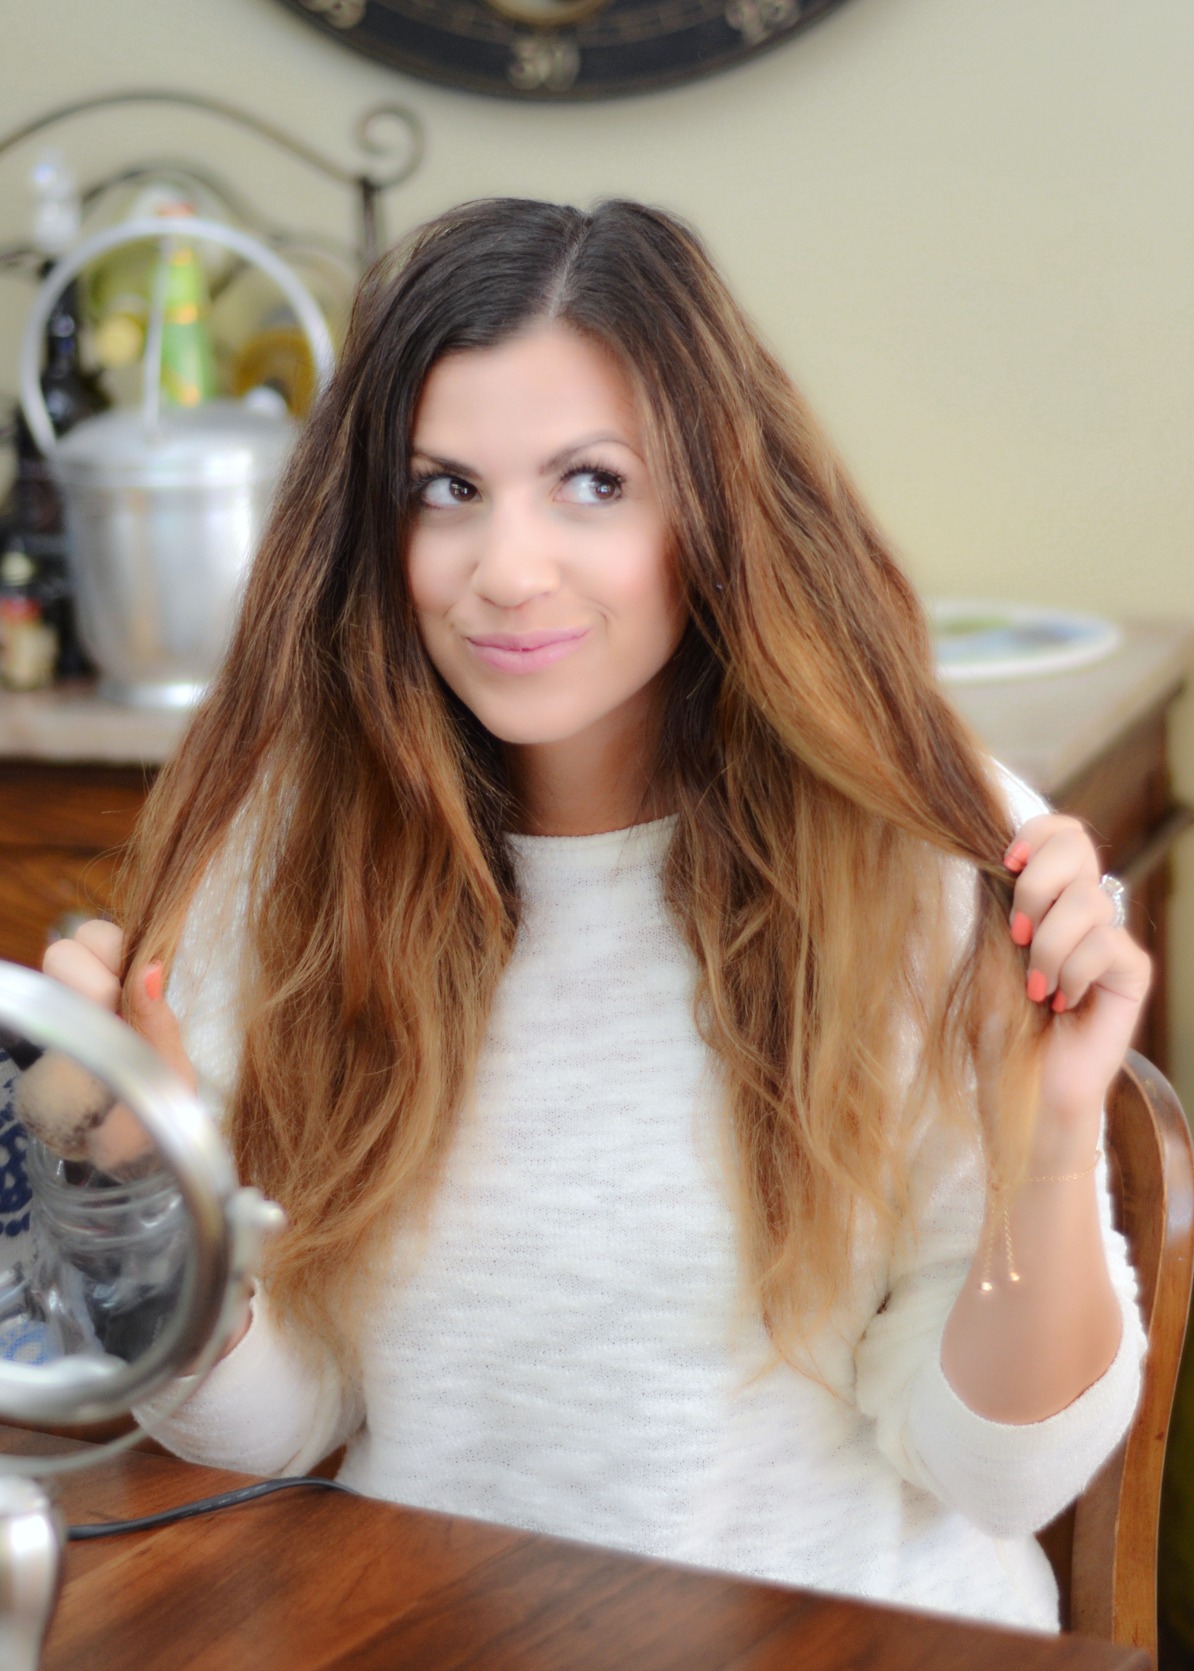
So this is what my hair looks like mostly air-dried. I blowdried the very top to smooth the area near my part. Yes, I know I look like a lion…
Sleek & Straight
To get started, you’ll need a few things:
Mirror
Clip[s]
Comb
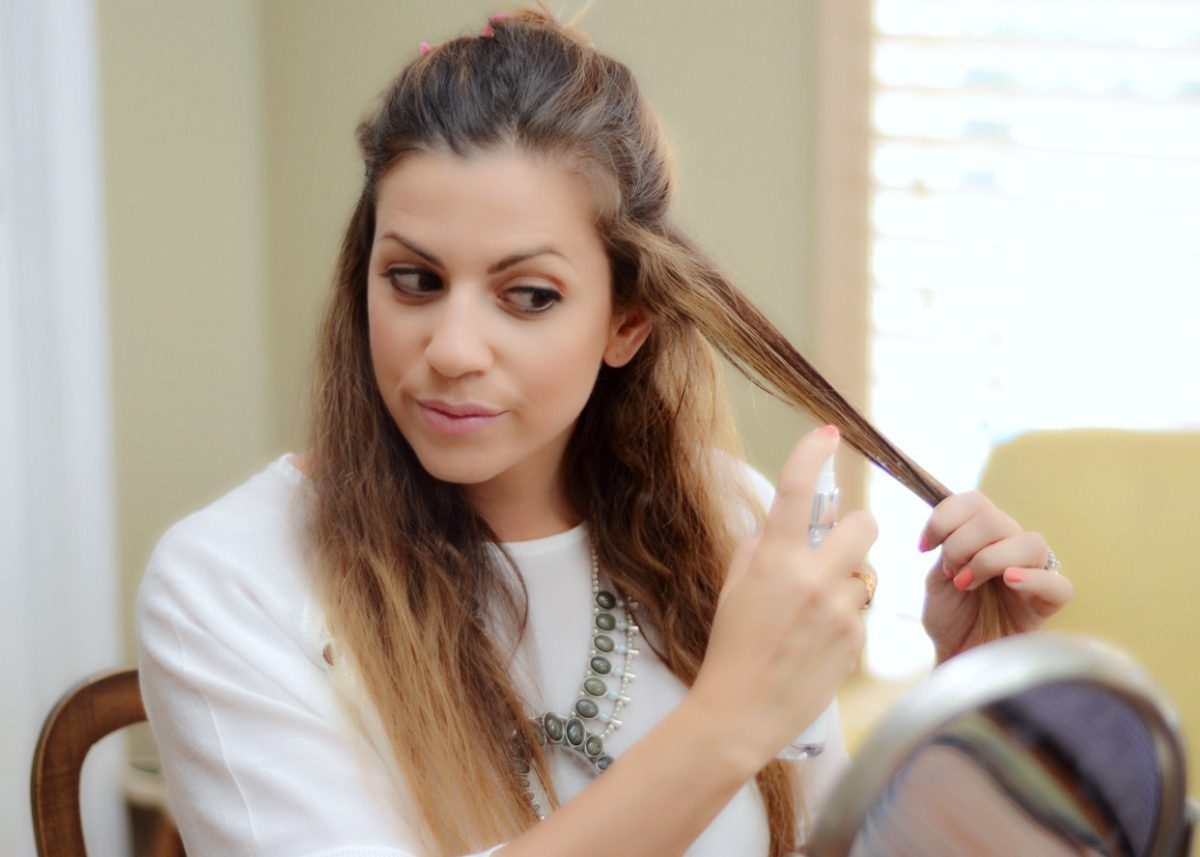
Heat Protective Spray
Finishing Spray or Serum [should you choose]
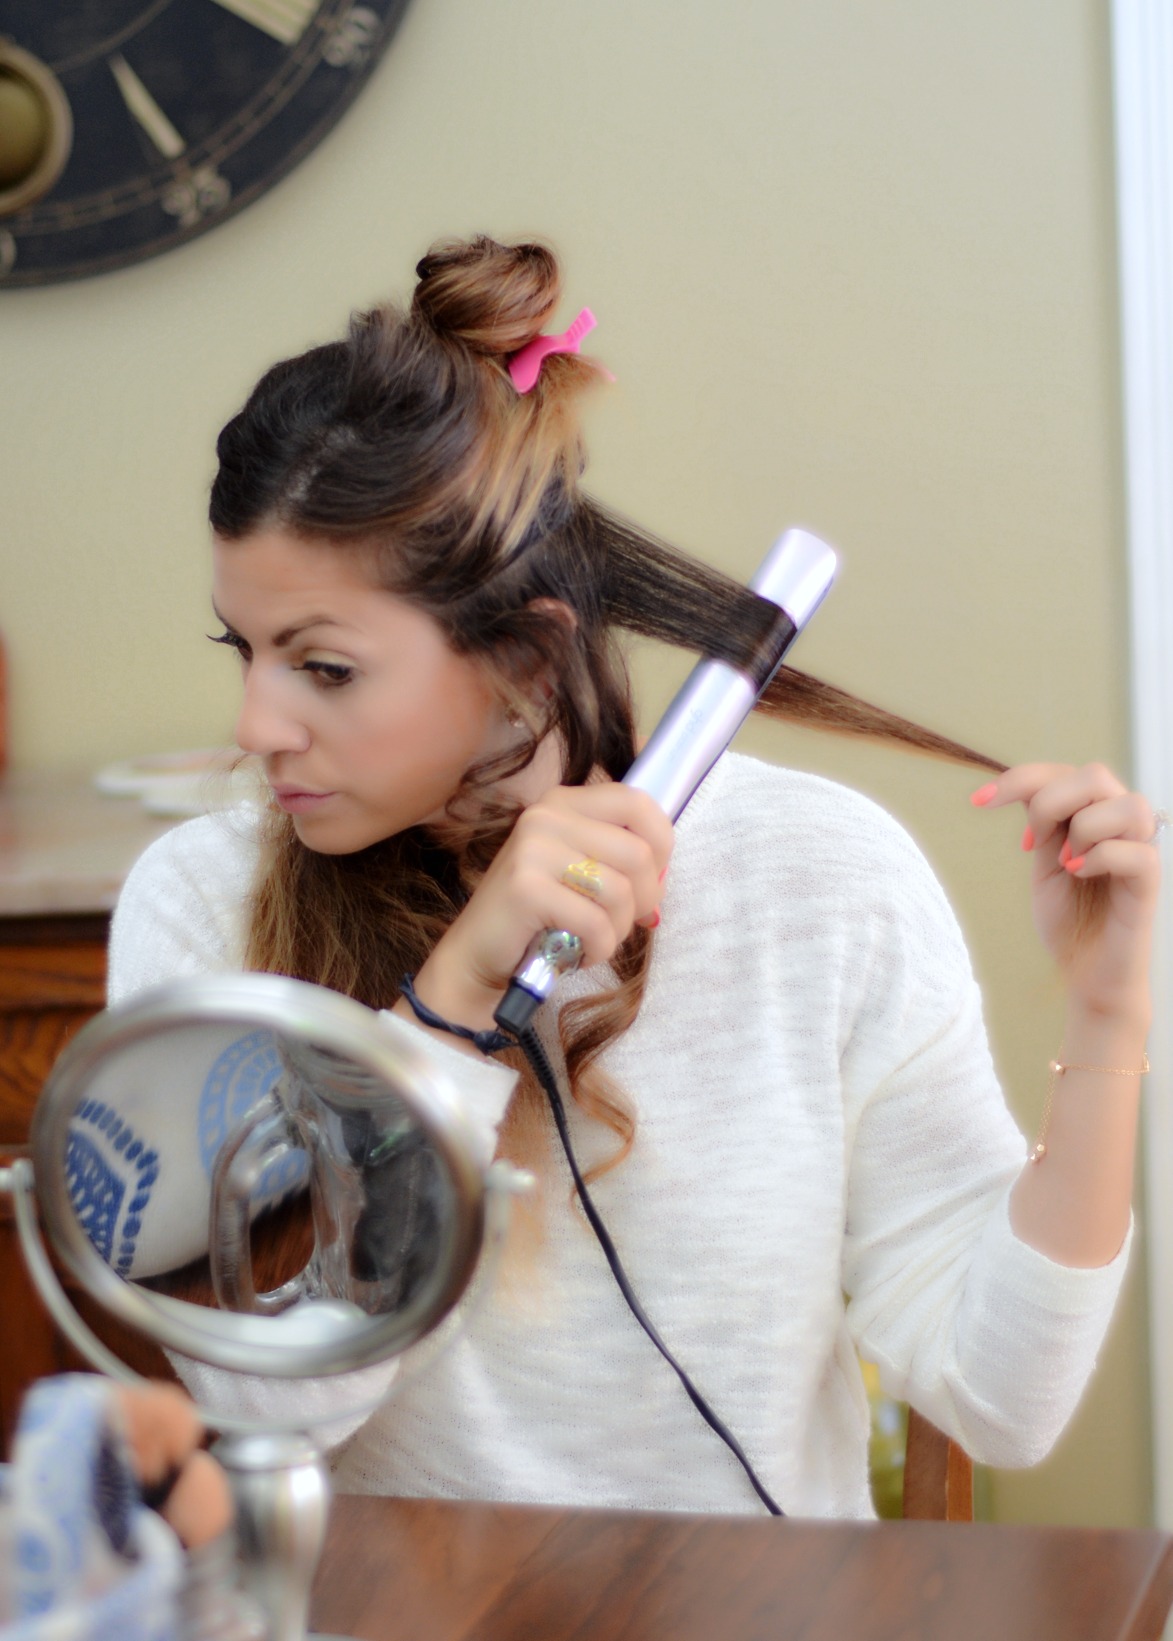
Step 1: Divide your hair into two sections, separating the top part from the bottom.
Step 2: Spray your hair with thermal protective spray.
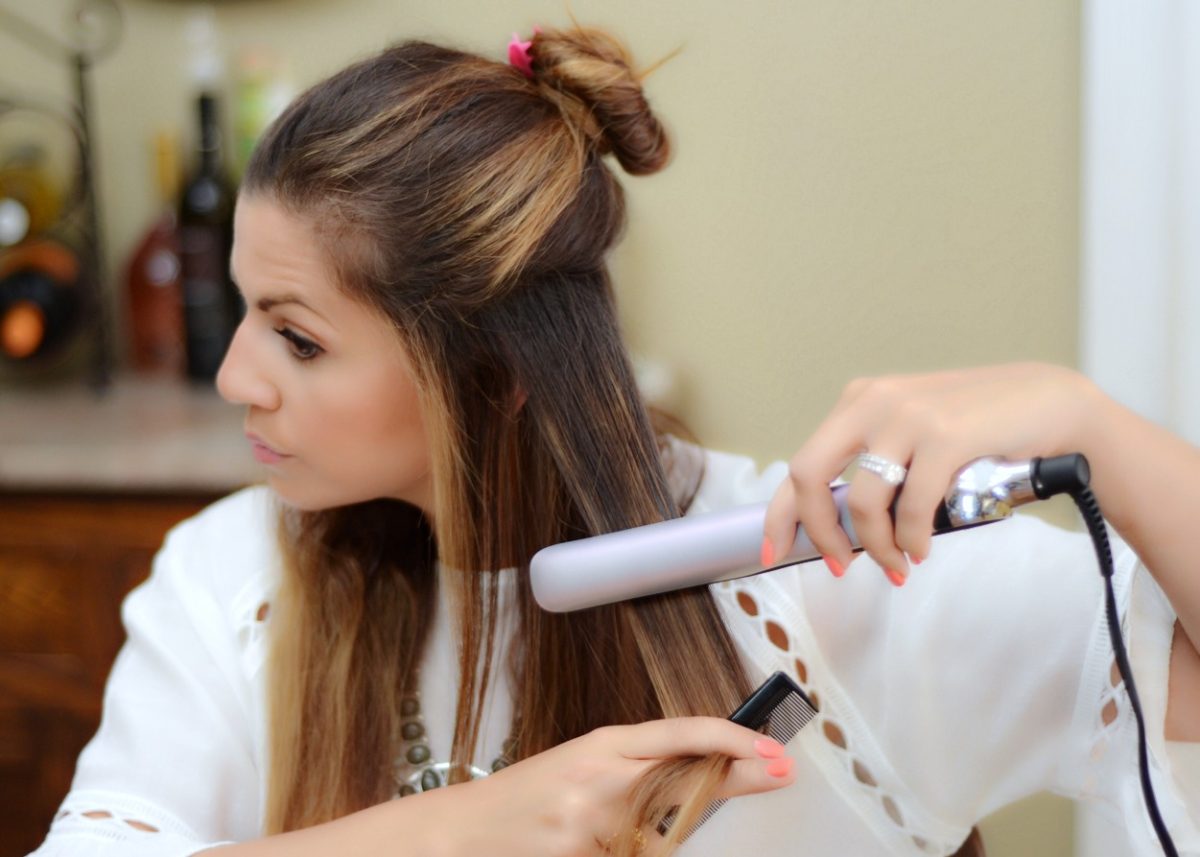
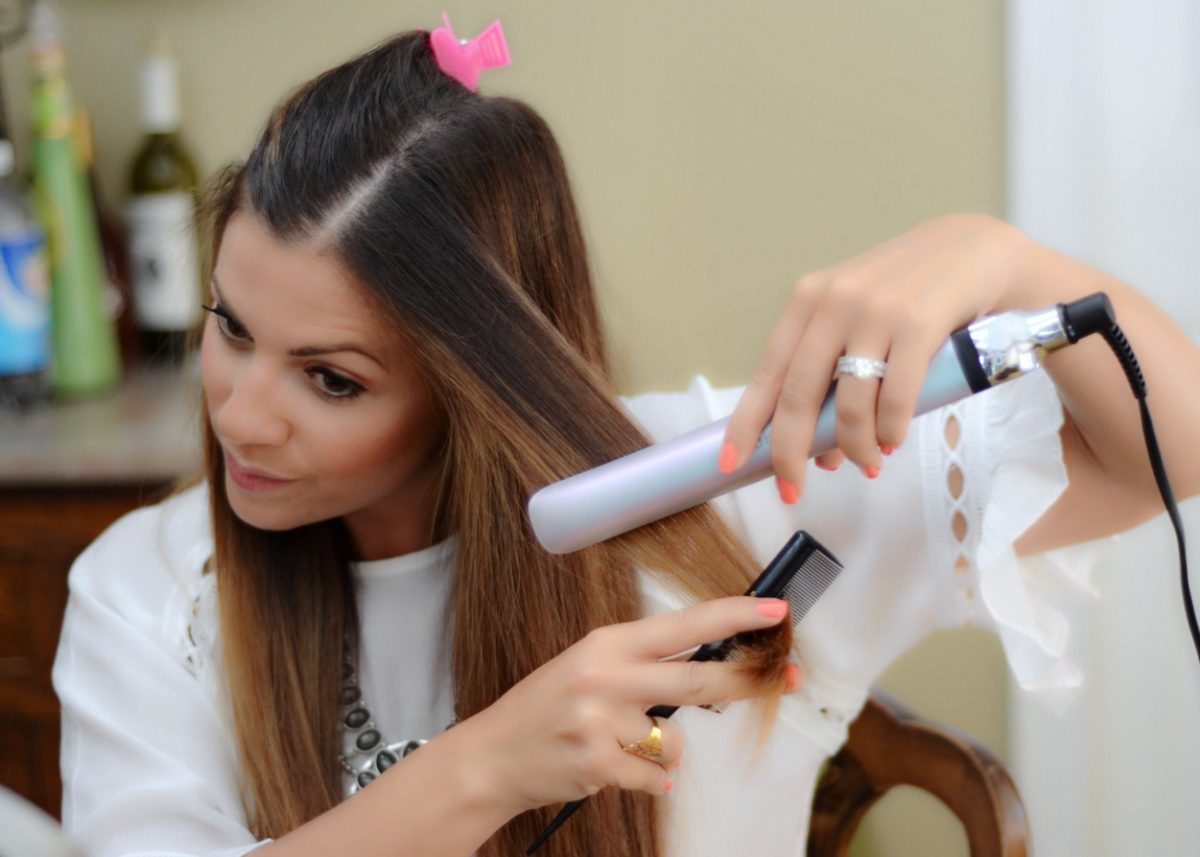
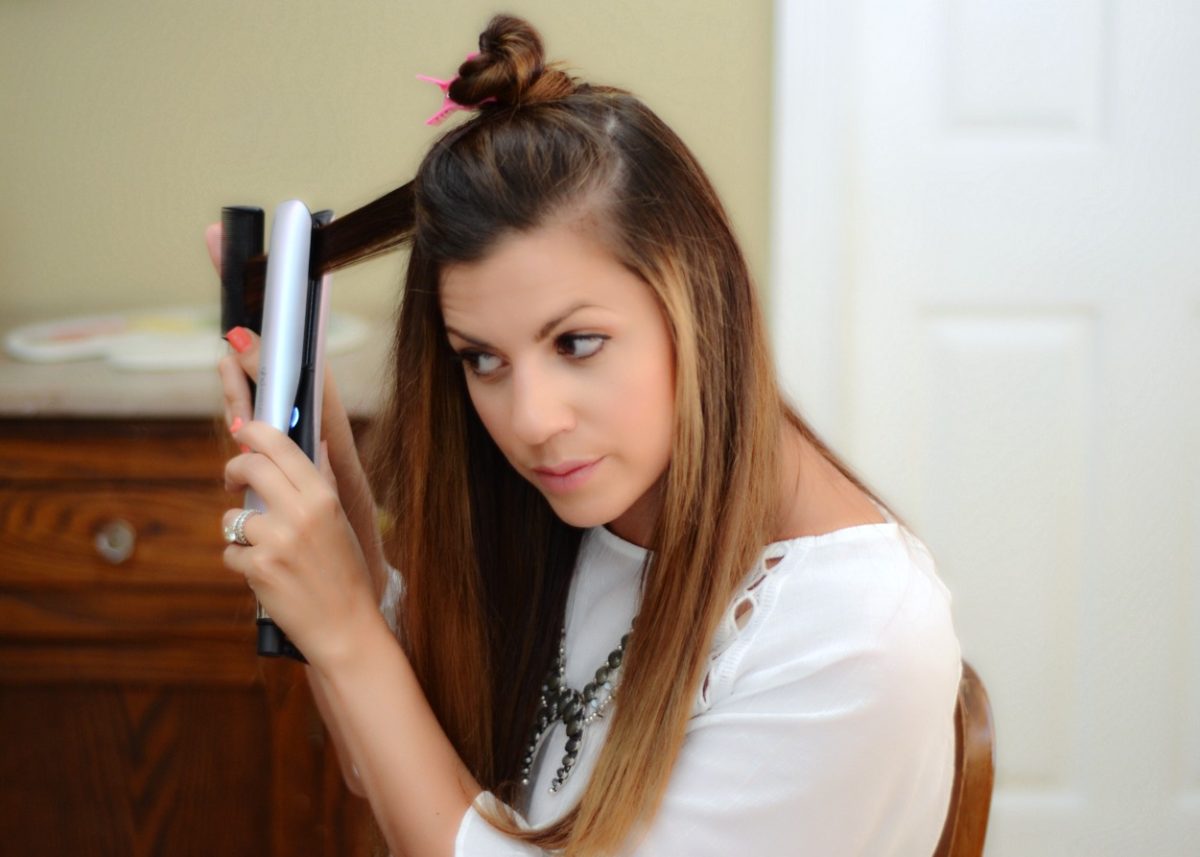
Step 3: Take small pieces [1-2 inches] and comb your hair from root to ends. Gently glide the styler right behind the comb.
Step 4: After straightening the entire bottom section, release the top part from the clip. Feel free to re-section off your hair with a clip to help give you access to all layers. Repeat Step 3 throughout the rest of your hair.
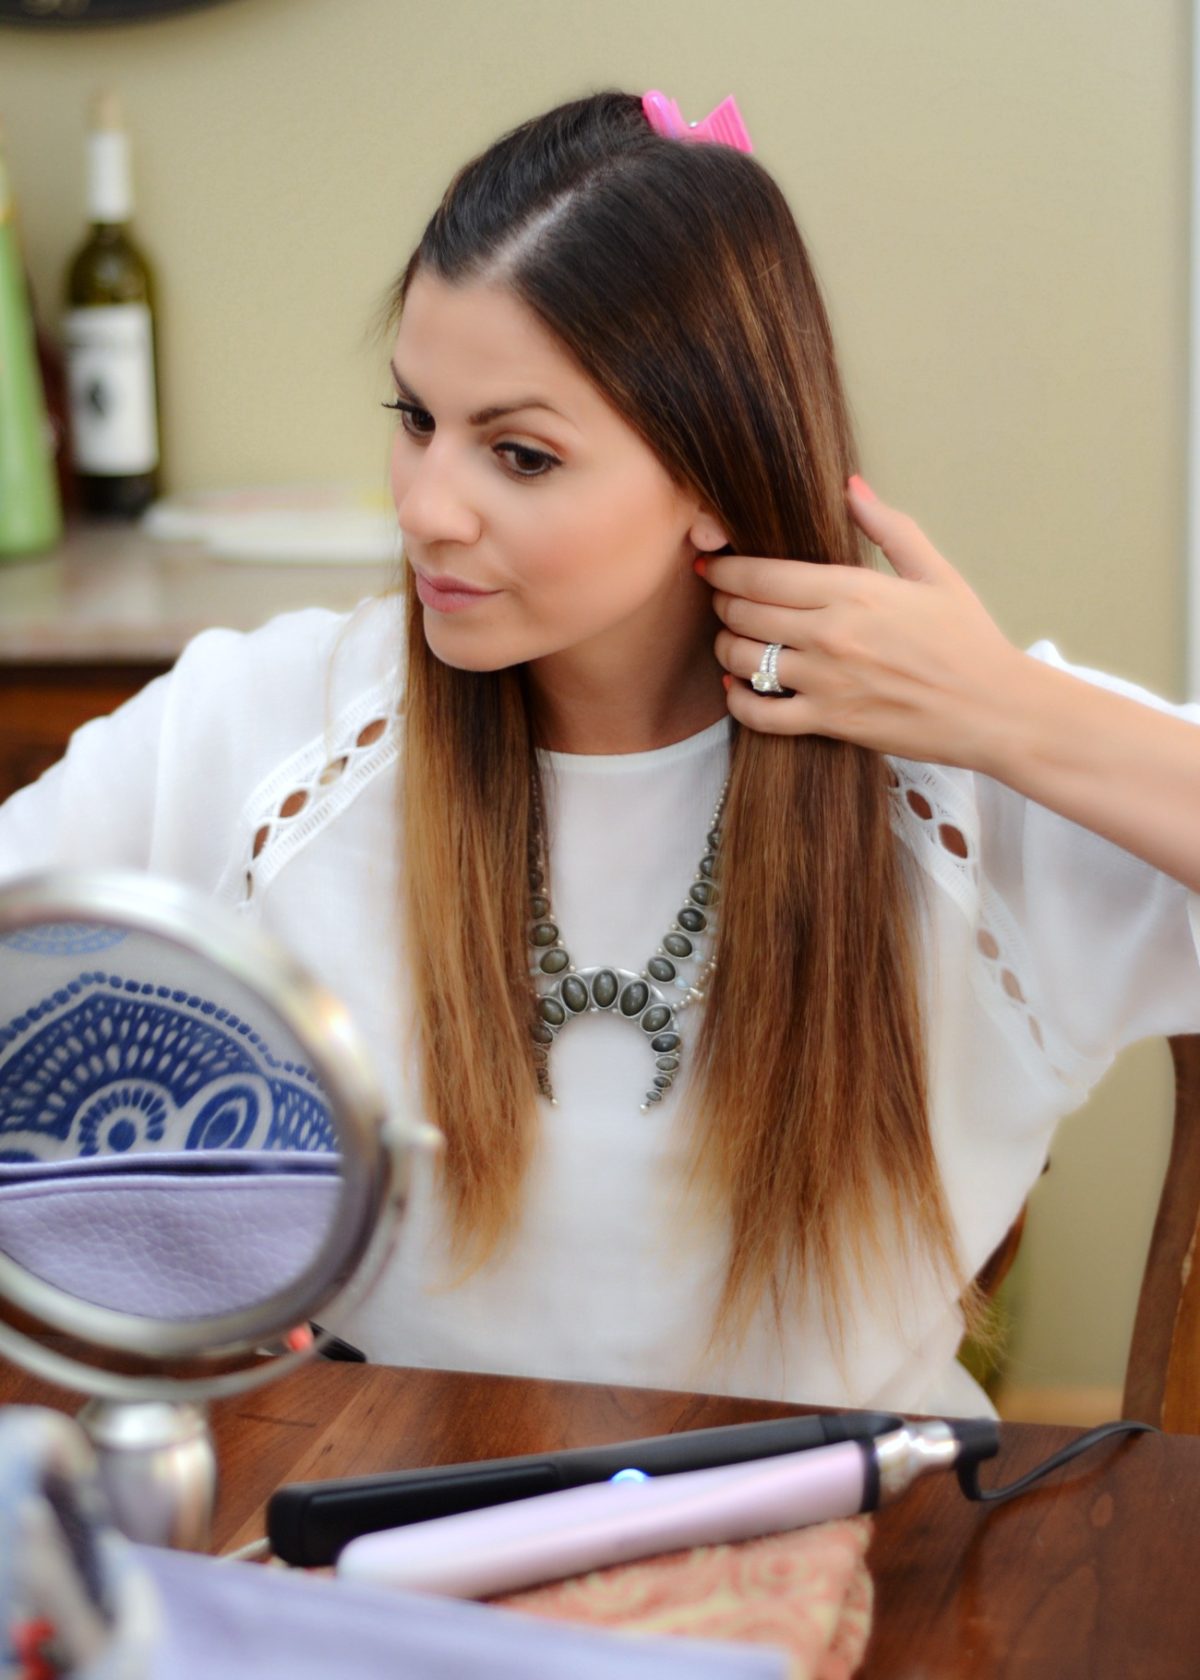
Step 5: Once all pieces have been straightened, brush your hair out and set it with a light finishing spray or smoothening serum. If using a serum, stay away from the top of your hair and focus more on the very ends.
Top c/o Goodnight Macaroon // Necklace c/o Abercrombie // Essie Nailpolish
PIN IT!
next up…
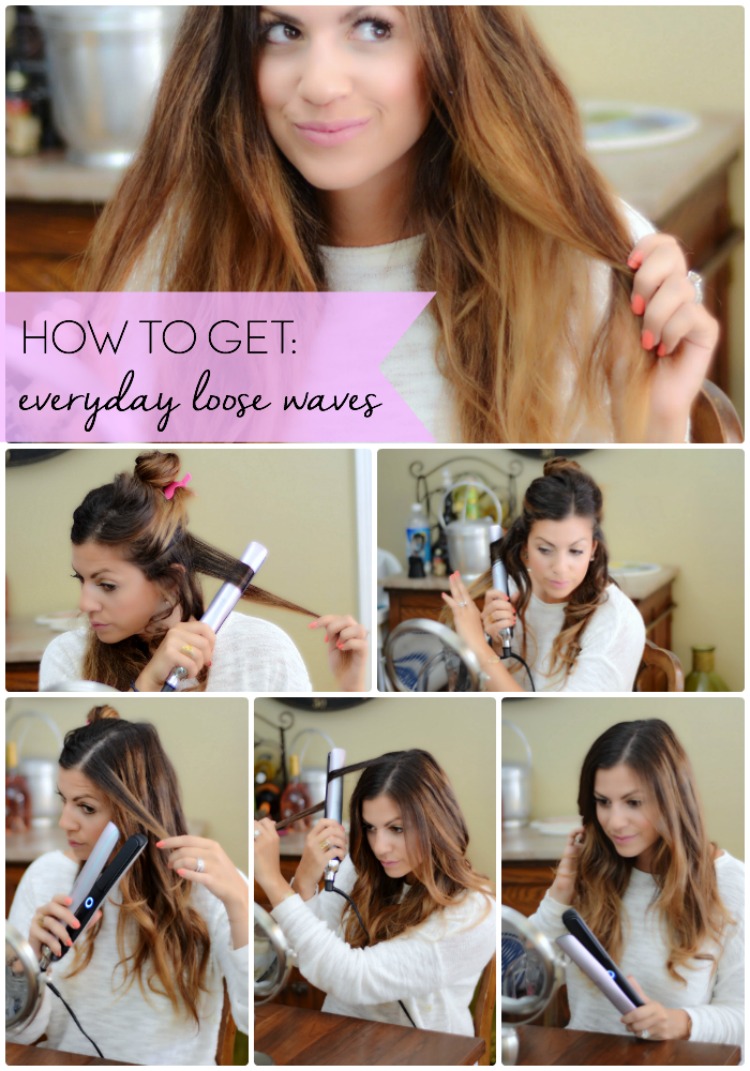
Everyday Loose Waves
Step 1: Divide your hair into two sections, separating the top part from the bottom.
Step 2: Spray your hair with thermal protective spray.
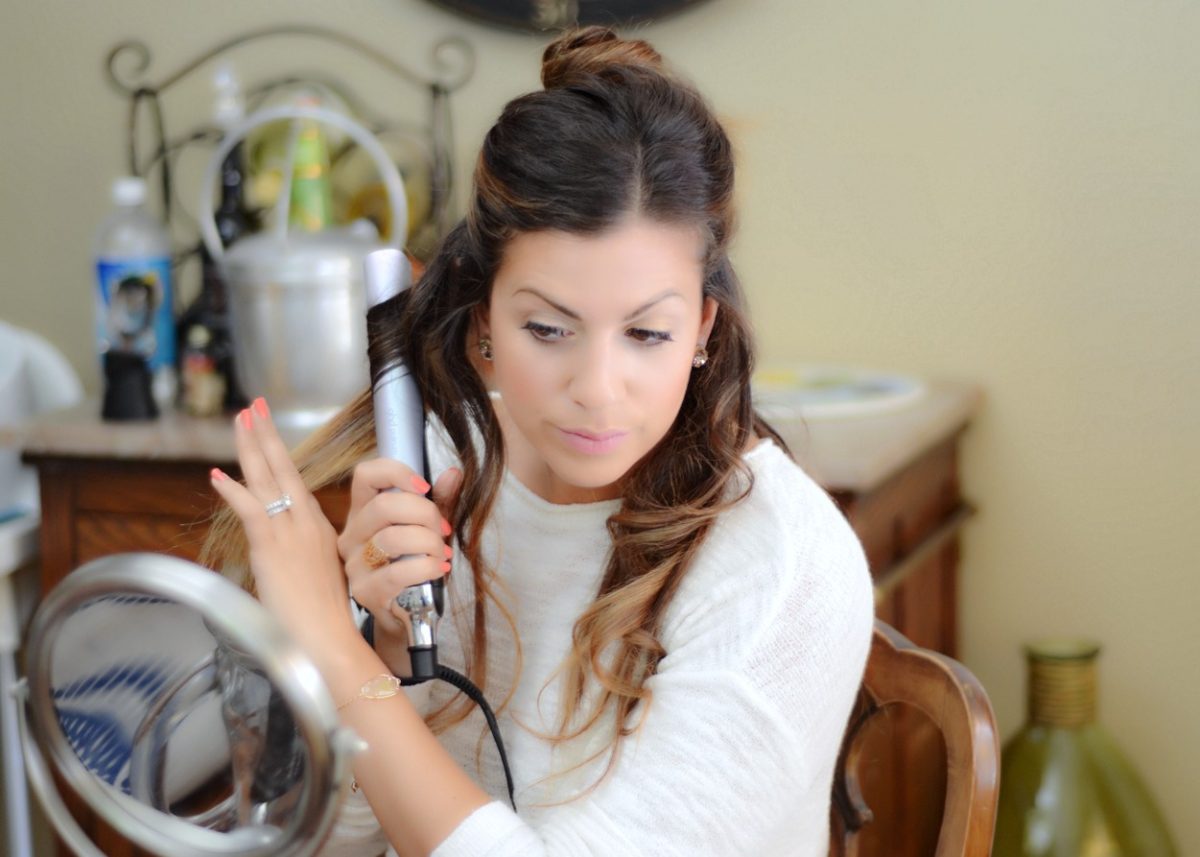
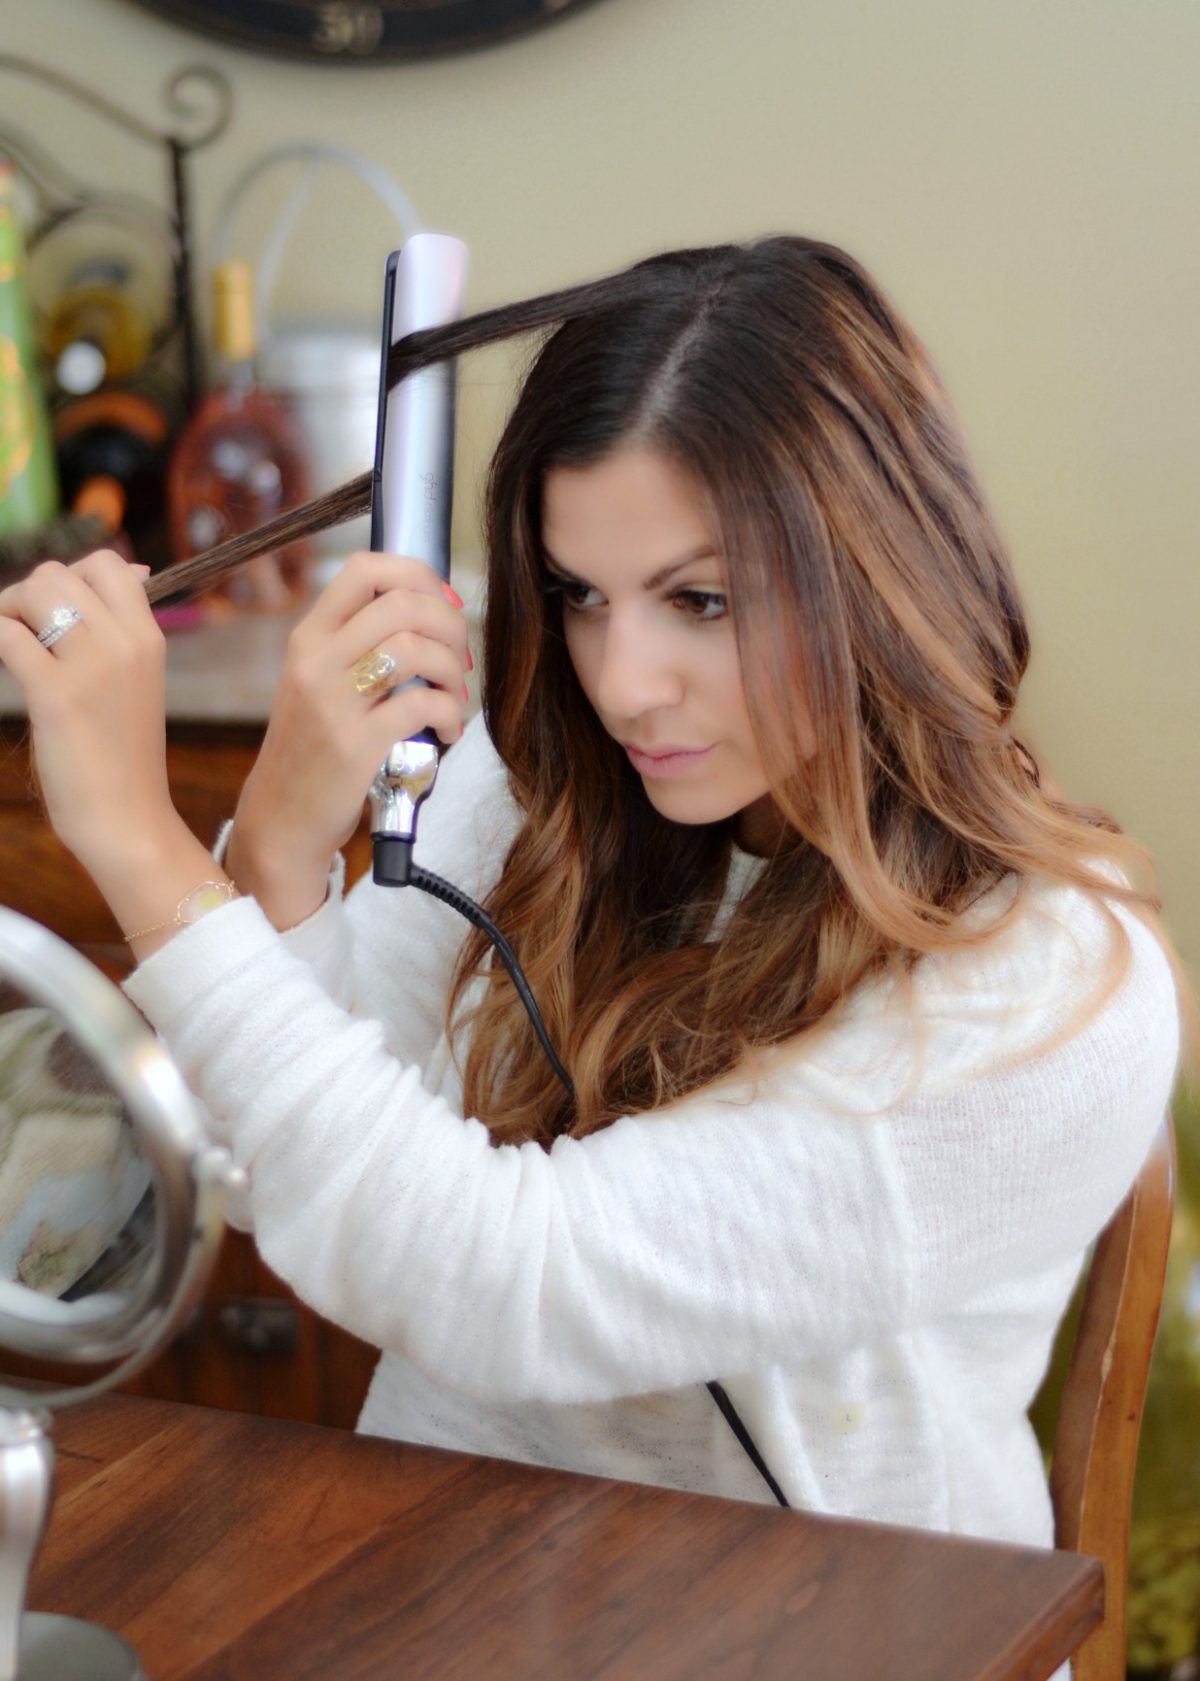
Step 3: Starting a few inches down from your scalp, clamp the styler on a 1 inch section of hair and smoothly flip it back 180 degrees. Once rotated, glide the styler slowly down the rest of the hair.
- I also flip the styler forward versus backward on some pieces to make the hair curl in a different direction. Play around with both ways to see how you like it best! Or, do it both ways like me!
Step 4: When finished with the bottom layer, unclip the top section and repeat Step 3.
Step 5: Set your hair with a light setting spray or flexible hold hairspray.
PIN IT!
Voila!
Tips: The slower you move the iron, the tighter the curl will be. [I did it rather quickly for a very gentle wave.] If you want more of a curl than a wave, rotate the iron more than 180 degrees, but not exceeding 360 degrees.
I hope you liked these easy tutorials! Have you ever used a styler that you can straighten and curl your hair with? I’d love to hear your thoughts in the comments below!
*This is a sponsored post brought to you by ghd. As always, all opinions are my own.


Great tutorials. Your waves look so pretty! And hey as a mom I totally get the over due for a haircut. I think my last one was 5 months ago! Like you said thank goodness for hairstyling tools and serums!
Keala
http://www.recipeforasweetlife.com
Story of my life! Glad you understand! Did you ever think that getting a haircut would be a luxury?! #MomLife LOL!!!
I love those loose waves on you!! Sounds like a really great product, and it definitely looks to make your hair shiny! Also, great tutorials here. Easy to follow along. Pinning!
Emily
http://darlingdearestblog.com
Aw thanks Emily!! Glad you like it!
This is AMAZING!! I am obsessed with you hair and am missing long locks now because of this. Such a great styling too and so perfect that it can be used to straighten & curl! So fabulous! Happy Friday!
xox,
Kristin
Thanks so much Kristin, you’re too sweet!
Ugh, this makes me want that SO bad! The convenience of having a curling iron and straightener in one is such a good idea..and would save so much room when I travel with curling irons and a straightener. Love this! Thanks for sharing!
xo, Amanda | http://www.thegoldengirldiary.com
No prob!!! Yes, it’s perfect for traveling! BUT with that being said, I’m guilty of overpacking and bringing multiple tools! LOL.
I love this step by step guide on the loose waves! I have been trying to do that with my hair for years!
xo Jessica
http://www.whatsfordinneresq,com
Thanks Jessica! I think having the right tool helps, but then it’s practice, practice, practice!!
Nice tutorial!! It’s good to know I’m not the only one that goes through the whole straightening hair “process” lol. Especially with thick curly hair like mine..these tools are a must.. You look beautiful!
XOXO
http://www.findingfabulousonline.com
Yes, thanks Samantha!! It sure is quite the process to look like a normal person for me, haha!!! XO
Love your waves!! This hair styling tool looks amazing!
Happy Friday!
xO – Steph
http://www.urbanblonde.com
Thanks Stephanie! It’s a great tool!
WHOA!!! This was an awesome tutorial! Looks like a FANTASTIC iron. I love all the tips and the two looks you did. I could use this for my girls when they want their hair straightened! It has been a struggle!! lol
I can imagine!! Tell them to embrace those gorgeous curls!! I wish I had naturally pretty curly hair!
Wow! It looks gorgeous! I love the everyday loose waves! That’s my favorite way to wear my hair too! xo Jana
http://www.janastyleblog.com
Thanks Jana! If only it was as effortless as the finished product looks haha!
Great tutorial! I love my GHD, I switched from my Chi 2 years ago and it was the best decision ever!!
Same! It’s a great brand!!
I would have never thought your hair air dried like that! It always looks like perfect beach curls! Which I totally need to learn to do myself 🙂
–
xoxo
Sarah Lindner
http://www.thehouseofsequins.com
I look like a lion!!! LOL
Such a great post. I have the hugest fro so I totally understand the need to use hot tools! I have yet to try using one tool to both straighten and curl my hair, I need to give it a go!
xo
Jess
http://www.fashionablyfitjess.com
Glad I’m not the only one with a fro, haha!! Having one tool makes it super convenient! I kind of go back and forth on the ones I like to use!
What a great post babe! Both looks look great on you! #hotmom! Xo
You’re too sweet Nicole!
This is so cool! I have been wanting to try out this brand!
Xo, Hales | http://www.sincerelyhales.com
Thanks! It’s a great brand!!
Thanks so much Kait! Appreciate that!!!
Love this, girl! And your hair is beautiful…what are you talking about?! 🙂
-Kate // http://www.classyandkate.com
i love the curls this does!!! i want to try it.
and your before pic is cracking me up!!!! you hide that lion hair well.
i also spy open wine bottles in the background 🙂