Last month, I touched on the top photo editing apps for Instagram [or best apps in general for editing pics from your smart phone] and today I’m going to show you how you can use these applications to Edit Instagram Pics Like a Pro! I’m constantly learning and playing around with different apps to see everything they have to offer. The alterations and enhancements are pretty unbelievable [even minor changes can make a significant impact], and once you get down some basic Photography 101 skills, you can capture beautiful, frame-worthy pictures. If you could care less about your Instagram Feed, you can still use these apps and tricks to save awesome memories of your family, your friends, your travels.
We all have our own style and our own idea of what looks good, but here are some tried and true photography tips to keep in mind:
-
Know Your Subject or Subjects. This is pretty basic, but I can’t tell you how many times in the past [especially on vacation or exploring a new place], I would snap away, pretty randomly, thinking I was capturing all of these new, exciting things. I was wrong. Way wrong. Scenery shots can be stunning, but in general, photos tend to be more interesting when a person or specific thing is the focus, which is what your eye will immediately gravitate towards when first looking at the picture. This could be a bird in the sky, a palm tree on the beach, a boat in the water, a person or group of people.
-
Lighting is Everything! Understanding light and how it affects photography is probably the most important thing to learn and hopefully master. If you want to create a silhouette, place the subject between you and the sun. When taking street photography or portrait shots, I personally love shooting when it’s overcast because it helps accomplish clear, visible images. Sunrise and Sunset are great times to shoot. There are even apps like Magic Hour that tell you the best time[s] to shoot every single day. If it’s super sunny outside, try to find a shaded area to avoid harsh shadows or unflattering coloring. Between buildings or under large trees are examples of good open shaded spots. If taking your shot inside, its best if there is a large window in the room, allowing a lot of natural light to come in. If the window is facing direct sunlight, don’t place your subject right in front of the window unless you’re going for a silhouette shot.
-
Avoid Flash When Possible. As we just discussed, shooting in natural light is ideal and most preferable, but it’s not always available. One of the best uses for flash is when you are taking a photo of a person with the sun behind them. The flash can remove shadows from their face so you can actually see them.
-
Crop, Don’t Zoom. Zooming in with the phone camera reduces the quality of the image. Unless you are really wanting to take a picture of something that you can’t get physically closer to, try to avoid doing it. When taking a picture for Instagram, the majority of the time I shoot in the square option [which is at the bottom of the Camera screen where you can choose Time-Lapse, Slo-Mo, Video, Photo, Square, Pano]. I prefer shooting like that so I can be sure that everything I want captured fits within the square. A lot of people I know, however, prefer shooting in Photo and then cropping into a square before uploading to Instagram. *Update: Now Instagram allows vertical and horizontal pictures, so you don’t have to crop your pic to a square shape, although when viewing your feed as a whole and not an individual picture, the gallery will be made up of squares.
-
Rule of Thirds. This is a guideline that proposes that an image should be imagined as divided into nine equal parts by two equally spaced horizontal lines and two equally spaced vertical lines, and that important compositional elements [AKA your subject as previously mentioned] should be placed along these lines or their intersections. To get a visual on the these lines, enable the Grid Feature by going to Settings, selecting Photos & Camera, and then enable the grid feature.
-
Change Your Angle. Shooting from a lower angle can often make pictures appear more interesting because it’s a different perspective than what we’re used to seeing. If you’re taking a picture of a child or pet, get on their level so they don’t get lost in the background or become insignificant in the photo.
-
Use Bursts for Action Shots. I’m not sure if the android camera is the same as the i phone, but when you hold the shutter button down [when taking a pic] the camera will take 10 photos per second. You can choose the ones you want to keep from the burst. This is a great way to capture photos with a lot of movement such as a sporting event or child running around.
-
Take Multiple Pics. It’s always good to have options. After choosing thee one, delete the others.
-
Tap the Camera Viewer to Change the Focus and/or Lighting. When you want to take an iPhone photo, tap on the subject that you are taking the photo of. This will focus on that person or object and set the exposure for that person. After you tap on the subject, you’ll notice a small sun icon on a vertical line to the right of the box. Swipe up on this line to add more light to your photos or drag down to remove light.
-
Practice! Practice makes perfect! The best way to master photography is getting out there and shooting. Experiment with different lighting conditions and different angles. Have fun with it!
Ta da! And now you’re a Pro! Just kidding. But, you will be soon!
Now that you have my Top 10 Photography Tips, here are examples of photos where using certain Editing Apps helped save them and make them appealing. I either took these pics in less than ideal conditions, or let’s be real… I probably had no clue what I was doing and should practice my own tips more often.
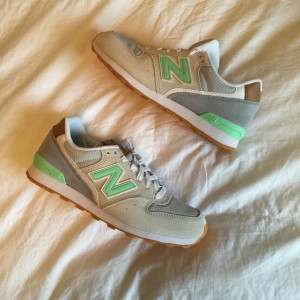
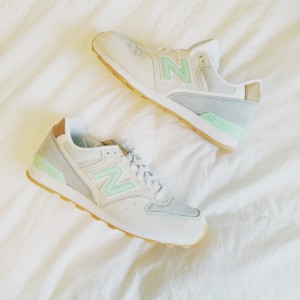
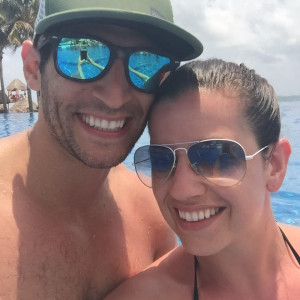
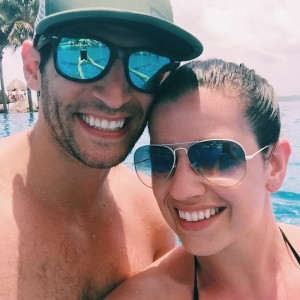
Example One:
As you can see, the original picture shown first is dark and has a lot of shadows. I used Afterlight [$0.99] to brighten it, and then used the PXF5 filter in the Picfx App [$1.99]. I use this combo a lot [first Afterlight to brighten, and then Picfx for the filter].
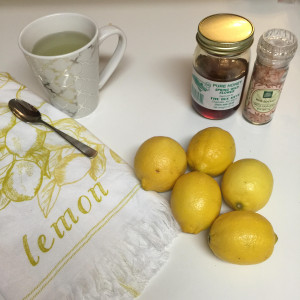
Example Two:
Snapseed [$FREE], which was not mentioned in this post is something I’ve been playing around with more and more lately. I am still a newbie at using it, and typically it does take me a while before mastering anything technological, BUT what I do know is that I really like the Brush and Selective tools to edit specific areas versus the entire picture. With the picture above, I first used the brush tool to increase exposure, and then added in more saturation. [A lot of the time, when you increase the exposure or brightness, it can wash out the entire image which is why you may have to increase the saturation afterwards. I never increase the saturation before lightening a photo.]
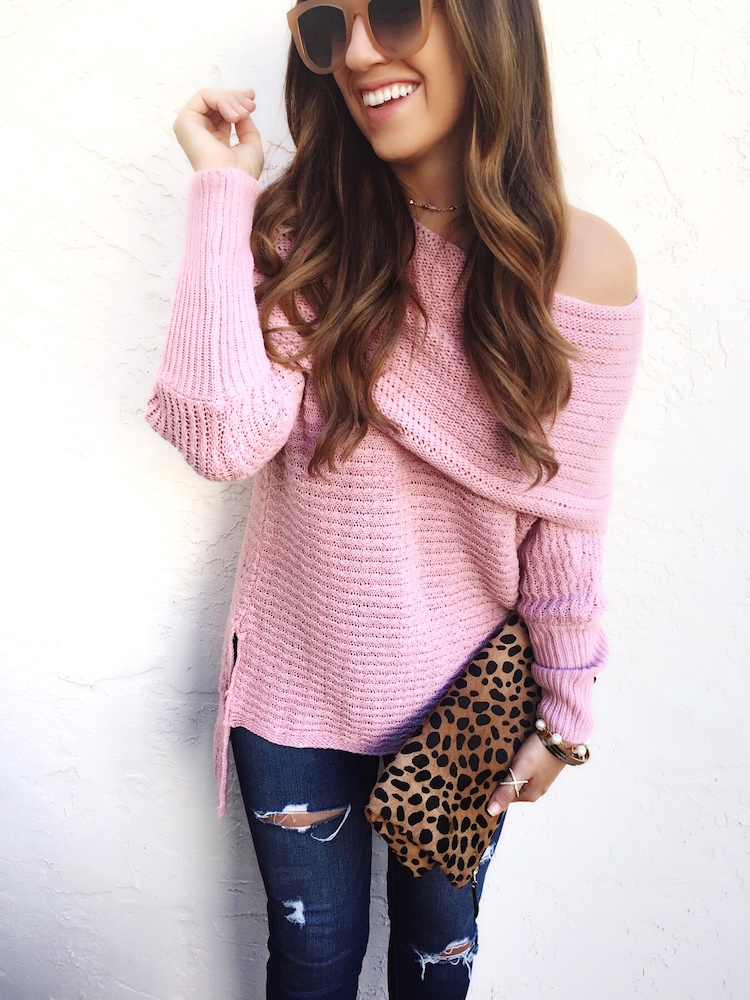
Example Three:
Afterlight was used to brighten this photo. Once brightened, I slightly sharpened and saturated it.
Example Four:
VSCOcam [$FREE], was used to edit this pic. I used filter “C1.” VSCOcam has great filter options [tons for free and also a ton for purchase]. My most loved filters are: A1, A4, A6, C3, F2, K3, M5, M6, P5, S2, K1. If you go to Settings, you can change the order of the filters to place your favorites first. In addition to the filters, you can also edit the pics with the tool key to change exposure, contrast, saturation, structure, etc. VSCOcam is probably one of, if not thee most loved Editing App. People go bananas over it and there are so many articles written on it, showing examples of different filter options. Within each filter, you can choose the strength of the filter, so there really are SO many things you can do with this App.
Example Five:
Snapseed was used to expose and saturate the image. I used the brush tool and it completely changed the look of this photo!
I hope this post provided you with some insight and helpful tips, but I do want to mention that it is perfectly okay to post photos as is, without editing or enhancing them in any way. A lot of people may think altering your pictures at all is super silly and a waste of time, which I totally can relate to and understand. I laugh at myself at how many times I may take a picture, just to then analyze all of them that look almost identical to then choose “thee one.” It’s ridiculous…and exhausting. Because I don’t have a separate personal Instagram account [therefore my blogging world and personal world are collided on one platform], I am very particular on the photos I choose to post publicly. Essentially, I am branding myself, and since blogging is a part time job for me, I do consider it a career and it is important for companies to see my feed and know if I fit in with their brand or not. It is one of the reasons why I have started becoming a little more addicted to Snapchat [username: jaime_cittadino], because you can be totally real, unfiltered, uncensored, and unedited. I will warn you that my daughter, Harley takes up 85% of my snaps, so if looking at a cute baby isn’t your thing, you may not want to follow me! Sorry for going a little off topic, but I just think its important that we all take a step back and not get too caught up in the Social Media world. It is so easy to compare your life to others and possibly idolize them based on these “perfect pictures” that are out on display. Don’t. The goal of this post was to simply provide you with the tools I personally use to change my pictures, but in no way, shape, or form am I encouraging you to alter or edit the life you choose to showcase. Just do you!
Happy Friday friends! Enjoy your weekend and thanks for stopping by! 🙂






Glad to help!!
Anytime!!! XO
Thanks for sharing, I really appreciate it and I just wanted to leave a comment to say that I enjoy your blog.I harmonise with your conclusions and will thirstily look forward to your next updates. Just saying thanks will not just be enough, for the exceptional clarity in your writing.