Jamberry Nail Wraps
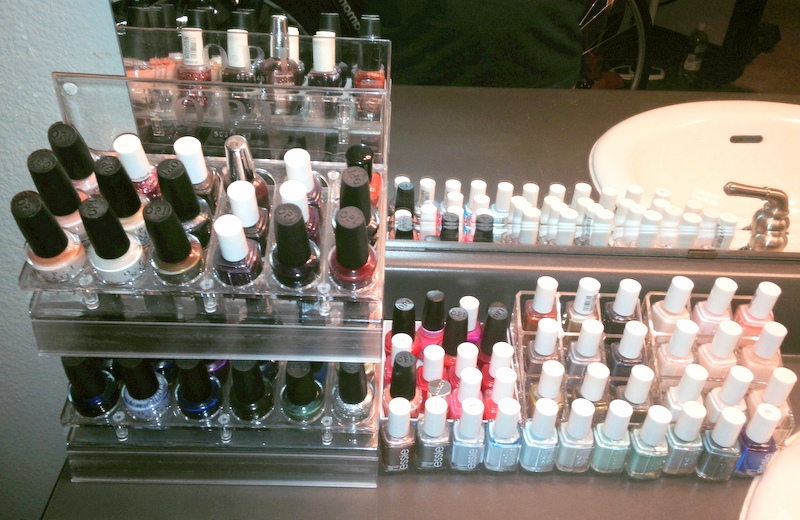
My hubby, Casey likes to call me a Hoarder, but I much prefer the noun, Collector. Like necklaces, shoes, and makeup, nail polish is one of my most favorite items to have and display. I typically do my own manis and pedis, unless my cuticles are out of control and I’m in need of a major clean up or I’m desperate to get a good foot rub and Casey is no where to be found. Below is my collection after some major Spring cleaning:
My ‘Nail Obsession’ Pinterest Board is filled with different nail art for inspiration that I always tell myself I’m gonna try. In reality, they stay in my online filing cabinet and “To Do” list, along with the many hairstyles, recipes and home organization tips. Sooner or later, I do plan on experimenting with some of the saved designs, but in the meantime I have found a more efficient approach to achieving those fun looks. Jamberry Nails are a DIY, at-home application of nail wraps which include an incredible variety of designs. They last up to 2 weeks on fingers and 4 weeks on toes (haven’t tried them on my toes yet), and cost about $15 for a sheet that can be used for two to three applications, depending on the size and length of your nails. So in comparison to a regular mani that may last a week if you’re lucky, or a gel mani that costs more and damages your nails, Jamberry Nail Wraps certainly are a cost effective option to good looking hands. To apply the wraps correctly, it does take a little time and effort to make sure you are doing it properly, but once you get the hang of it, it should be easy peasy from there on out.
Step One: Push back cuticles and clean nails with a nail prep wipe (which is included) or rubbing alcohol. When applying wraps over a lacquer, apply a fresh coat and allow to dry.
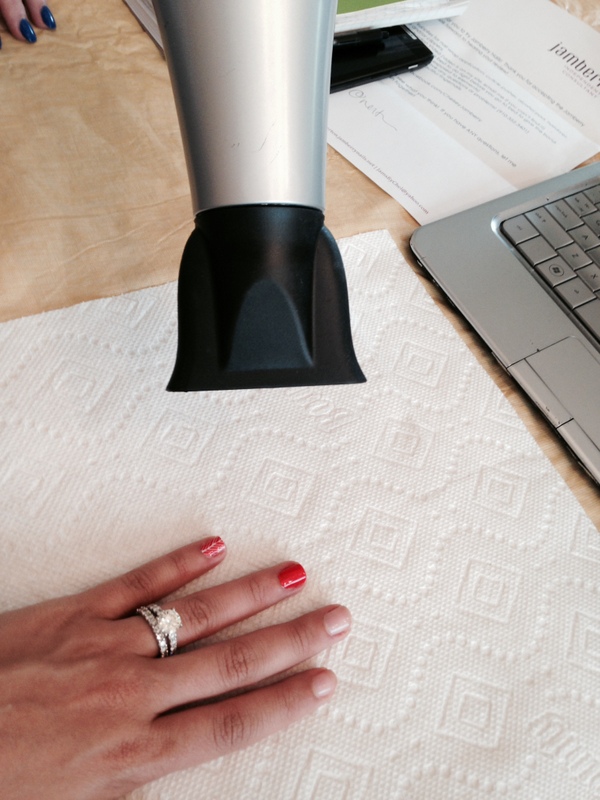
Step Two – Four: Match nail (finger or toe) to the nail wrap that best fits. Peel off nail wrap and warm with a mini-heater or blow-dryer for 3-5 seconds or until soft and flexible. When warm, press the wrap onto the nail. Apply firm pressure around the edges to adhere the wrap to the nail. Use a cuticle pusher to seal the wrap around the base of the cuticle.
Step Five: Trim the top with scissors and file off the remaining wrap using a downward motion to remove excess.
Step Six: Apply heat and pressure to the wrap again until it is bonded to the nail.
Step Seven: Repeat steps one through six on all desired nails.
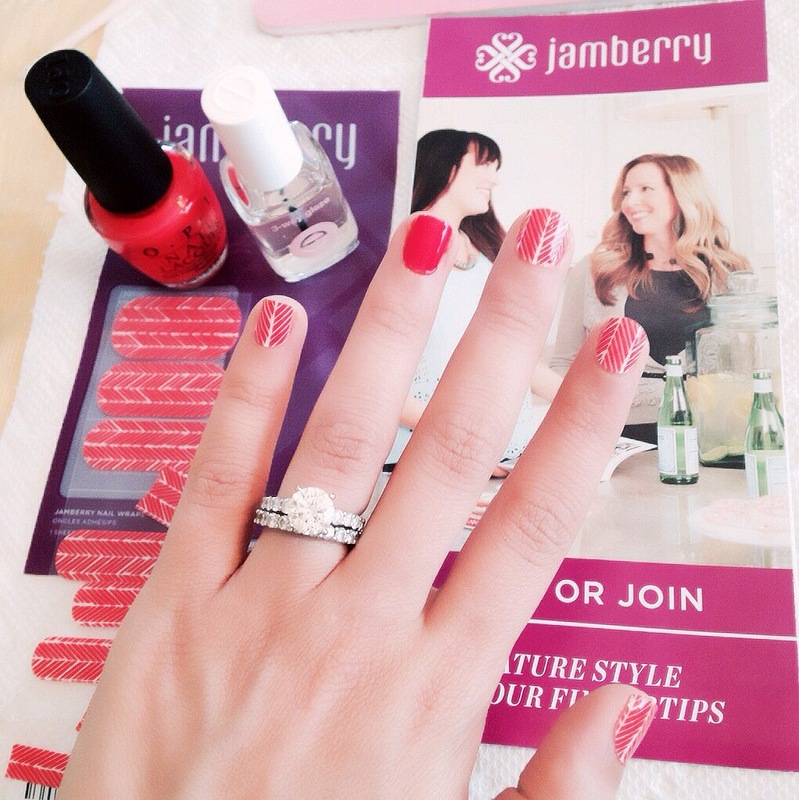
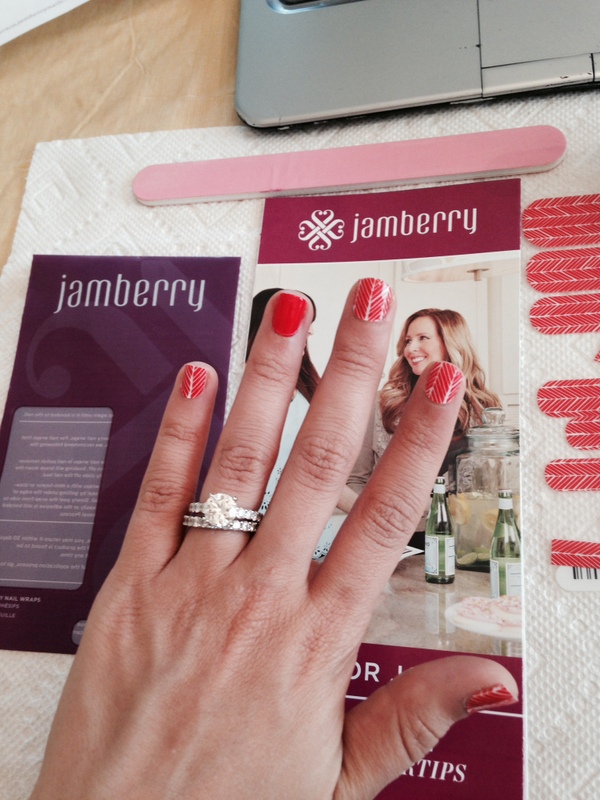
The design I chose this time around is called “Arrowhead,” but there are so many more I plan on trying! Visit their site to check them all out and get more information. Stay tuned for a fun Giveaway and your chance to win a Jamberry Nail Wrap of your choice!


