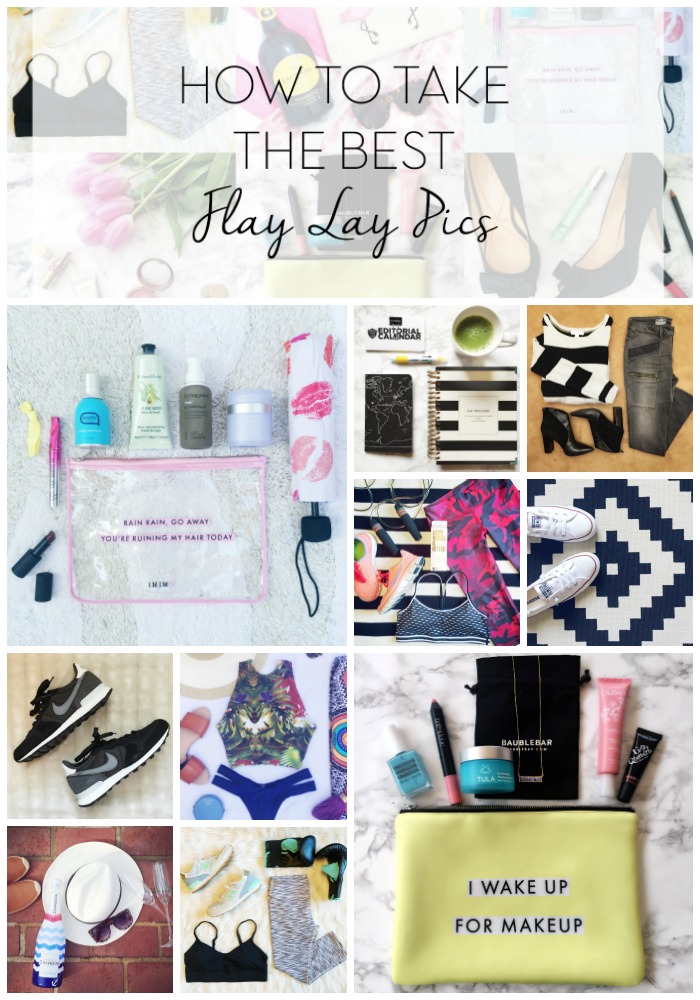
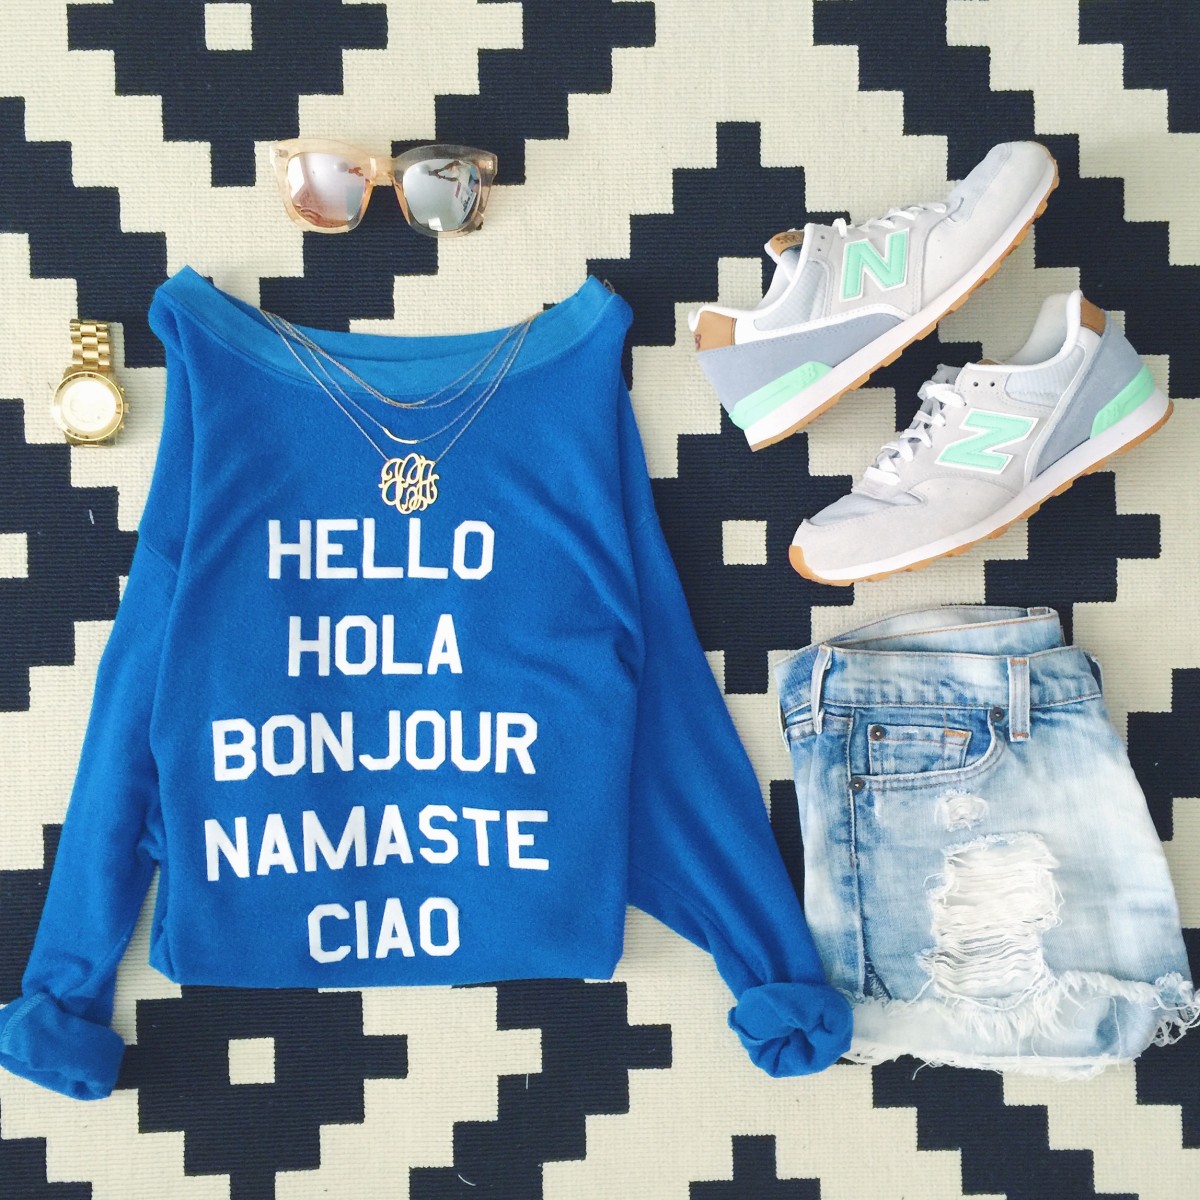
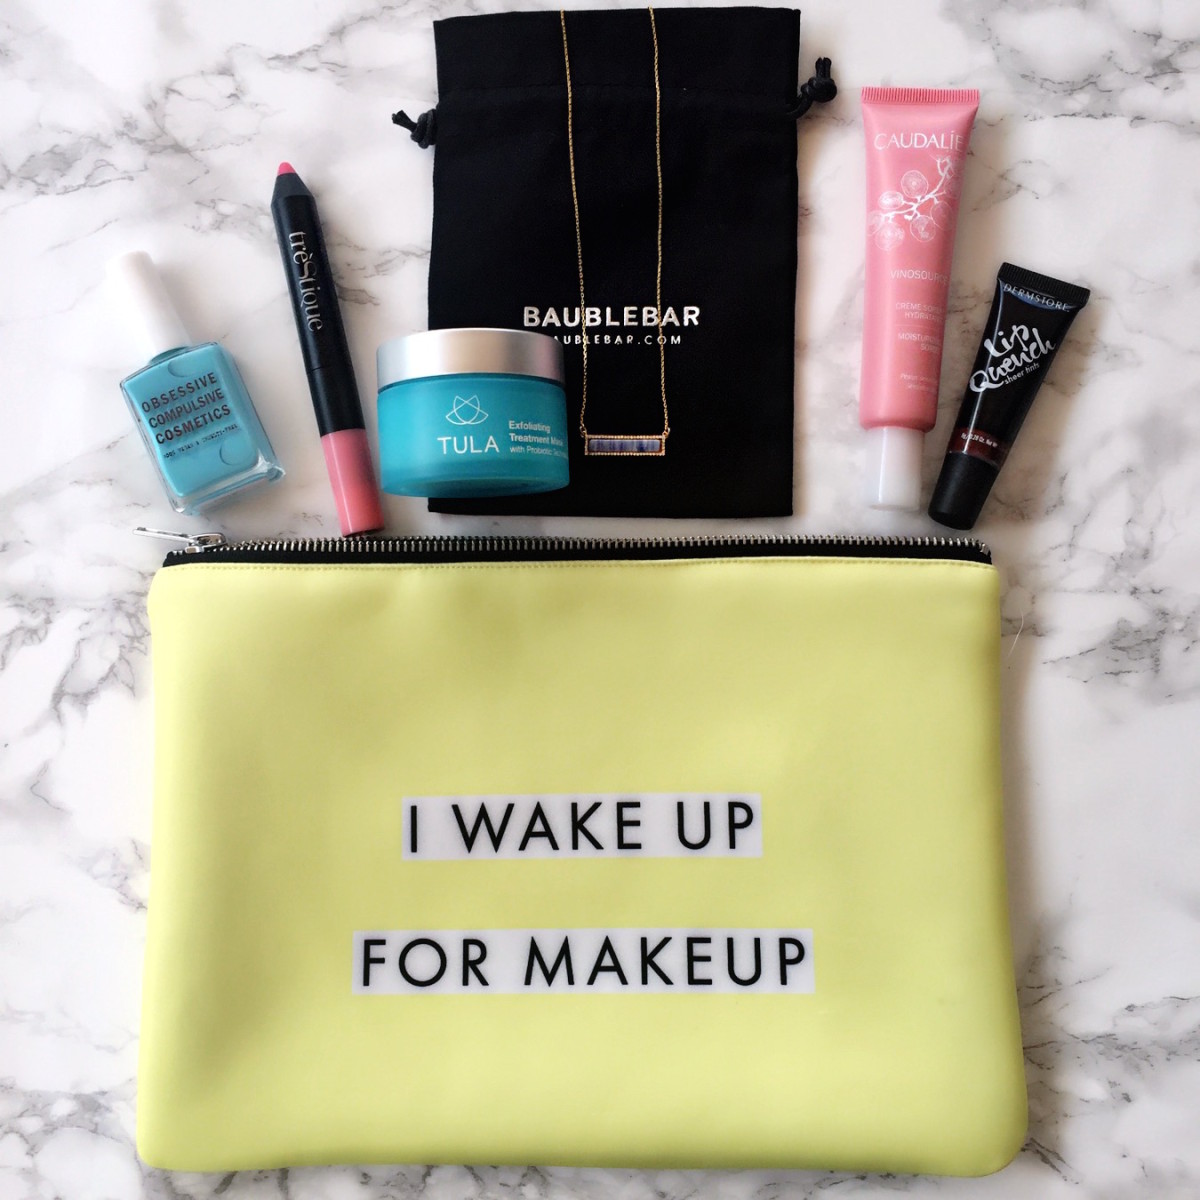
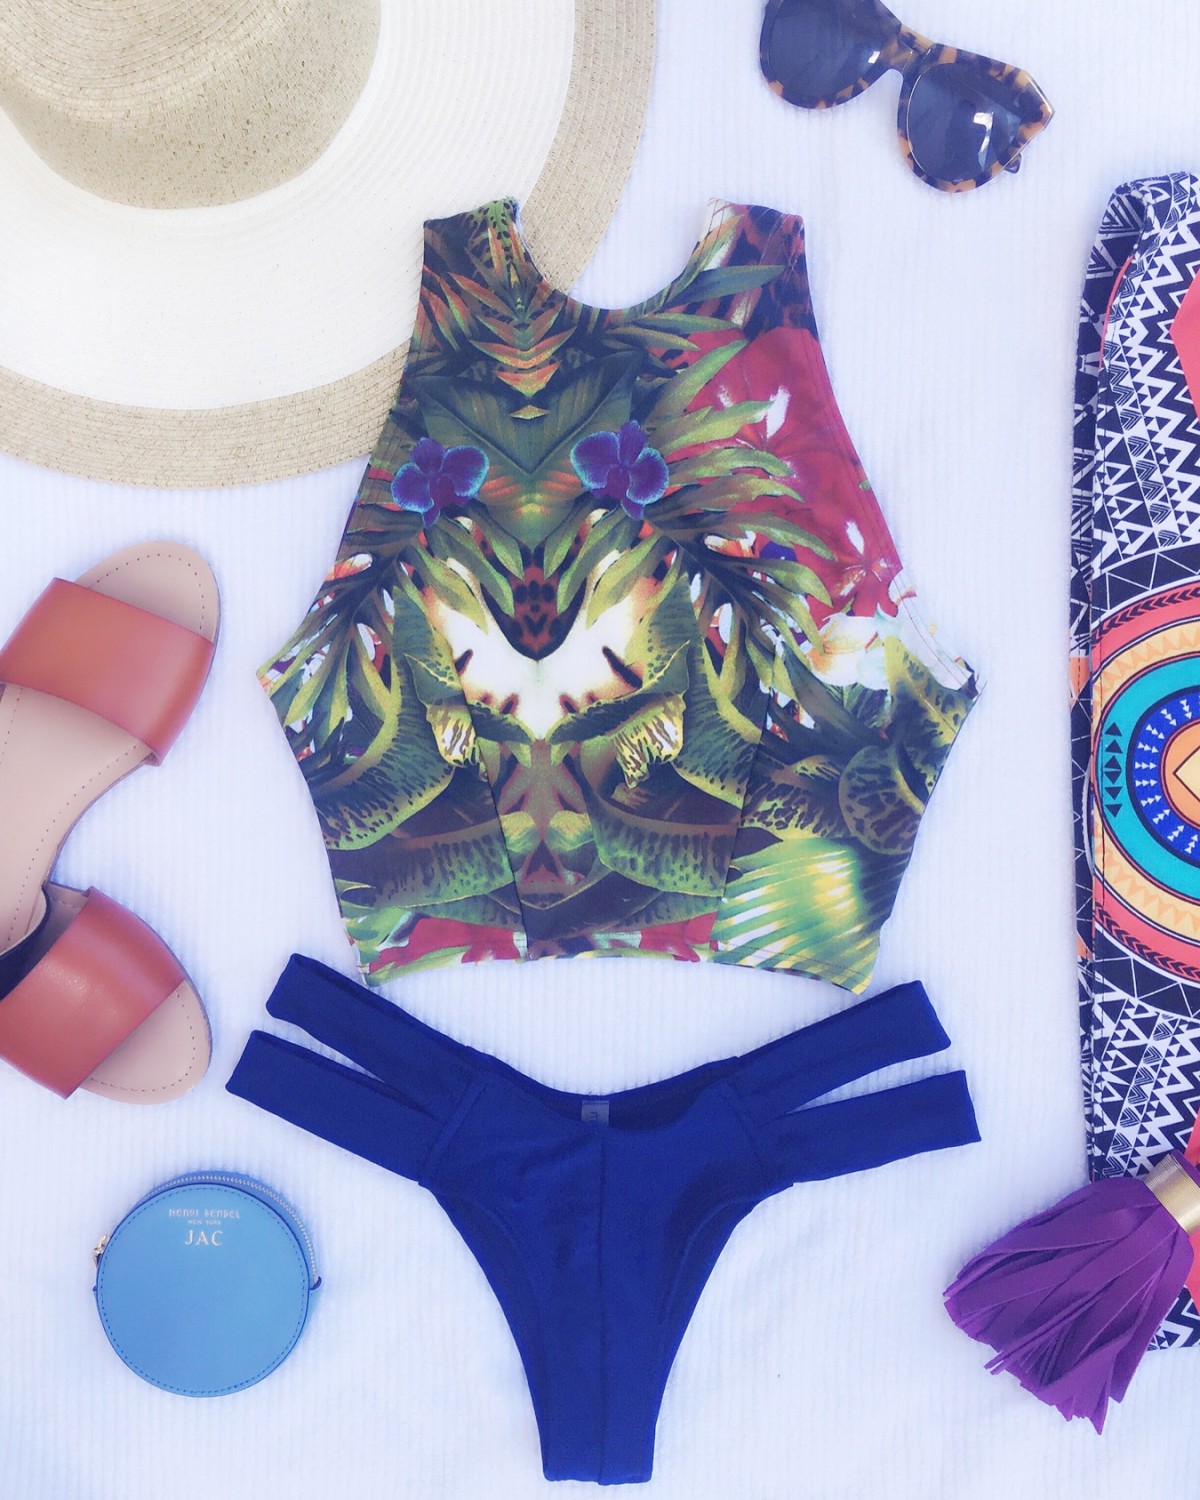
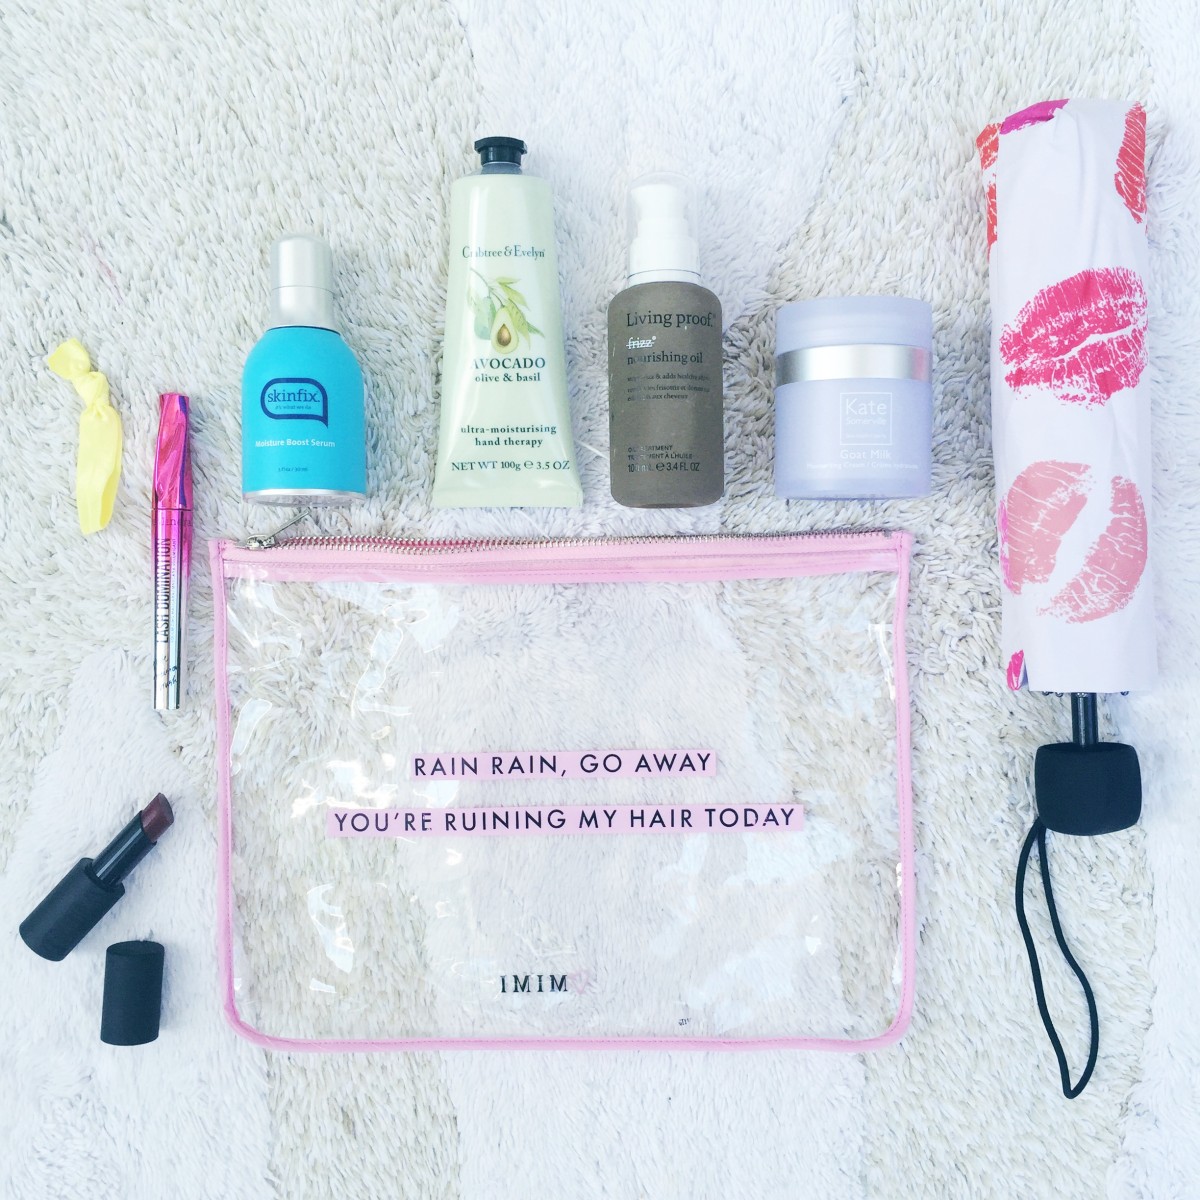
A flat lay is the official term for a picture of a single or group of objects on a flat surface, taken from above. Makes sense, right? Flat lays have been taking over Instagram feeds and are often used to showcase specific items, whether it’s a brand new product line from a beauty company or outfit inspiration from your favorite style blogger. Flat lays appear rather simple and straight forward, but most of the time that’s not the case. A lot of thought and practice goes behind these staged photos. Here are some things to be considered to master your next flat lay:
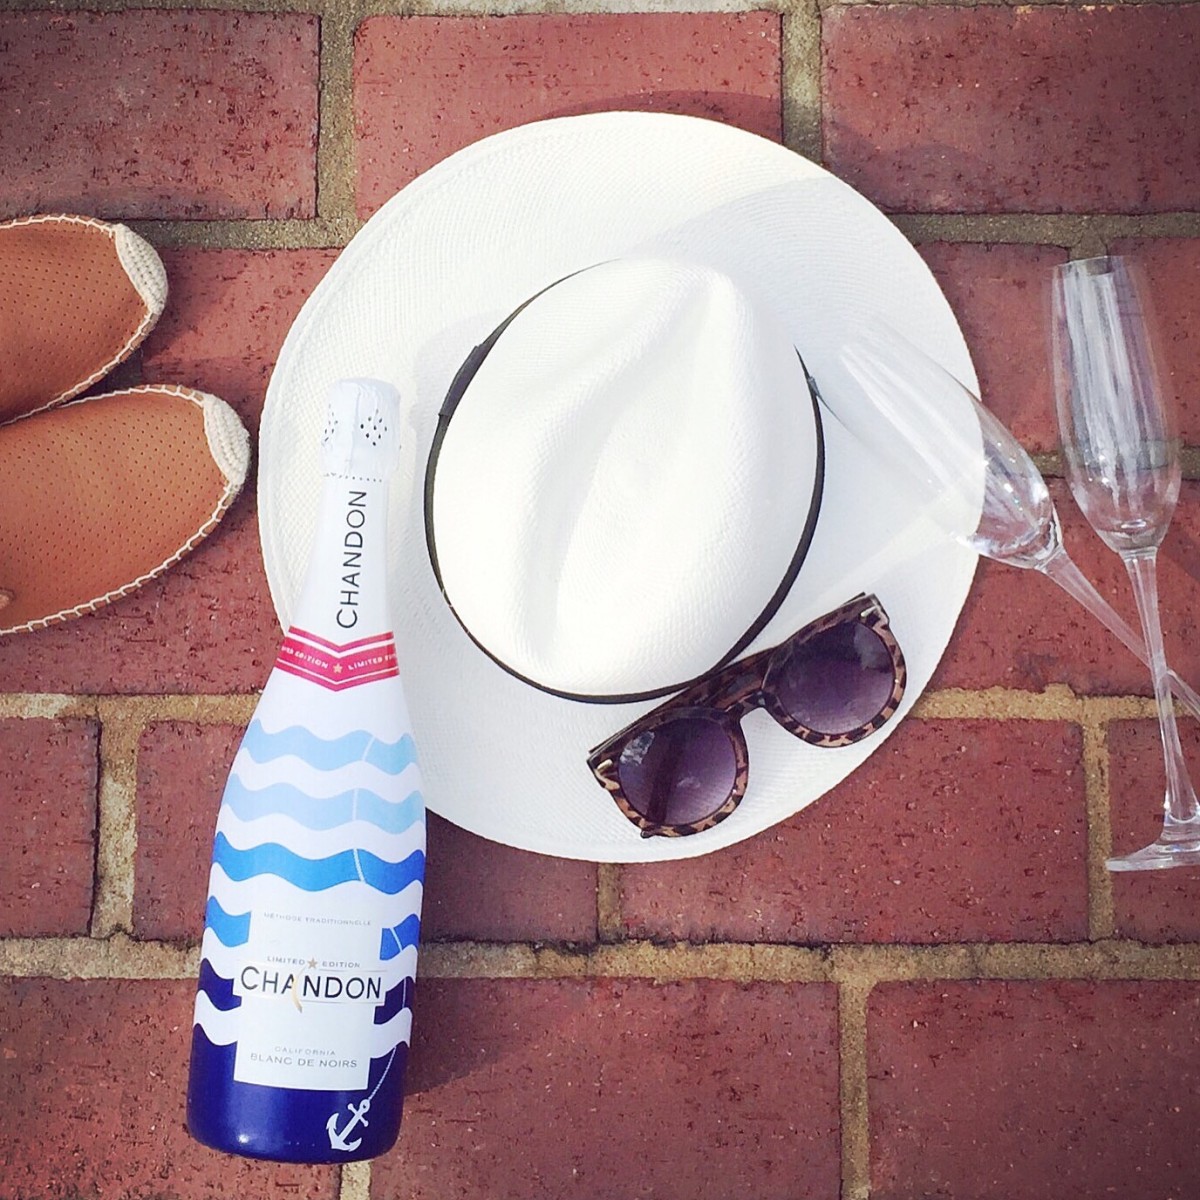
LIGHTING: In photography, light is ALWAYS the most important factor. Understanding light and how it affects your photos can be quite a challenge. I’m still trying to figure it all out if I’m being honest with you, but what I do know is natural light is your best friend. You want to avoid direct sunlight, otherwise you’ll have weird shadows in your picture and the coloring can be a bit harsh or overexposed. Try to find a well lit area by a large window. I’ve recently started taking flat lays on my backyard table! We have an awning that covers half of the backyard, so it’s the perfect shaded, yet well lit spot. [My family and neighbors may think I’m a bit wacky, but that’s besides the point!]
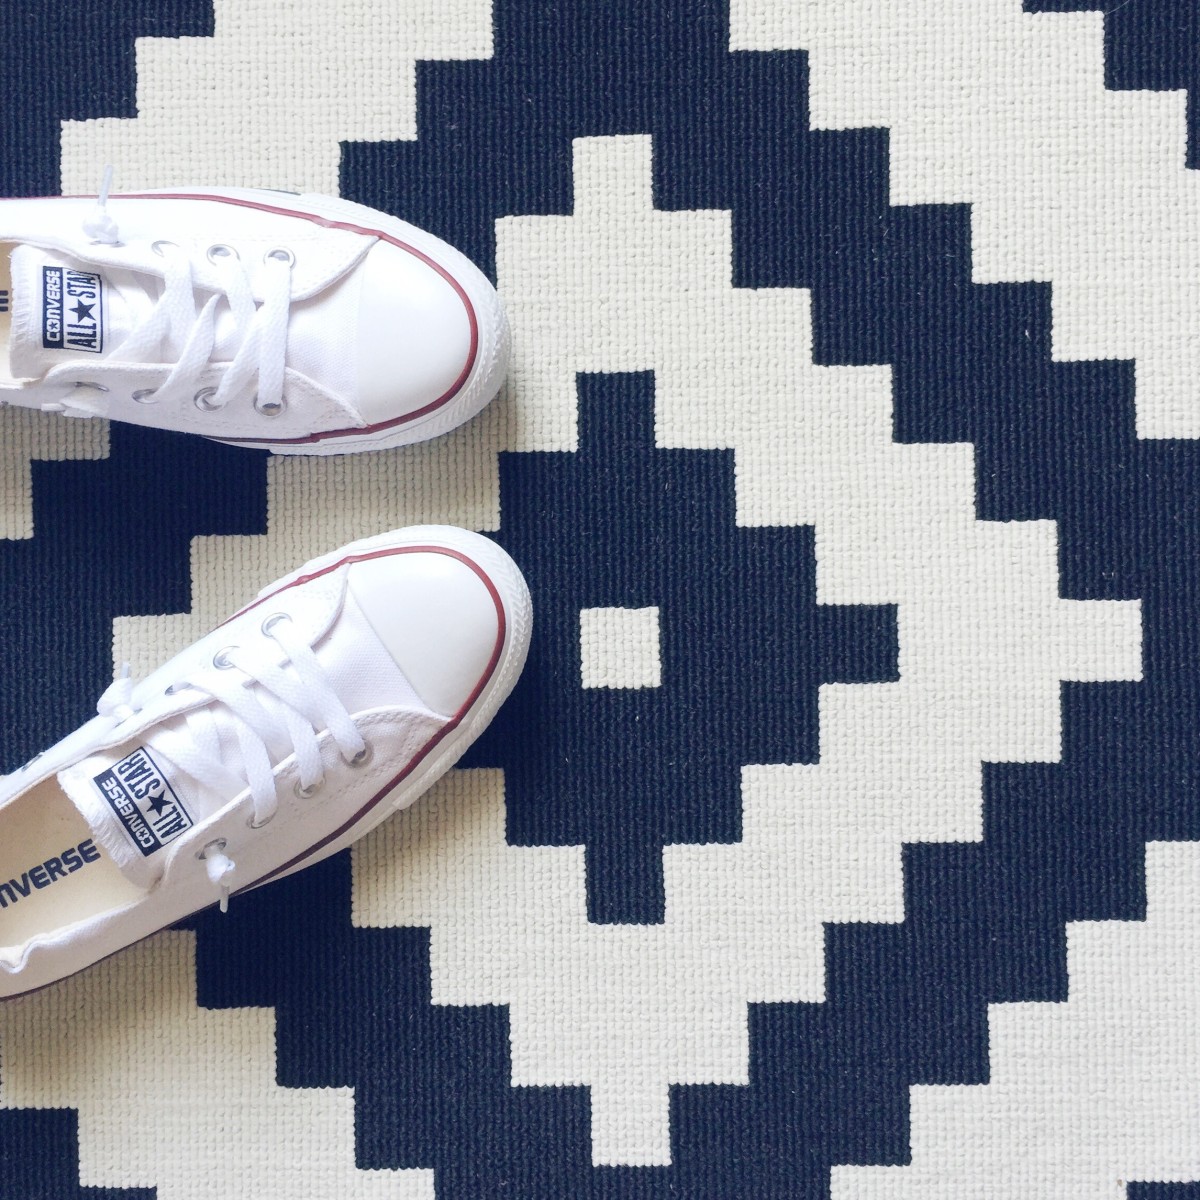
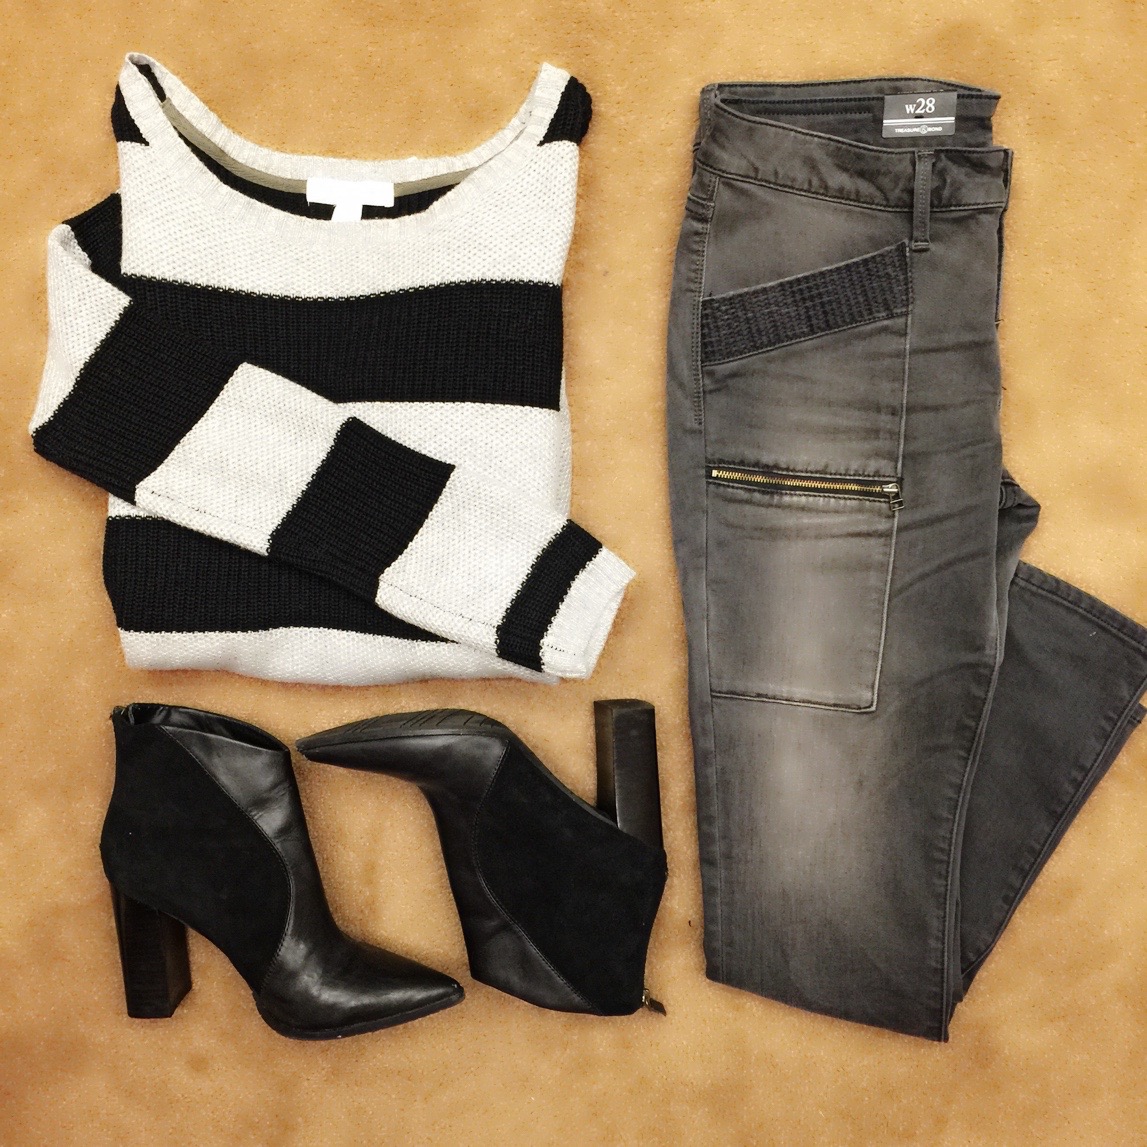
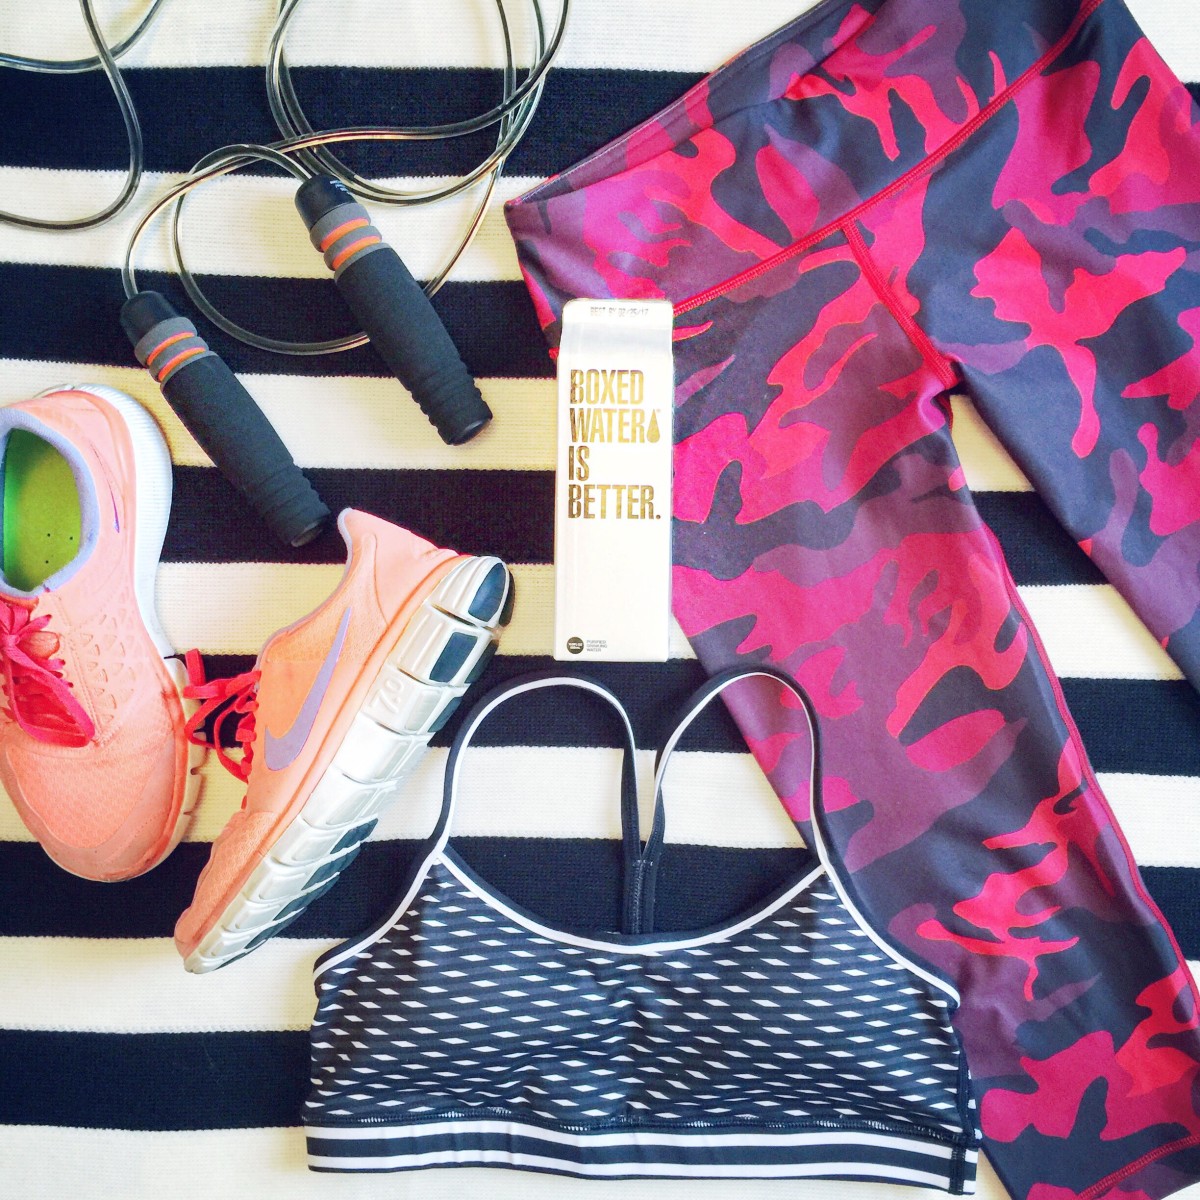
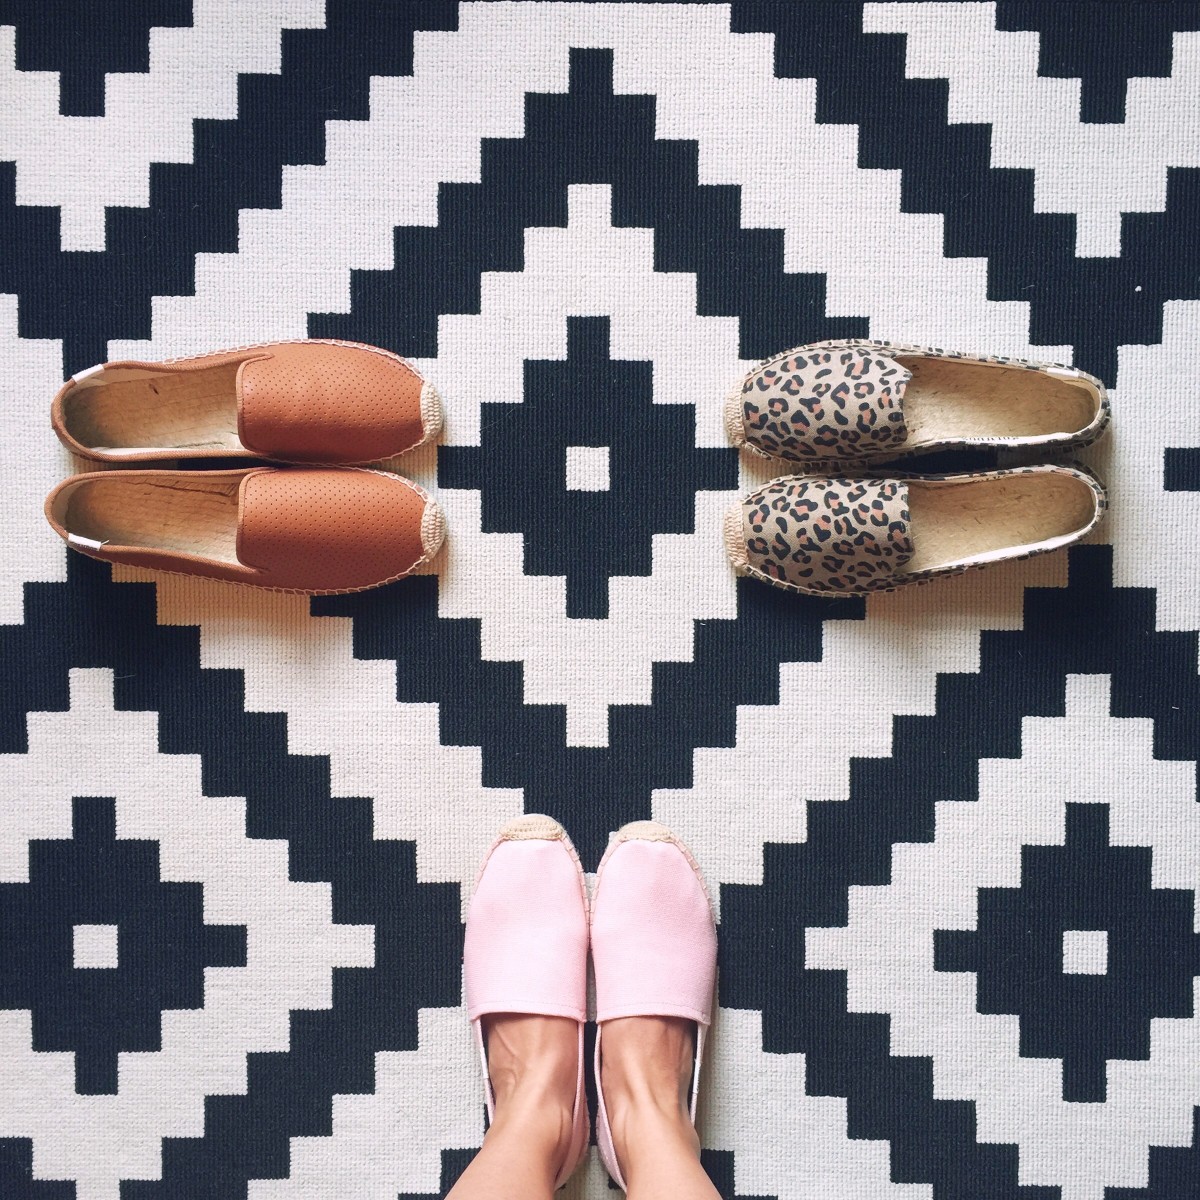
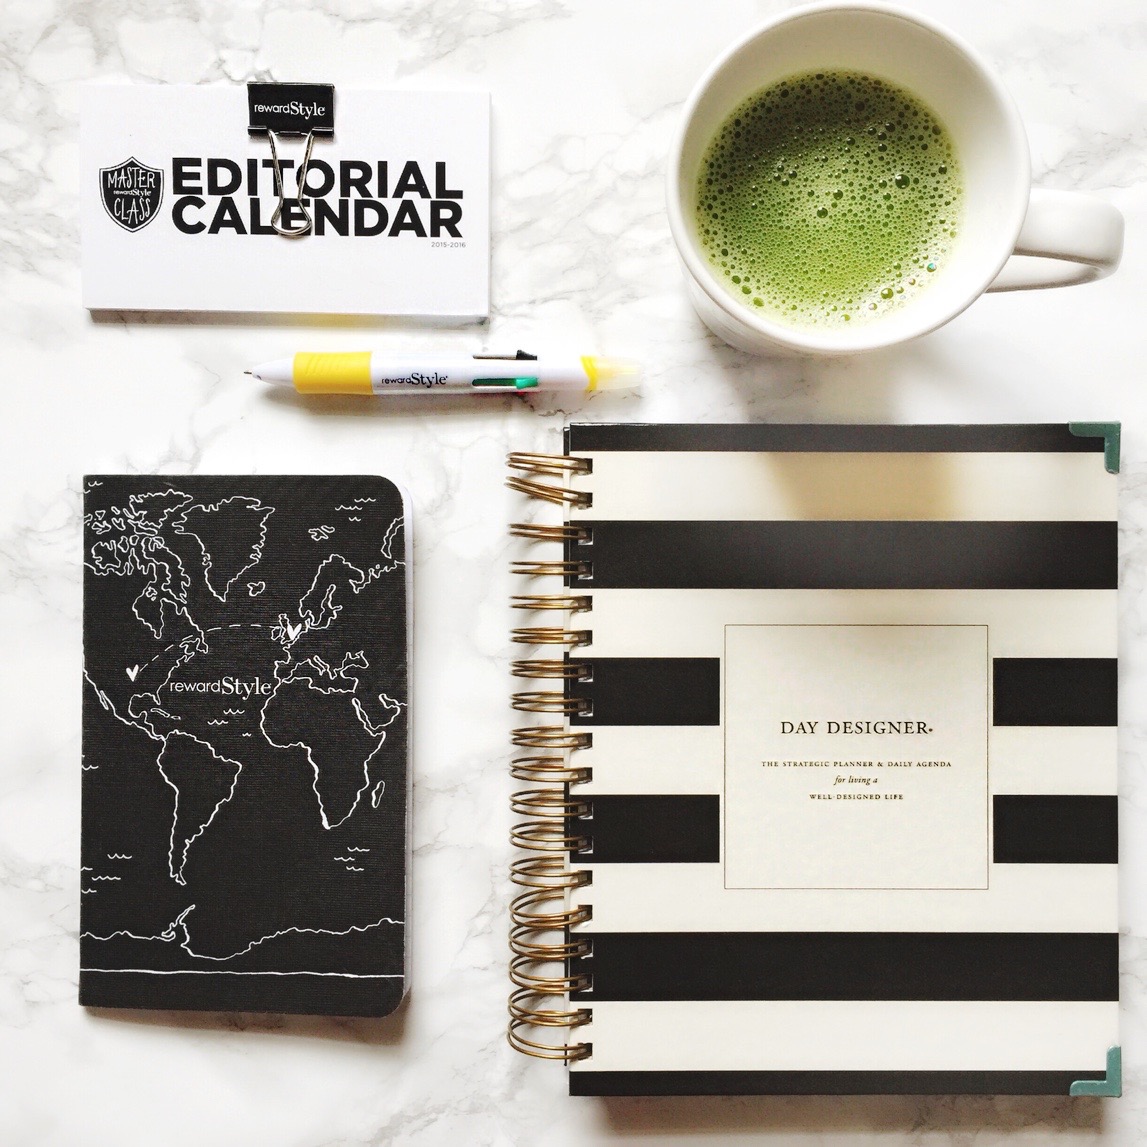
BACKROUND: I’ve experimented with different backgrounds. Area rugs, tile floors, faux fur throws, my bed, beach towels, bathroom mats, wooden tables and floors, wrapping paper, countertops. You name it; I’ve tried it! I truly think a white board or white and grey marble background looks best with my feed. It doesn’t compete with the products I’m wanting to display and it allows you to see the true colors of these objects. If you want to add texture to your photos to have more dimension without making it look too busy, use a white or off white faux fur blanket, rug, or towel. Aesthetically, we’re all going to have our own vision and opinion on what looks best, so just practice, practice, practice! Try different things and see what you like most. You certainly don’t need to stick to just one background, but when using these flat lays in your Instagram feed, I would recommend having each background coordinate with one another and your overall theme.
A ton of people use this Crate & Barrel marble slab, which is a bit of an upgrade from the marble adhesive paper I use. [When I purchased that paper, it was $5.31 on Amazon. It’s now $10.99 which is still a good deal. I’ve been using the same roll of paper for well over a year, and even though it has some crinkles and folds, it still photographs well.]
For a white background, I’d recommend getting a foam board that’s slightly thicker and more sturdy than construction paper. Large construction paper [in any color] can absolutely be a great background, but the foam boards are just a few dollars more and will last a lot longer. I believe the one I have was $5.99 from Hobby Lobby. Office Depot, Michaels, or a local office supplies/craft store should have it. And if you live in the middle of nowhere or you just don’t feel like putting on a bra and leaving your house, well, there’s always Amazon, and thank god for that!
BALANCE: Try to find balance with colors and product placement. Use small items such as accessories, lipstick, sunglasses, and flowers to fill large empty spaces. Use the square setting with the grid on your camera phone to help arrange the different items. It doesn’t need to be symmetrical, but play around with the white space until each item is placed exactly how you want it.
Trick: When laying certain round objects down on a hard, flat surface it may be difficult to have control over which side is facing out, so to solve that problem use modeling clay [found at your local craft store] or rolled masking tape [so it’s double sided] to help keep the item from rolling.
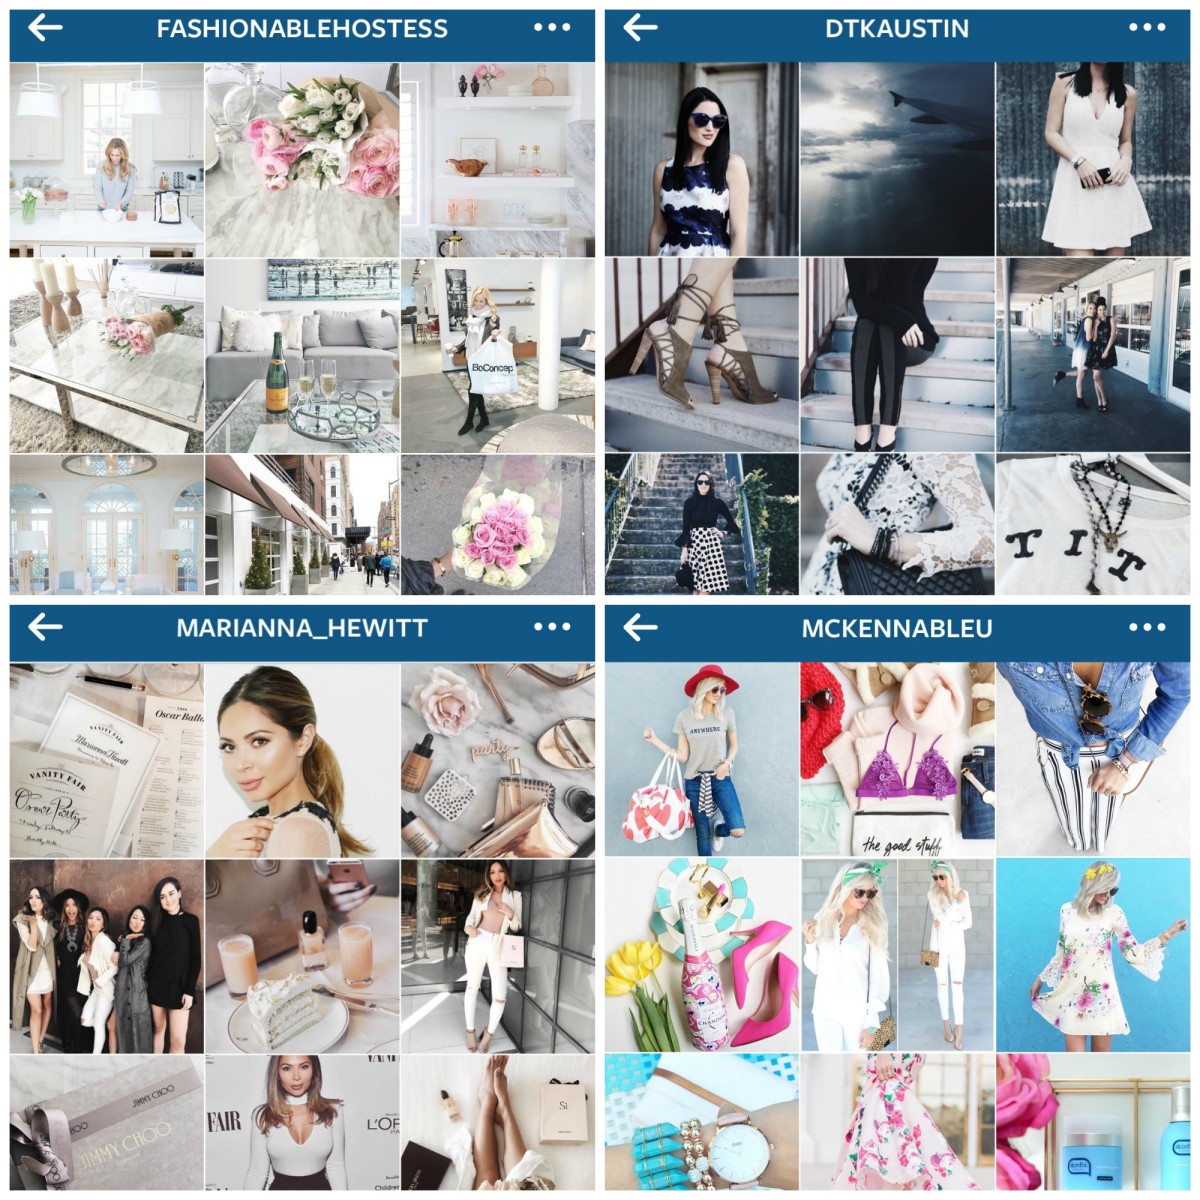
EDITING APPS: Hopefully with good lighting, your photos won’t need major editing, however, there is nothing wrong with a few enhancements…making things brighter, more cool, sharper, increasing the contrast, whatever! The first two years of blogging, my apartment was practically a dungeon, so I struggled with taking good flat lays and relied on editing apps in an attempt to make them appealing. Some people also have a very specific color story or theme with their Instagram feeds, so may use the same filter or couple of filters on every photo published [including their flat lays].
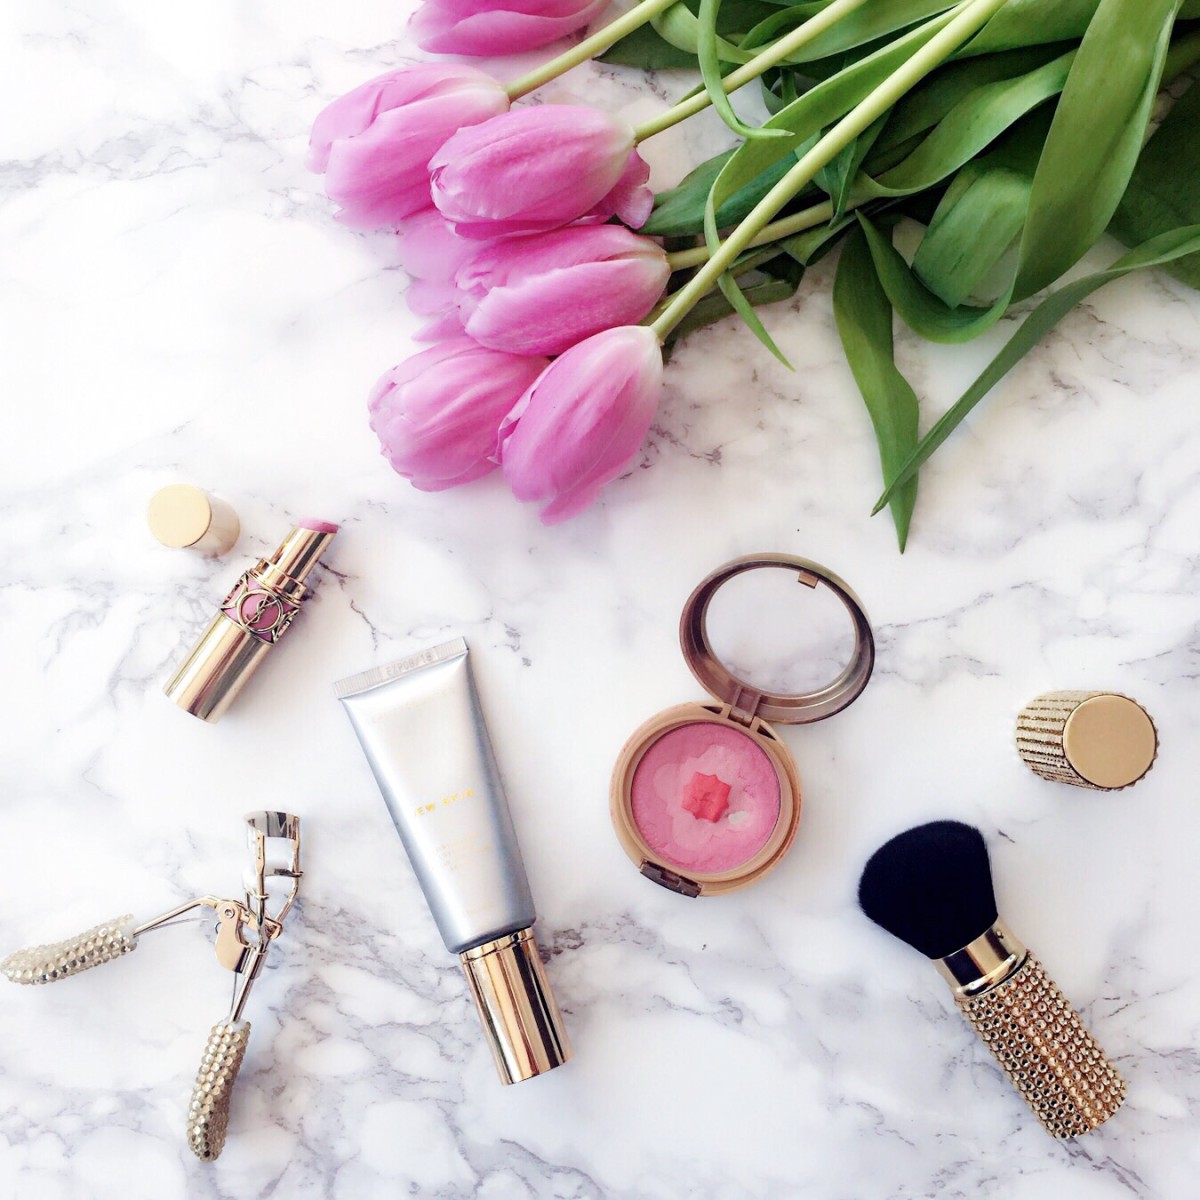
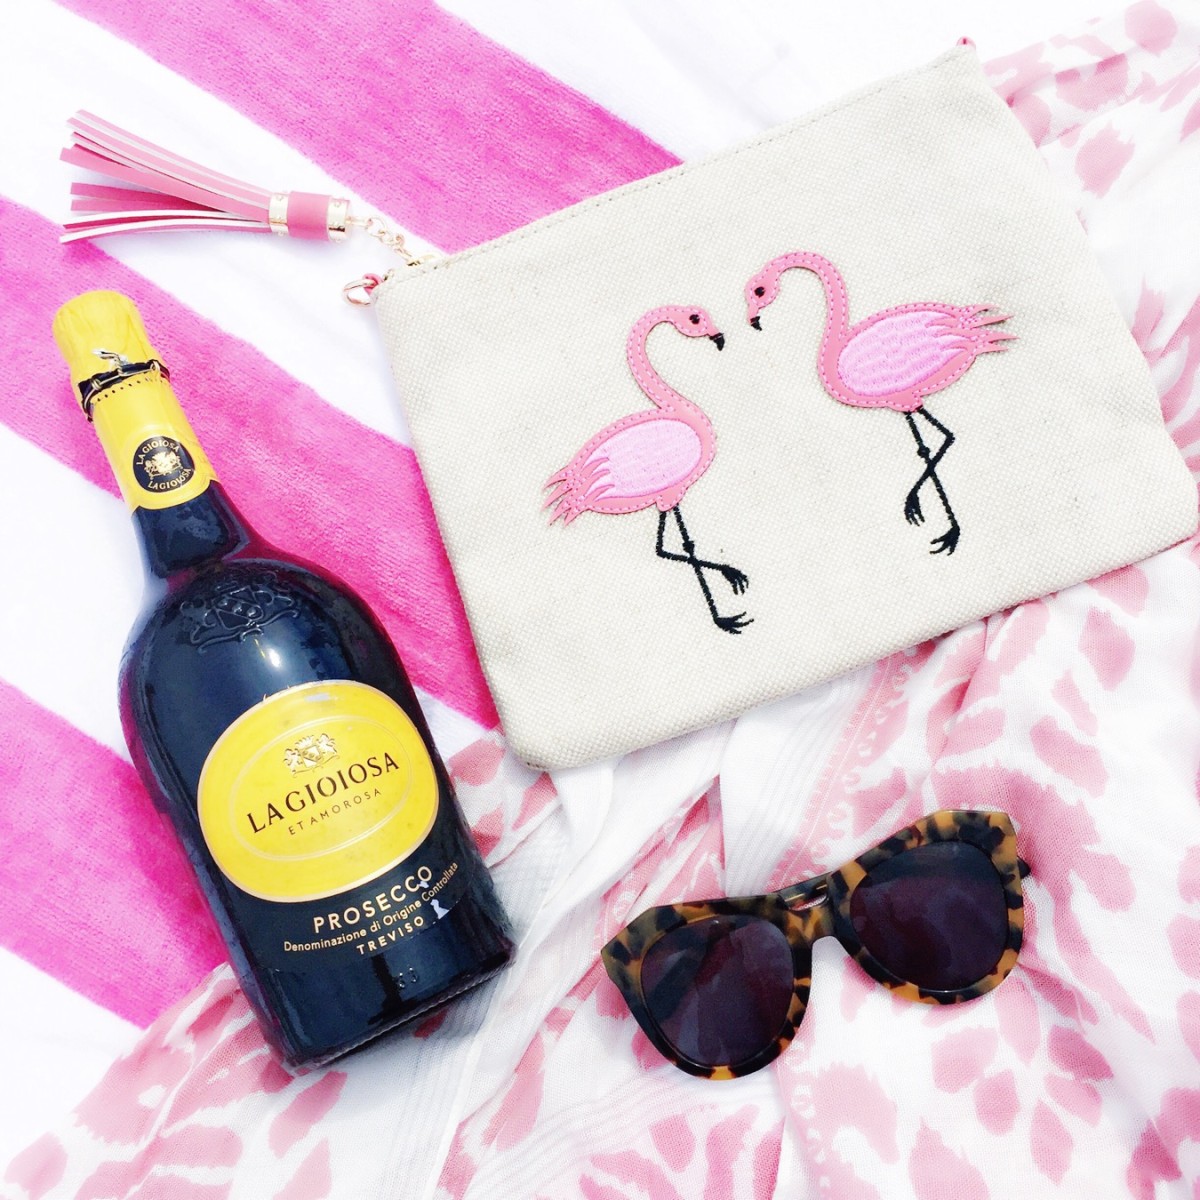
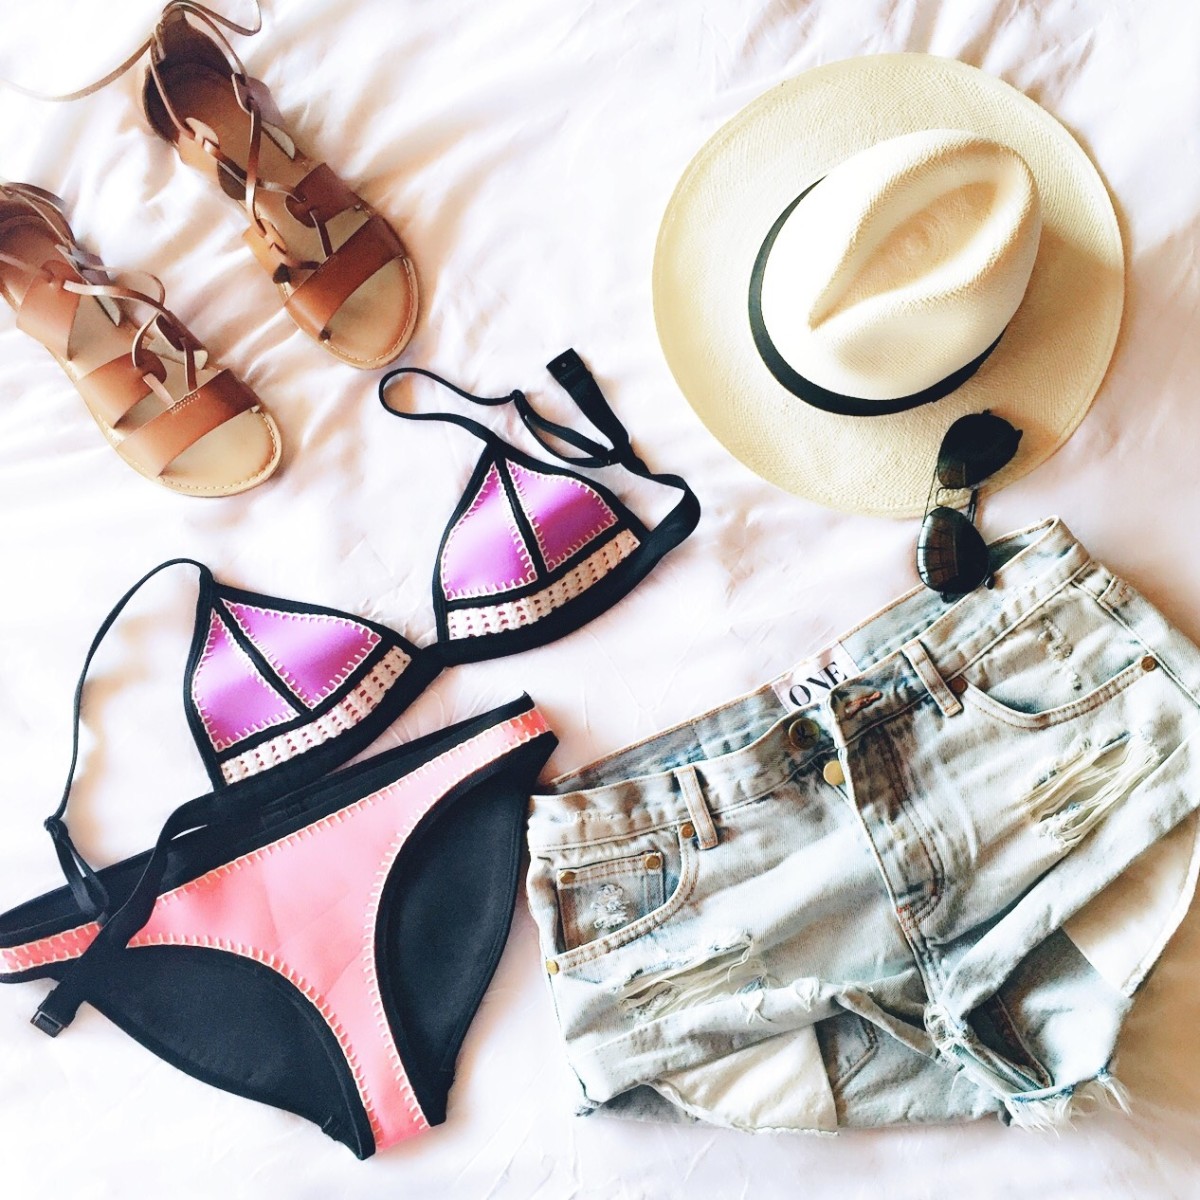
Here are 4 examples of women who do a really great job sticking to a specific color story:
Check out my list of favorite editing apps.
GET INSPIRATION: Following accounts like @flatlays or your favorite brands and bloggers can certainly help give you ideas, but PLEASE DON’T COPY! There is nothing wrong with getting a little inspiration from others, but do your best to stay true to who you are.
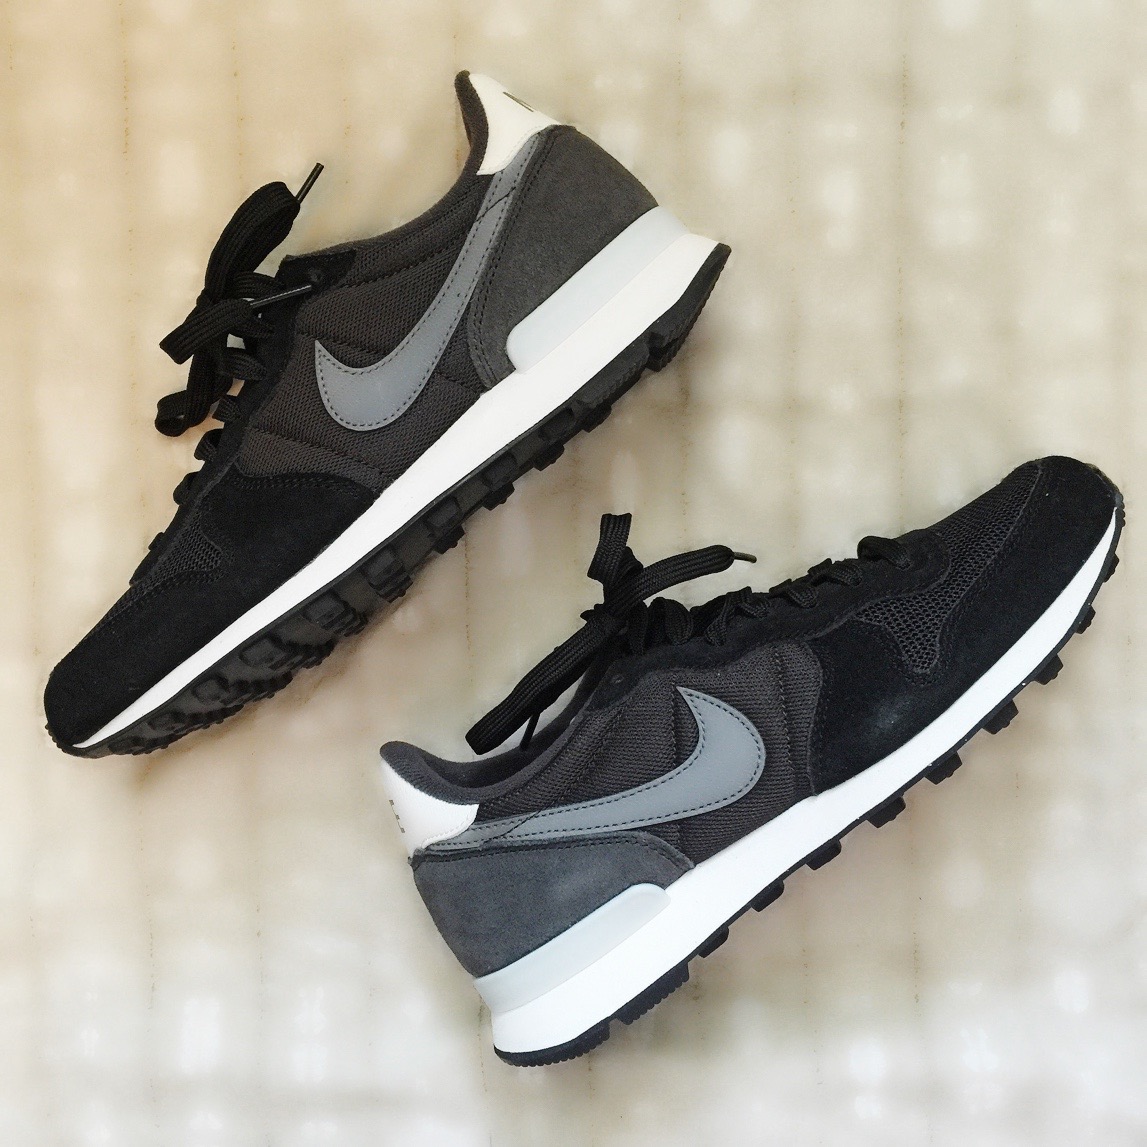
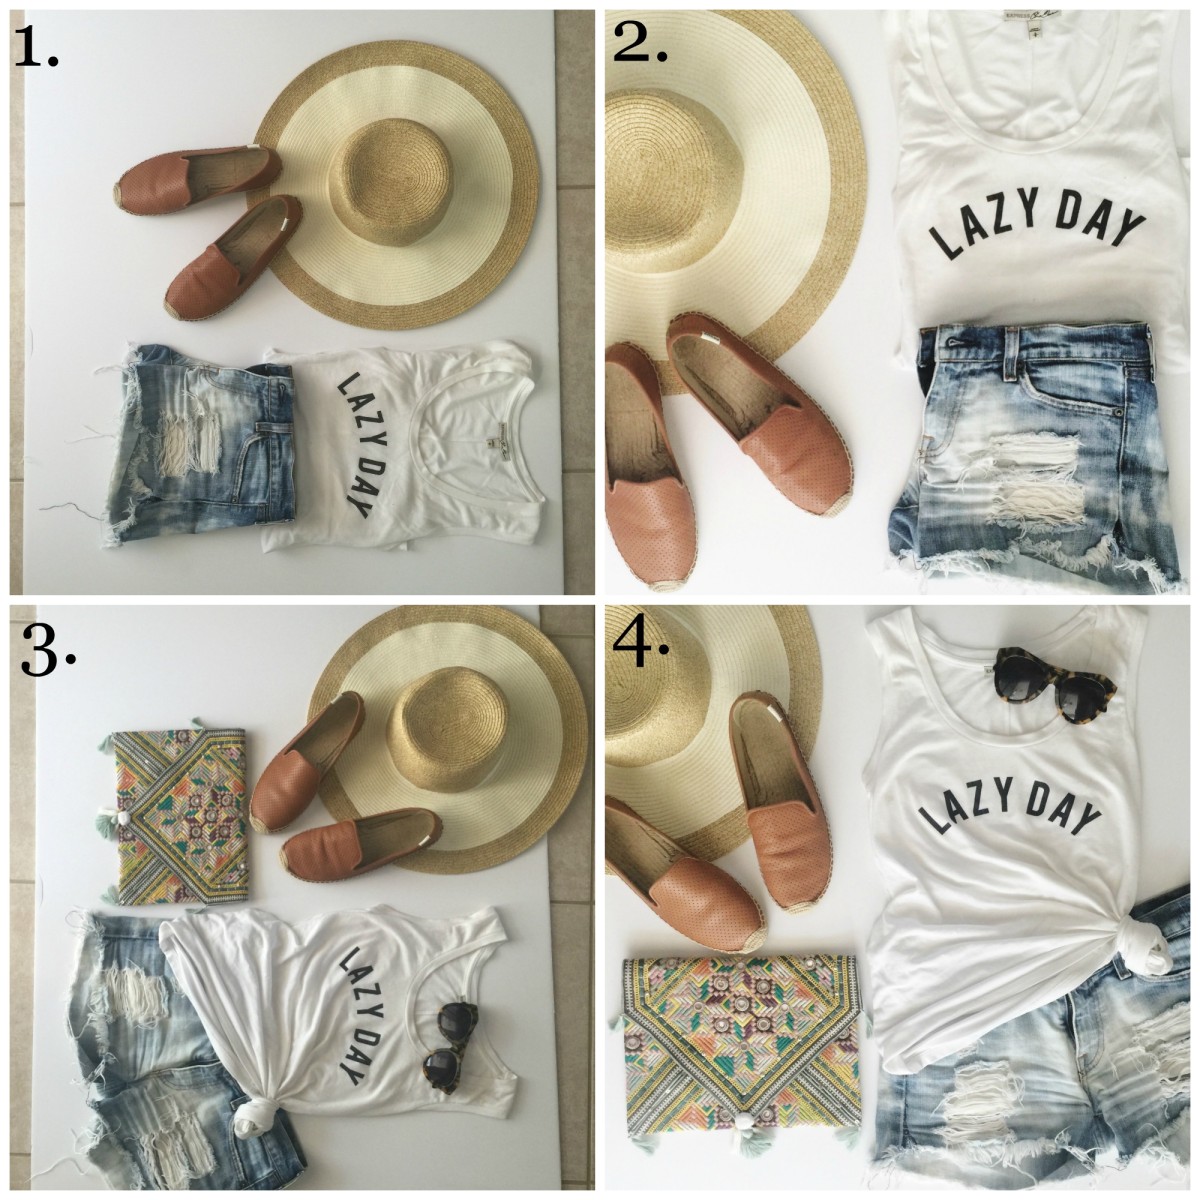
I am now going to show you the progression of a recent flat lay I posted on Instagram. It was taken indoors, on a sunny day, next to a large sliding glass door leading out to the backyard. I used a white foam board as my background and strategically placed each item. After seeing my initial “after picture” [number 2.], I decided that I wanted to add a few more things to spruce it up, so did just that and threw my sunnies and clutch into the mix. It was then edited [rotated, cropped, made brighter].
Shop More Items In This Post:
Hope my tips help you take the best flat lay photos! Would love to hear your feedback in the comments below!





I’ve always loved your flat lays! I use a foam board and marble adhesive too! I like your tip about filling the white space with small objects!
-Morgan
How 2 Wear It [] http://how2wearit.com
Thanks so much Morgan! Isn’t the marble adhesive the best?!!
Your photos are awesome! Great tips. Lighting is always a tough one!
Yes, lighting can be tricky, but once you understand a few basics, you’ll be good to go! XO Jaime
Oh my gosh!! These flatlays are perfect!! You are an absolute pro!! Thank you for these tips!
Oh Ruthie, you’re too sweet. I’m far from a pro!! Just did a lot of trial and error!!
These are so beautiful! I’ve just started doing flat lays and styled photos. Super newbie! Thanks for the great tips!
You are so welcome!!
These are all such helpful tips! My go to’s for flat lay surfaces are a marble slab from Sur La Table and a small white fur rug from TJ Maxx. Thanks for sharing this with the blogging community!!
Cat
Class Meets Couture
Wow! What a helpful post full of great advice. Thanks. 🙂
Glad you enjoyed it!
This is such a helpful post! I’ll definitely be bookmarking it 🙂 I’m loving all of your flat lays!
xo Brie
Thank you so much!!! So glad you found it helpful!
Your flat lays are awesome! Thanks for sharing!
Wow, thank you so much for the advice. I am new to blogging so this was most helpful!
This is a huge goal of mine (to take better photos) I have some product reviews coming out and will need to do some flat lay photos. I need also work on not having shadows on them. Thanks so much for these great tips. I’ll be sharing this article.
AWESOME tips! I use the marble adhesive as well, such a perfect addition!
xoxo,
Emily at Style Cubby
Wow! You’re a pro at this! It is so challenging for me when it comes to doing flat lays of clothes. But your tips helped a little <3
Xx
Laura | http://www.twentyteenz.com
Just keep practicing and trying different layouts!! If I can do it, anyone can do it! Haha!!
Definitely bookmarking this! Thanks for the great tips!
thenikkistandard.com
Wow what a great post! all of these pictures are awesome.
xoxo
Yari
http://www.dreamgorgeously.com
Great tips! I love flat lays and the creative aspect behind it.
Xo,
Nicole Sometimes
Jamie, LOVE the tips! Thanks for sharing all the info, and for giving me another reason to procrastinate my to-do list at my day job…shhhh! XO
Great tutorial, Jamie! I need to start doing more flat lays again. You’ve inspired me 🙂
XO ~Anna
http://www.pepperedinstyle.com
This is amazing!! so helpful! Love some of these lays and outfits!
XX
THE SOUTHERN EDGE
http://www.southernedgeblog.com
Great tips! Thanks for sharing!
http://thegirlswhobrunch.com
Your photos are gorgeous…the colors are perfect..and OMG, I have that same ikea rug 🙂
Love all these tips! I use a foam core board for my flat lays, but I need to get some clay to help the round items from rolling around!
❤️, Mindy N.
http://www.threadsnbreads.com
Thank you! Needed these tips, it’s something I have been working on for my posts.
Pretty pictures girl! Love your photo style!
xo Mariam
http://www.thepetitebijou.com
Thanks so much Mariam!!! Hope you have a great weekend 🙂
Great post! I haven’t done many flatlays with clothing. I need to try it. I have a post planned for styling oreos….lol.
Ha! I LOVE oreos!!! I love flat lays with clothes or outfits, especially when I’m looking like a hot mess and don’t want any photos of myself!
Awesome tips!! I need to get better at clothing flat lays! Thank you for sharing!!
You’re welcome! Play around with different looks until you get your style. I like the “messy folded” look haha!!
Your photos are always beautiful! Thanks for the tips babe! Xo, Roselyn
I really appreciate that Roselyn, thank you!!
You take the BEST flat lays! Seriously #flatlaygoals Great post! xoxo
You’re too sweet Lindsey 🙂
Okay seriously this is an amazing post xoxo
Thank you SO much!!! I’m glad you enjoyed it!
Great tips babe! I definitely use a foam core board for my base too, i need to get my some clay though to stop those round things from rolling around!
<3, Mindy
http://www.threadsnbreads.com
Yes, the clay helps so much!!
These are FABULOUS TIPS!!! I’m still learning the flat lay do’s and don’ts . Thankful for this post!!
Xoxo,
Angelle
http://www.dashingdarlin.com
Aw thanks Angelle!!! So happy I could help!
You are awesome for creating this post!! I’ve been wanting to do a similar one but I’ve been putting it off. I’m feeling inspired. Totally love your tips — lighting is so key.
Gunjan | http://www.songbirdechoes.com
Thank you so much Gunjan!! Yes, lighting is EVERYTHING! So happy I could inspire 🙂
So glad you enjoyed it!! XO
Oh my gosh! This is so helpful, will definitely be using this to step up my Instagram game!
xoxo,
Katie
chicincarolina.blogspot.com
This is a great post girl! Thank you so much for breaking it all down for us! I’ve been trying to do more flat lays lately, but the BTS photos are so helpful! Thanks! 🙂
~Hillary
http://www.styleinasmalltown.com
Lots of great inspiration here! Thanks!
Great post! Very helpful!
amazing…love all your tips and tricks!
~katelyn
theyellowspectacles.com
*****
This is so so so helpful. I just ordered that marble flat lay from Amazon, so a huge thank you!
— Dara // http://www.peoniesandhoneybees.com
I had no idea these kinda photos were called “flat lays.” Thanks for the tutorial!
Such fun tips! I love flat lay pics 🙂
Xo, Amanda
http://www.poisedavenue.com
You’re welcome!!! Hope it helps you!
Hi, I just have a question on how to take the actual shot. Do you stand on a chair to photo above it, or just try to take it above? I have a foam board & tried a few but it doesn’t look like it is a flat lay.
Hi! If the items for the photo are on the ground, I usually stand above it. But, if it’s on my bed, I will often stand on a bench or chair. Just depends what kind of shot I’m going for!
This was so helpful! Thank you!
There are great tips! It took me a while to get the hang of it and i still struggle with lighting and shadows!
xo, Stephanie
http://www.astyleofherownblog.com